How to install heated grips on a 2017 V-Strom 650
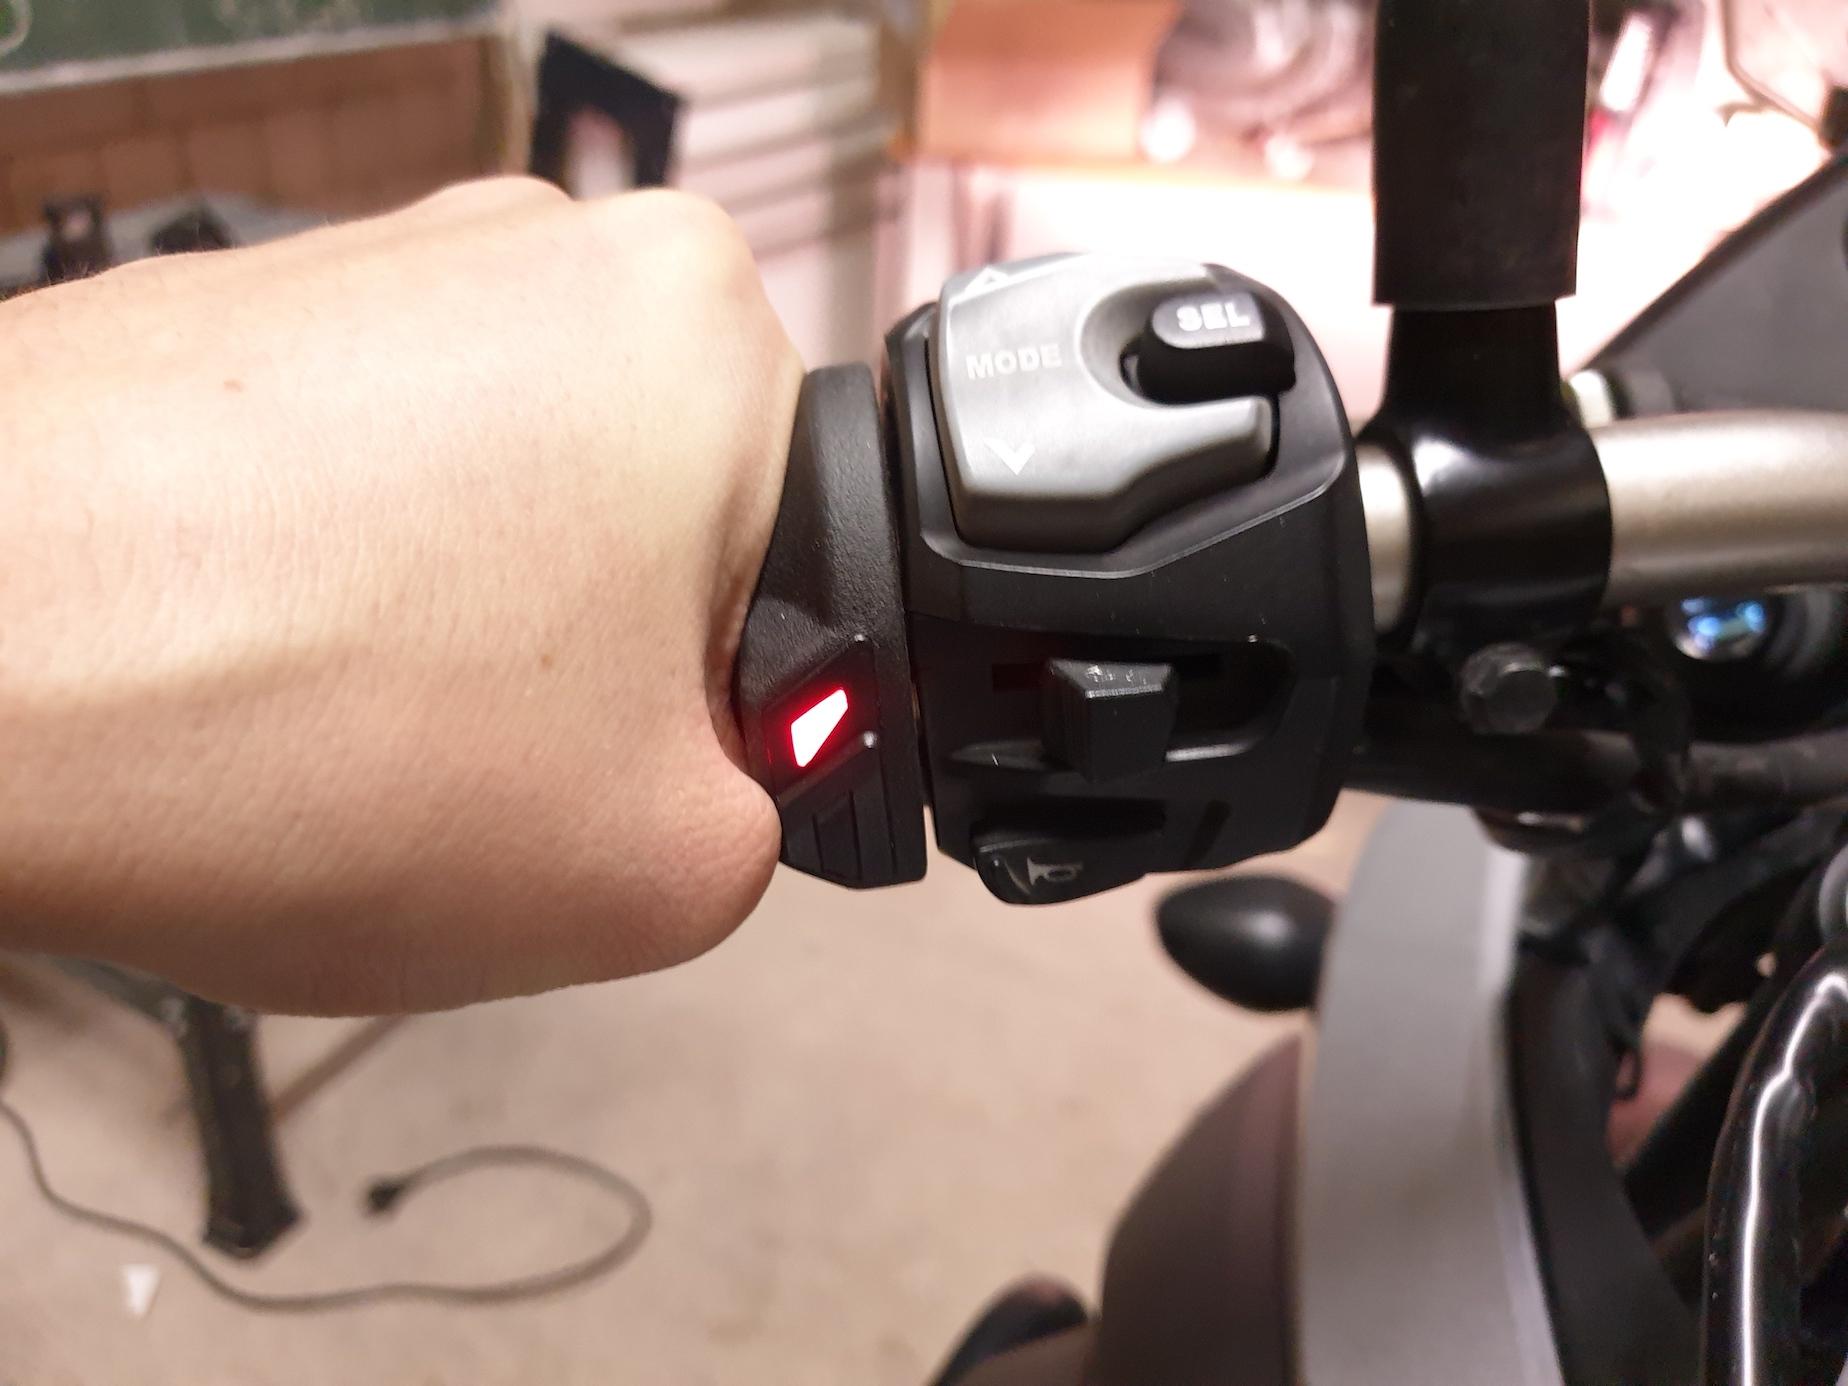
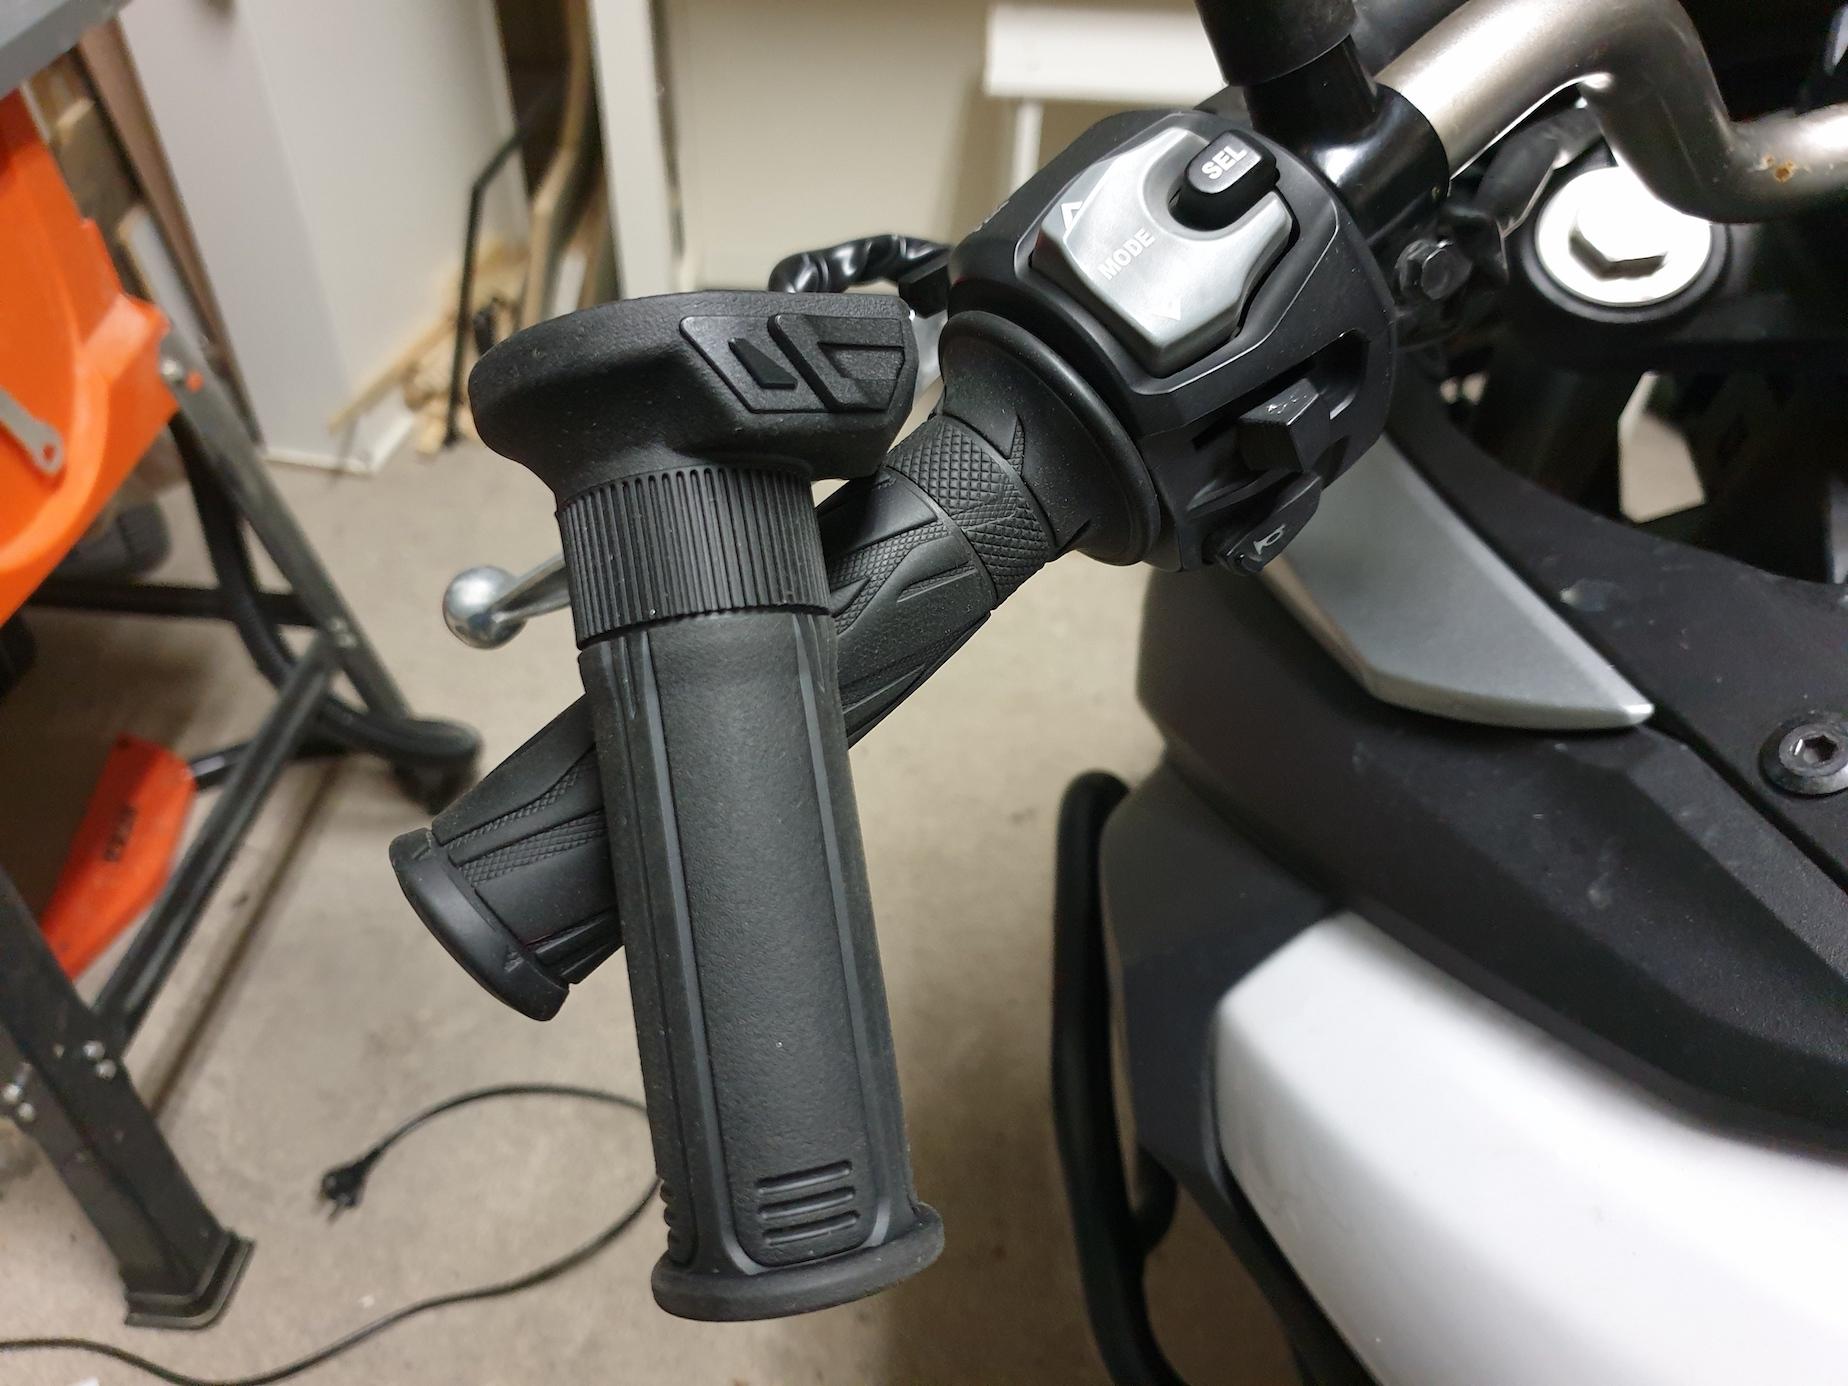
Posted onTonight I installed Koso HG-13 heated handgrips (120 mm) on my 2017 Suzuki DL650. Here’s how I did it. The process is the same for Oxford heated grips. I chose the Koso grips because the controls are directly on the grips, and not on some ugly stand-alone controller. The grips have the same size and girth as the originals. They’re about as hard.
Step 0: Try the heated grips
Before going through that whole ordeal, make sure the heated grips actually work. Plug the grips directly on the battery terminal, start the bike, turn the grips on, and wait for them to get hot. If you have a dud, better realise now than later.
Step 1: Remove the grips
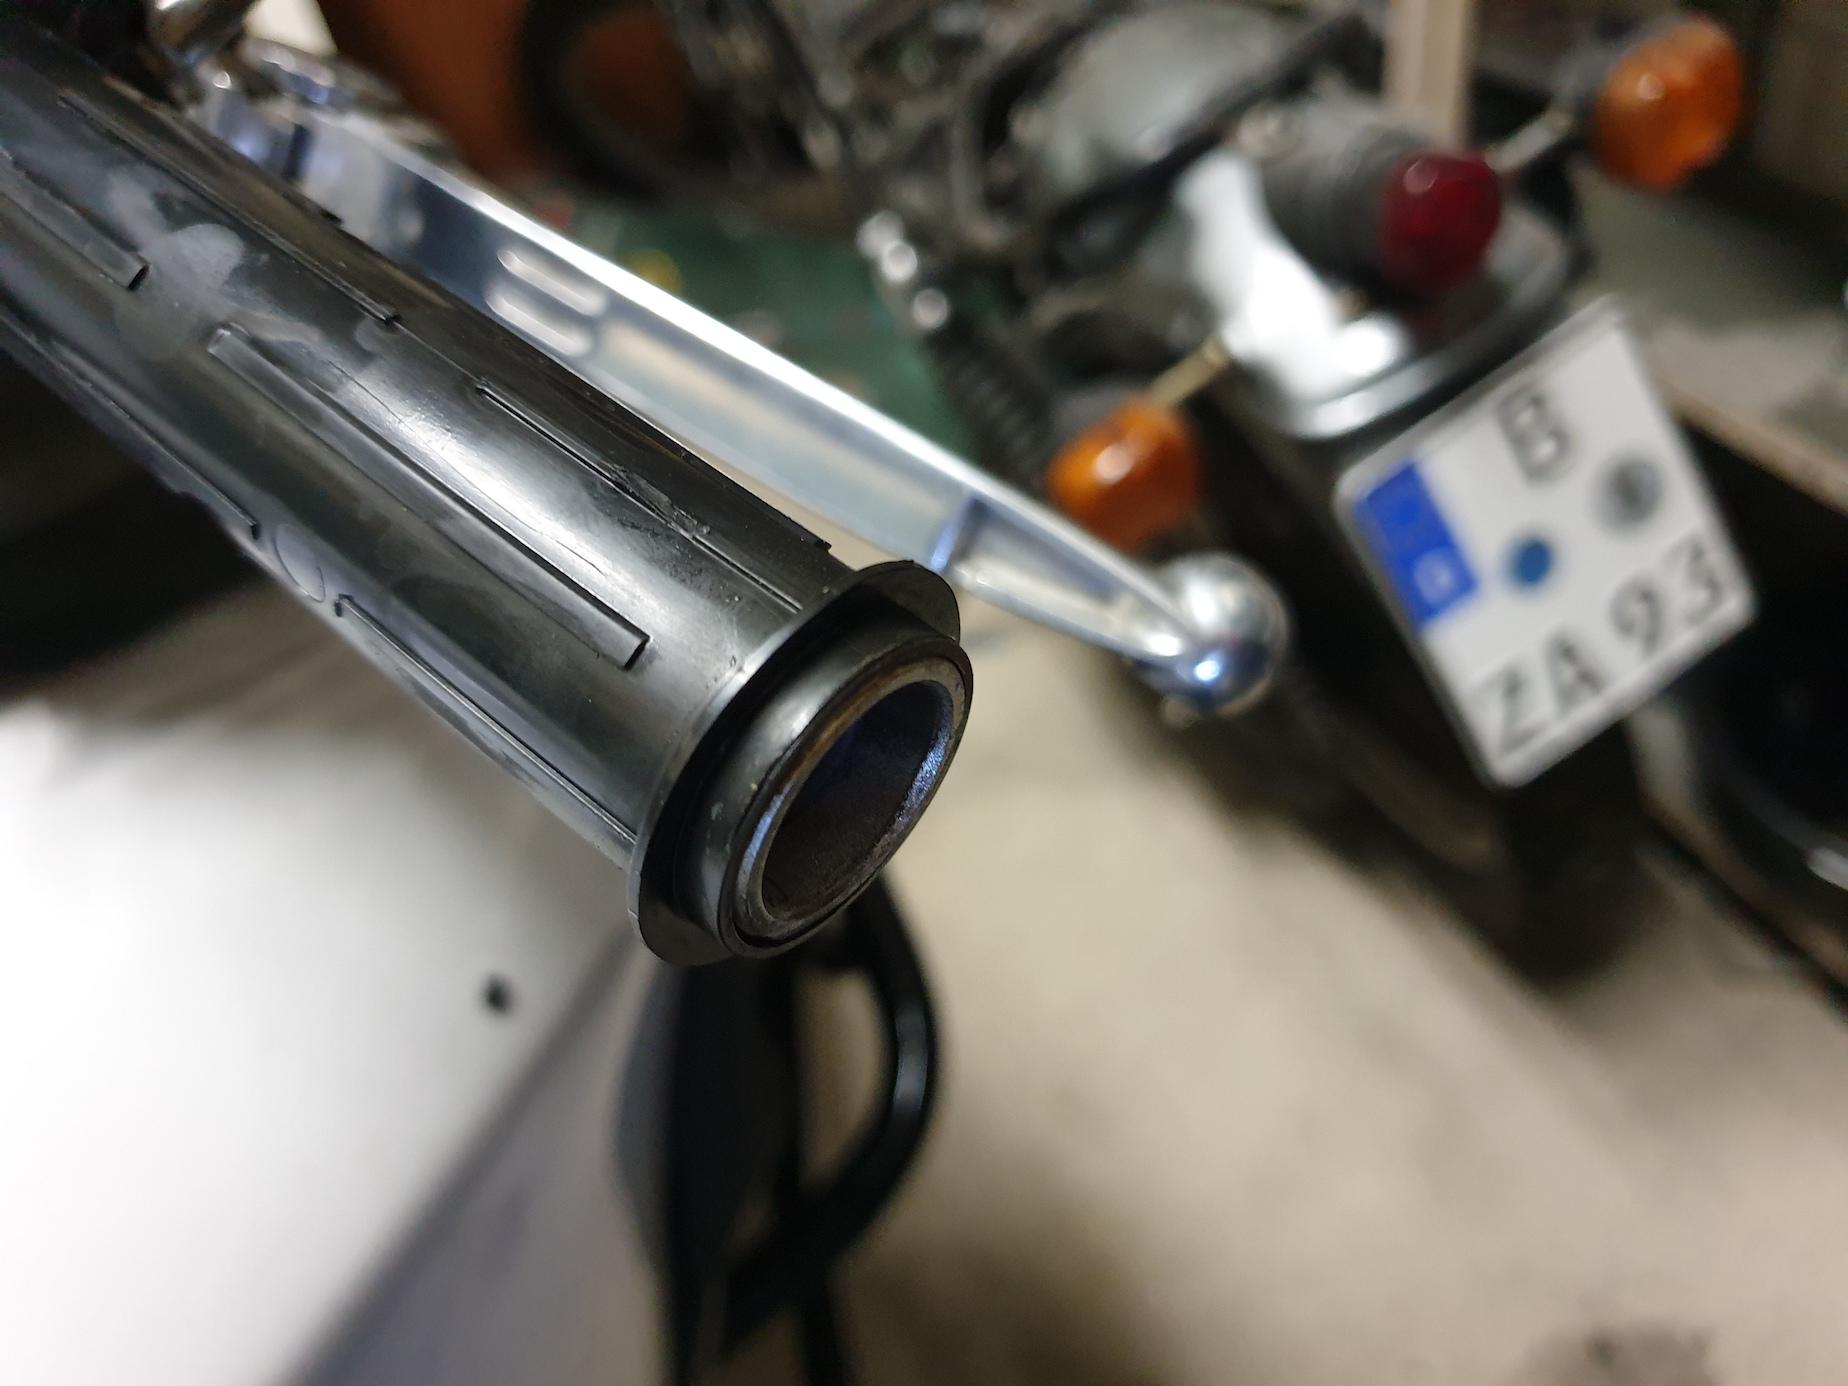
The left grip is easy to remove: pour some hot water on it, slide a small screwdriver under it, move the screwdriver all the way around the handlebar, then pull the handgrip out. A two minute affair. There will be some glue residue there. I used a paintbrush dipped in acetone to remove it. It came off very easily.


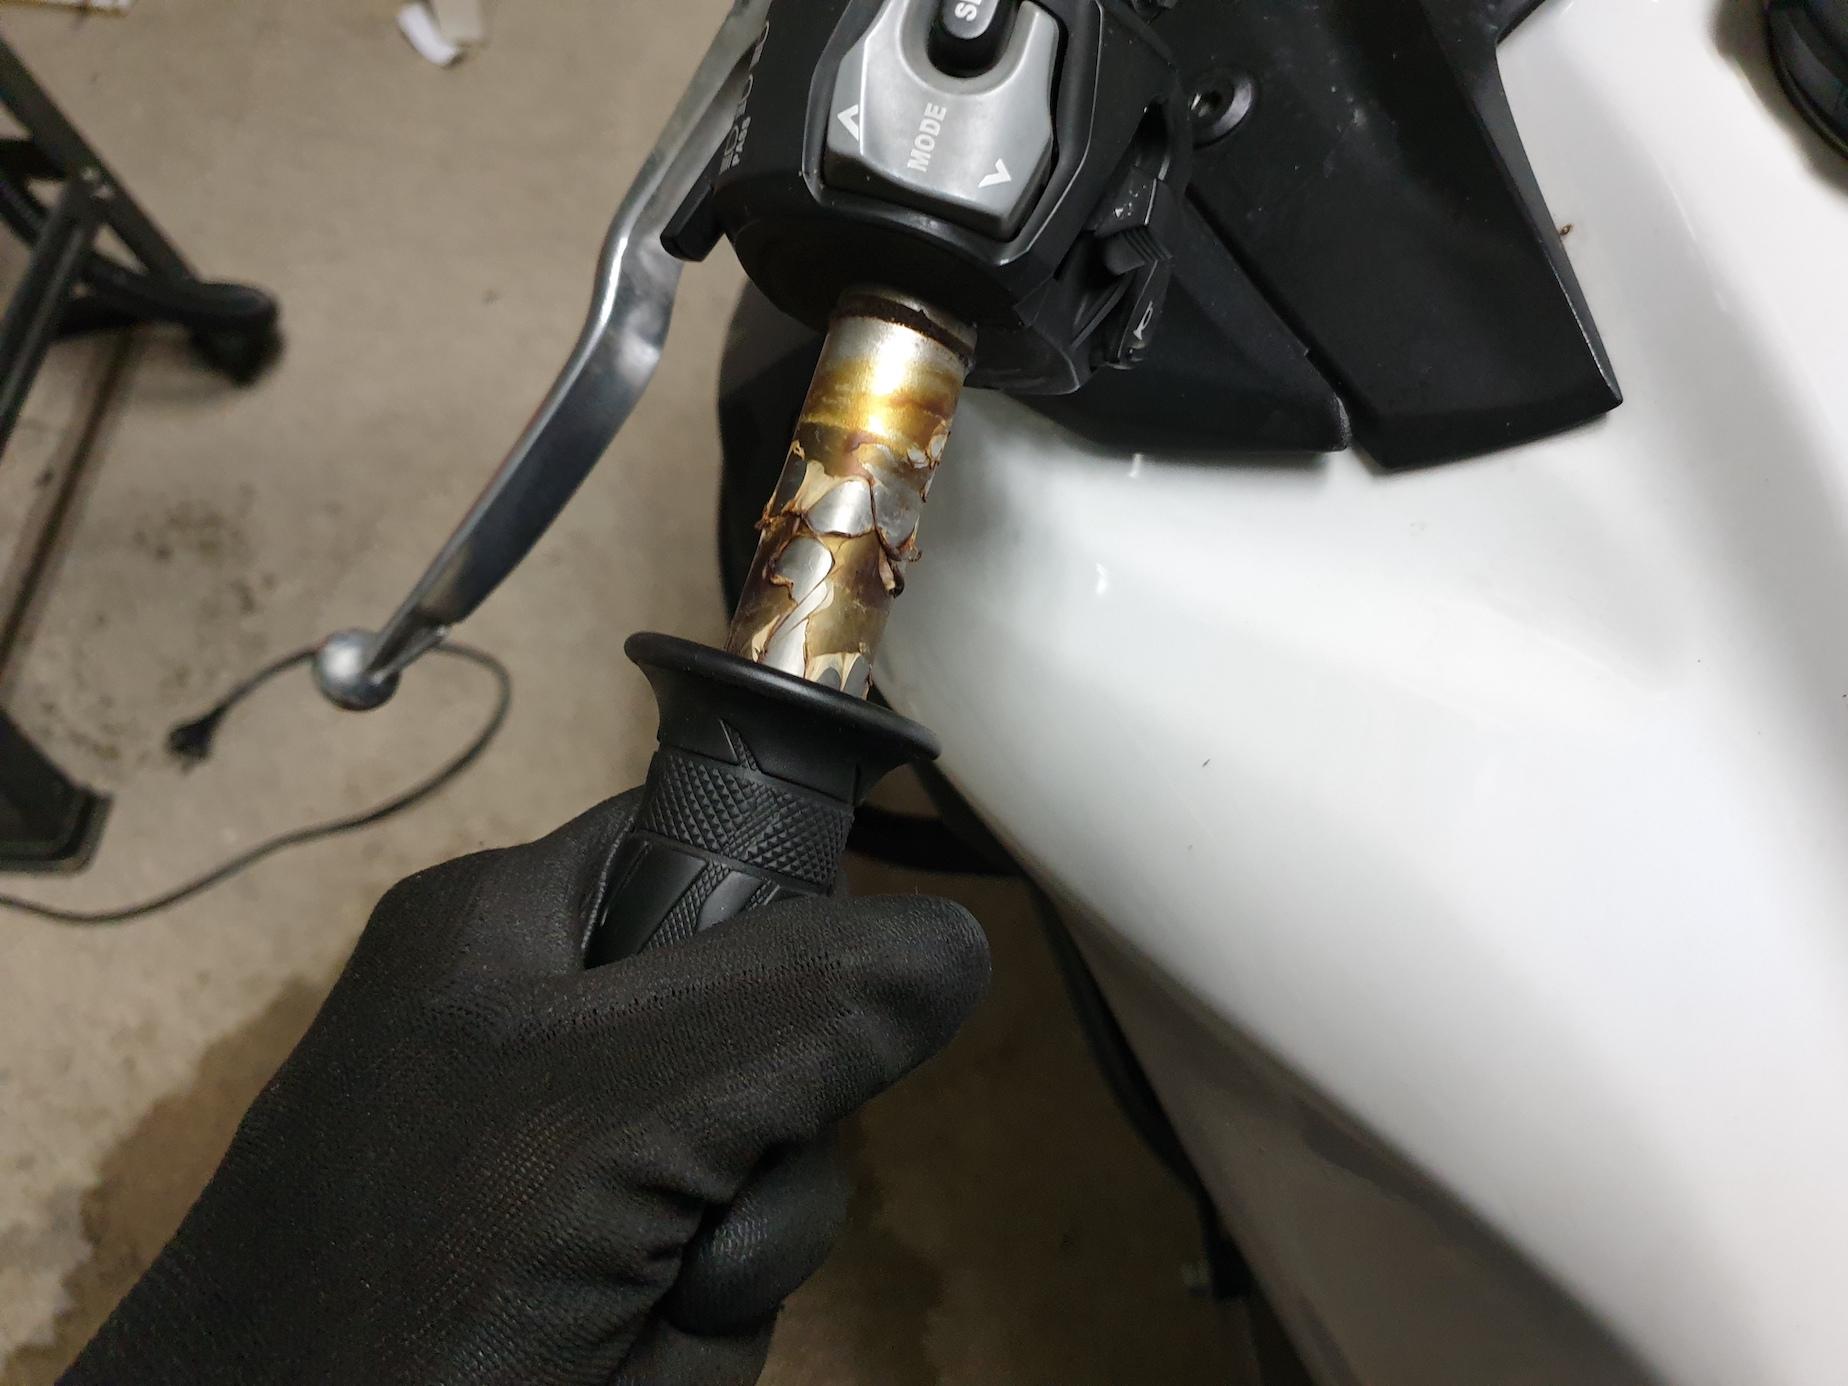
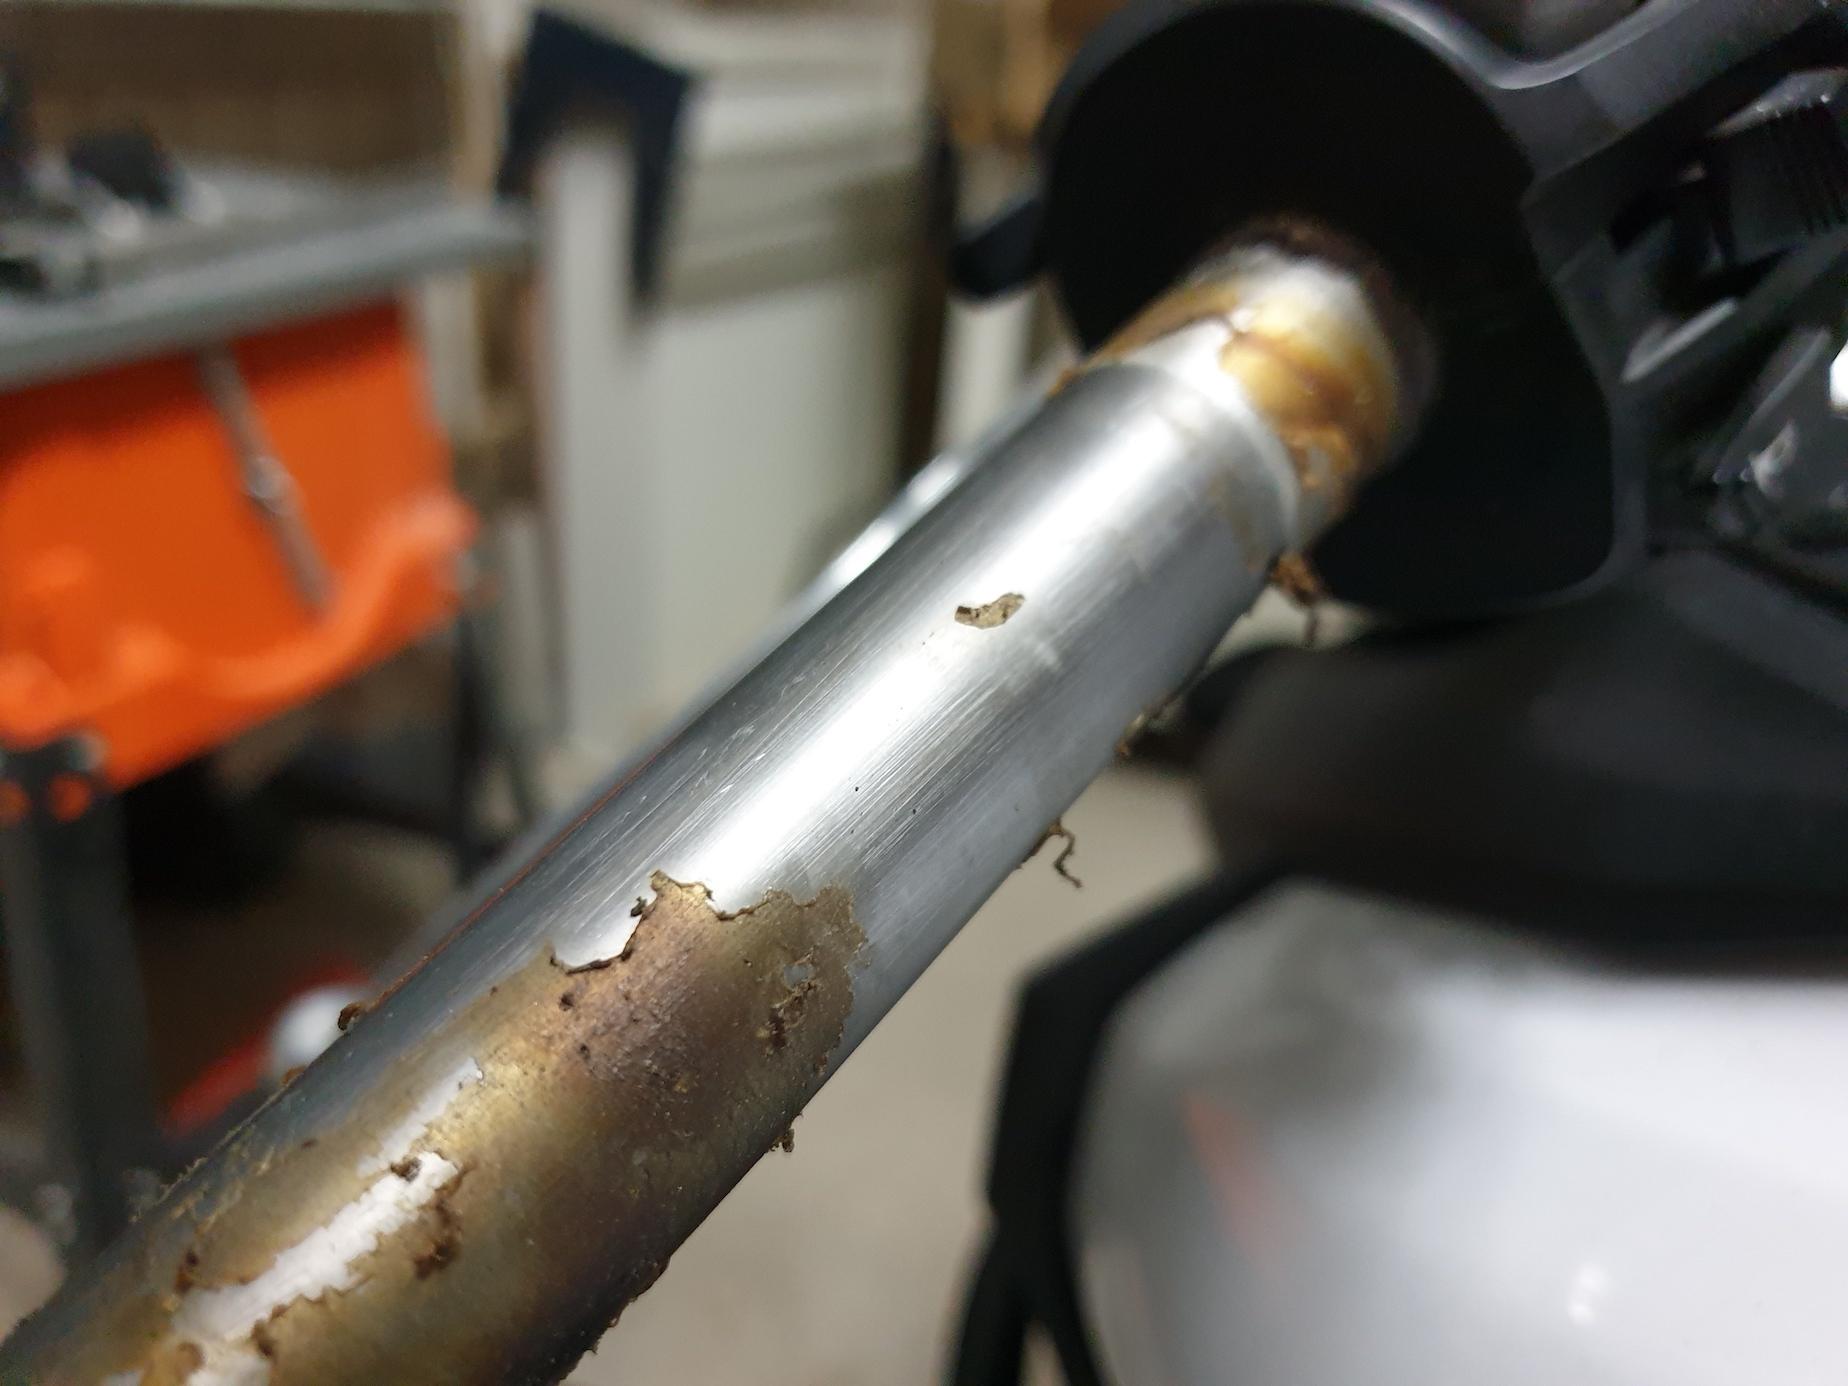
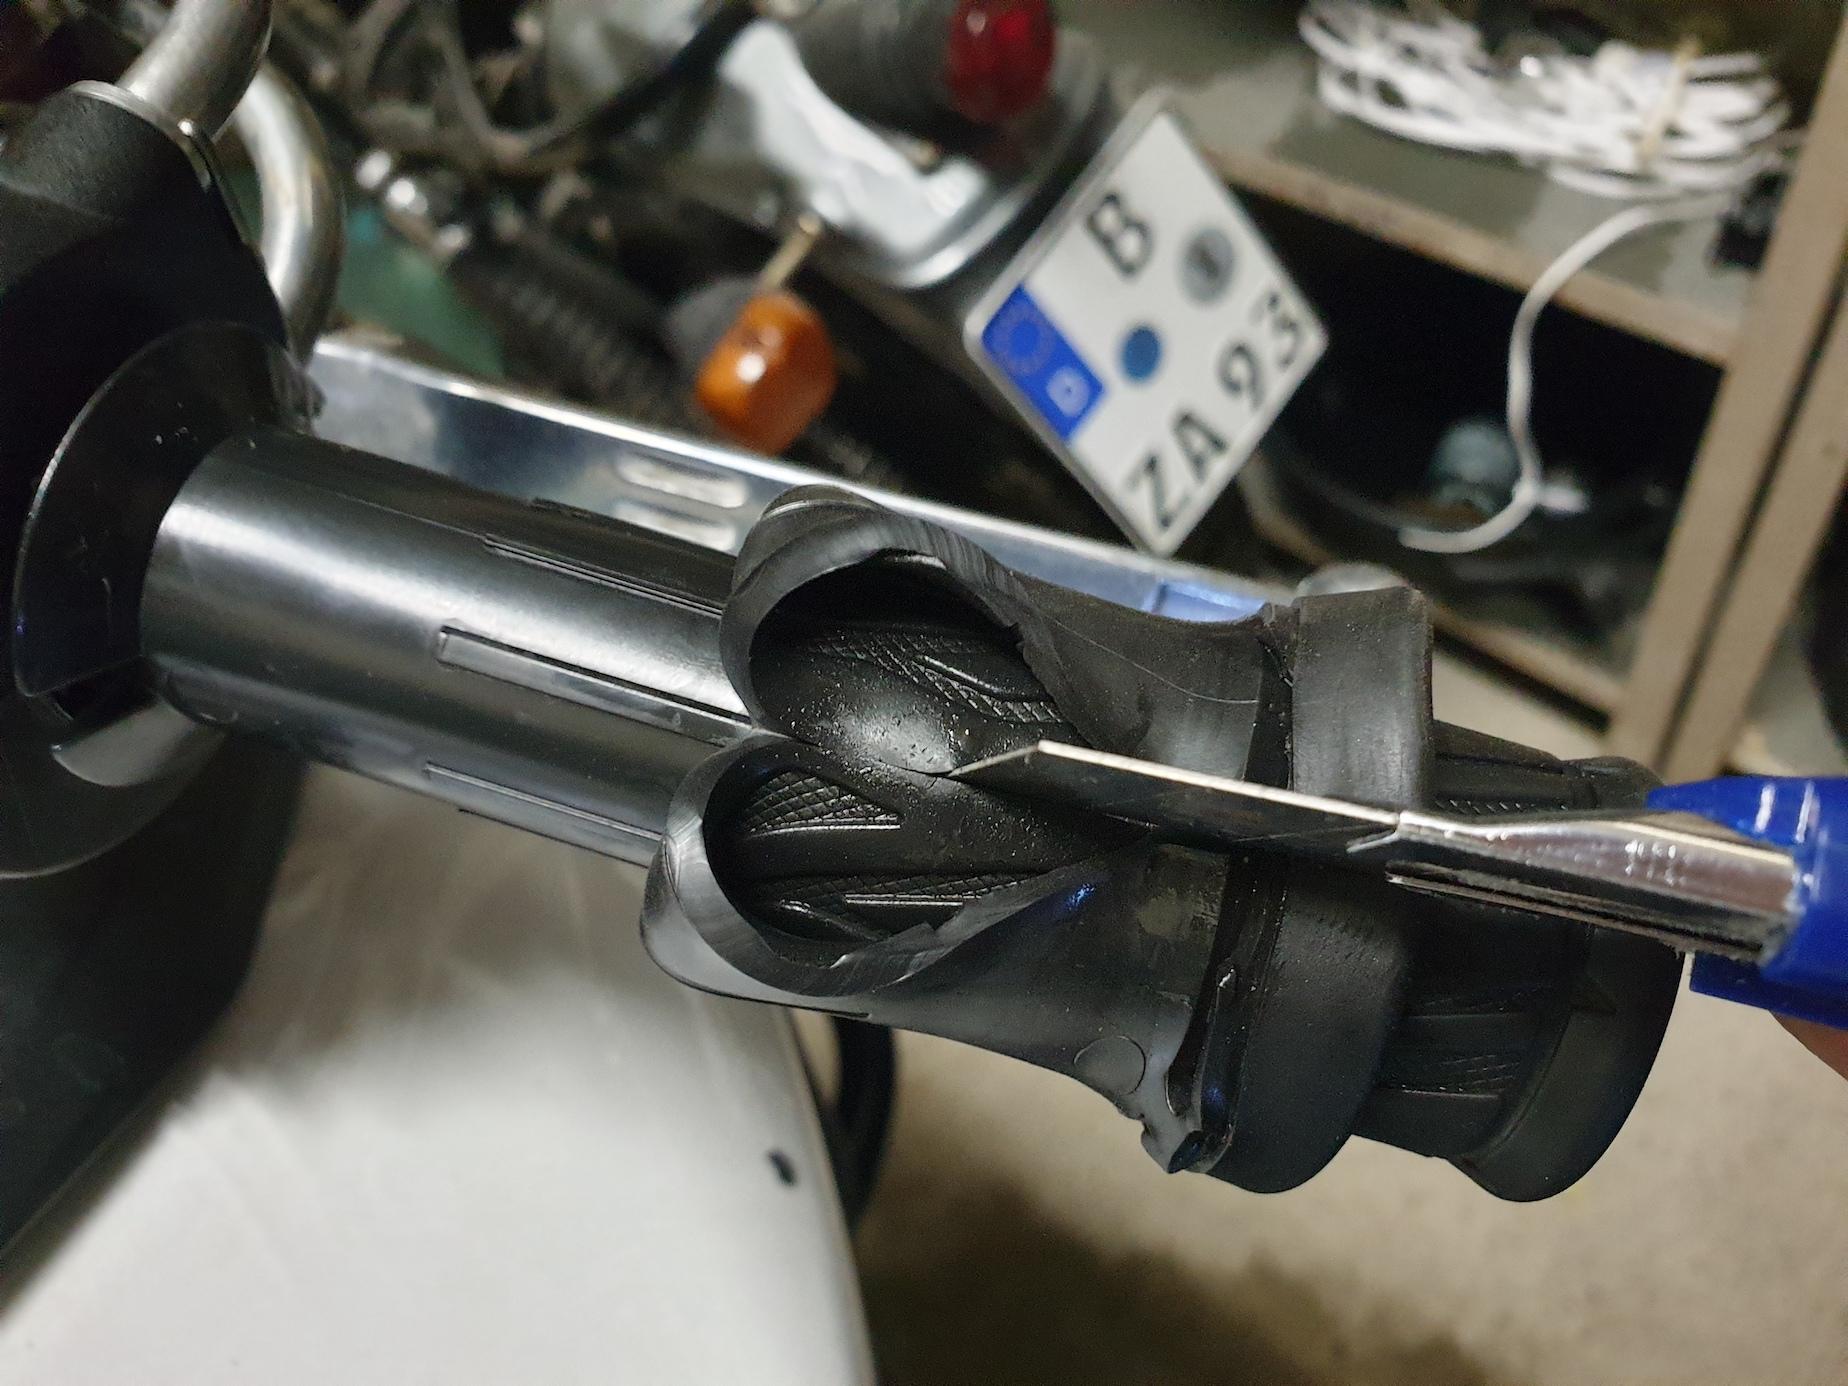
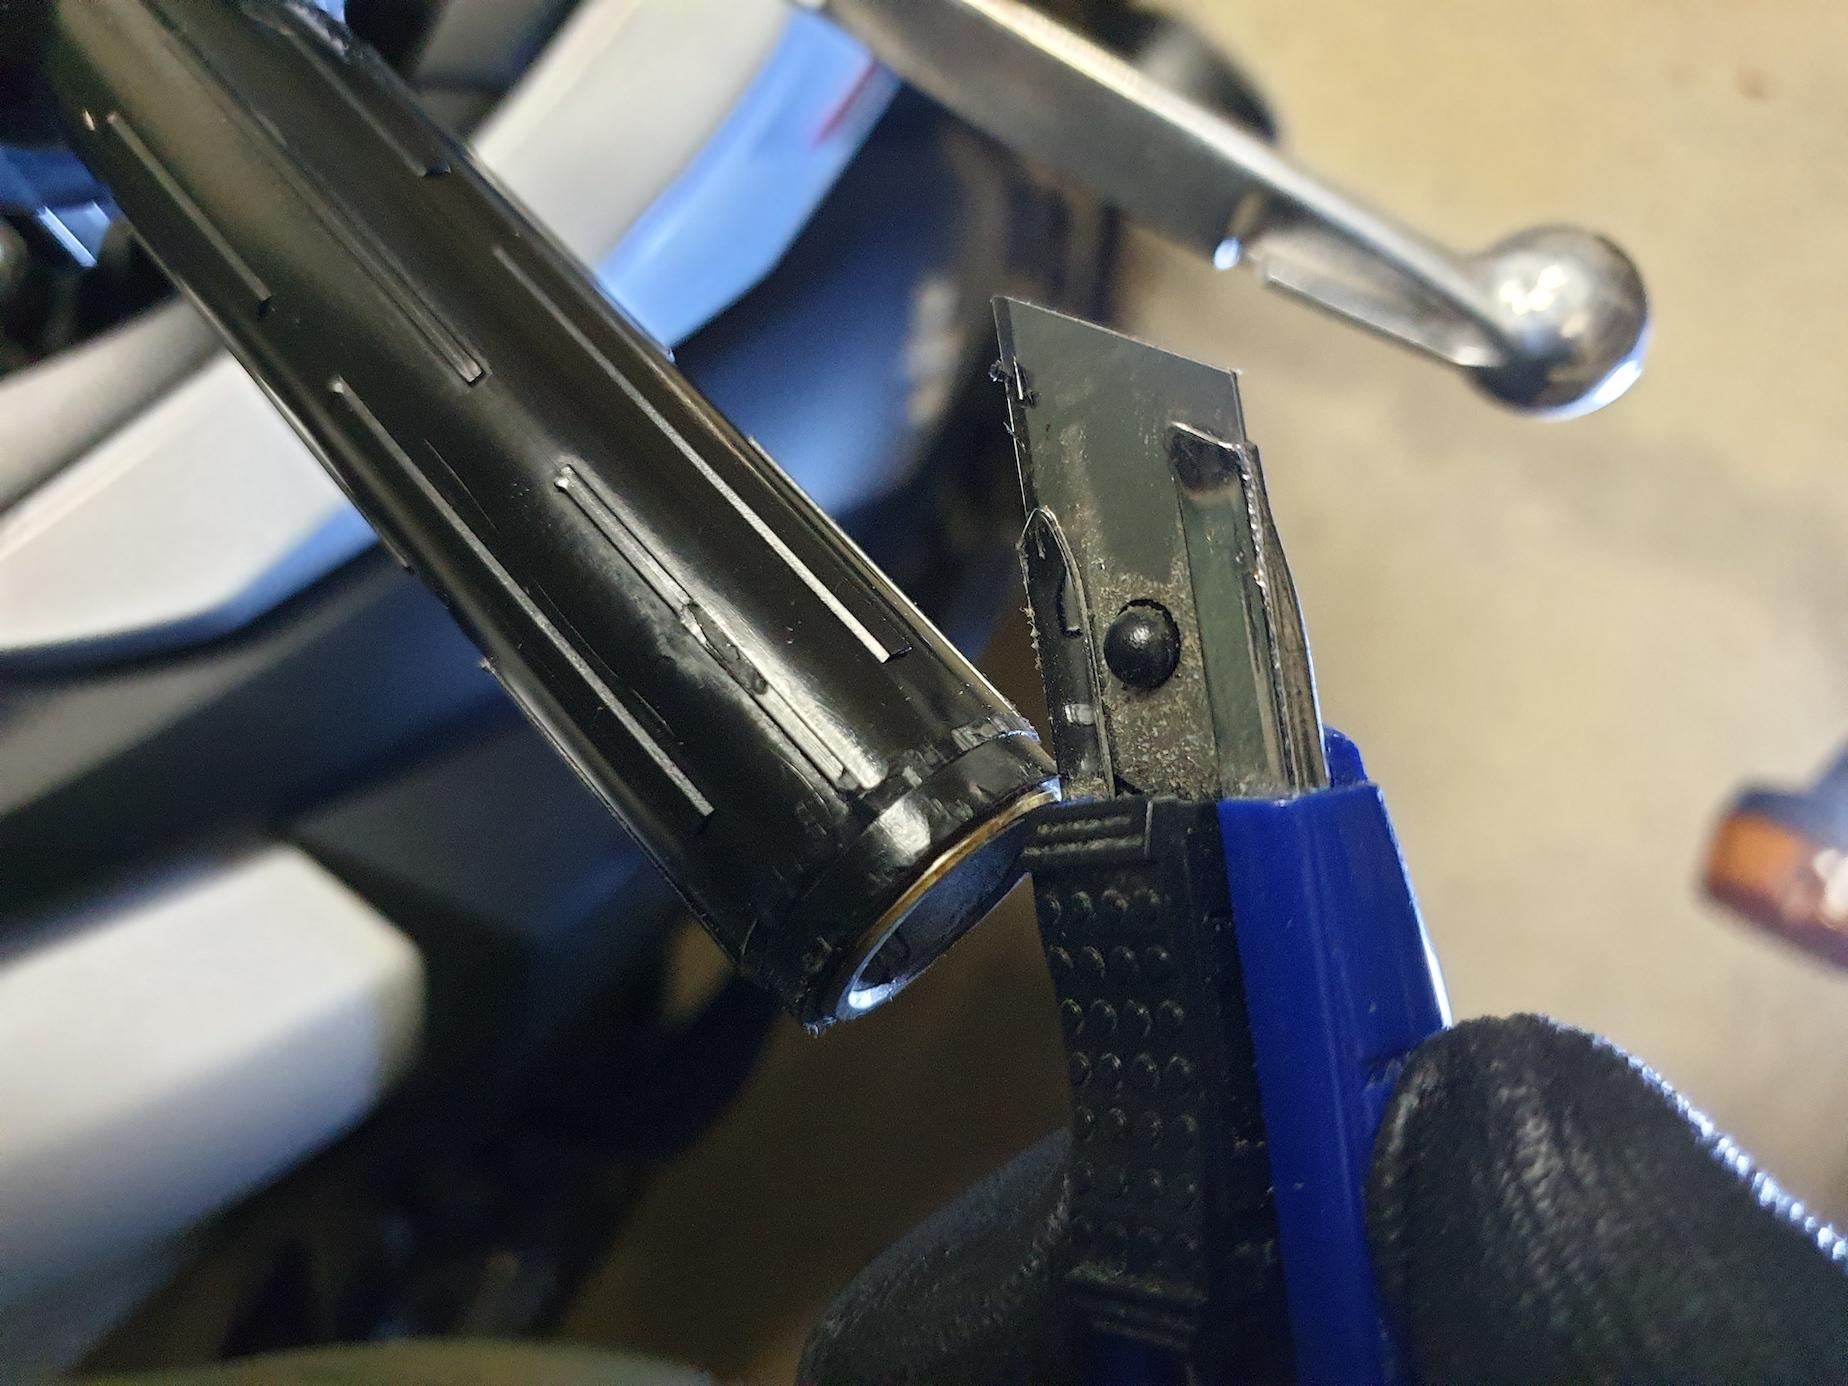
The right grip is a pain in the ass to remove. Halfway through, I realised I would never be able to remove it without damaging it, let alone put it back on later. Instead, I cut it lengthwise with a box cutter, and that was that.
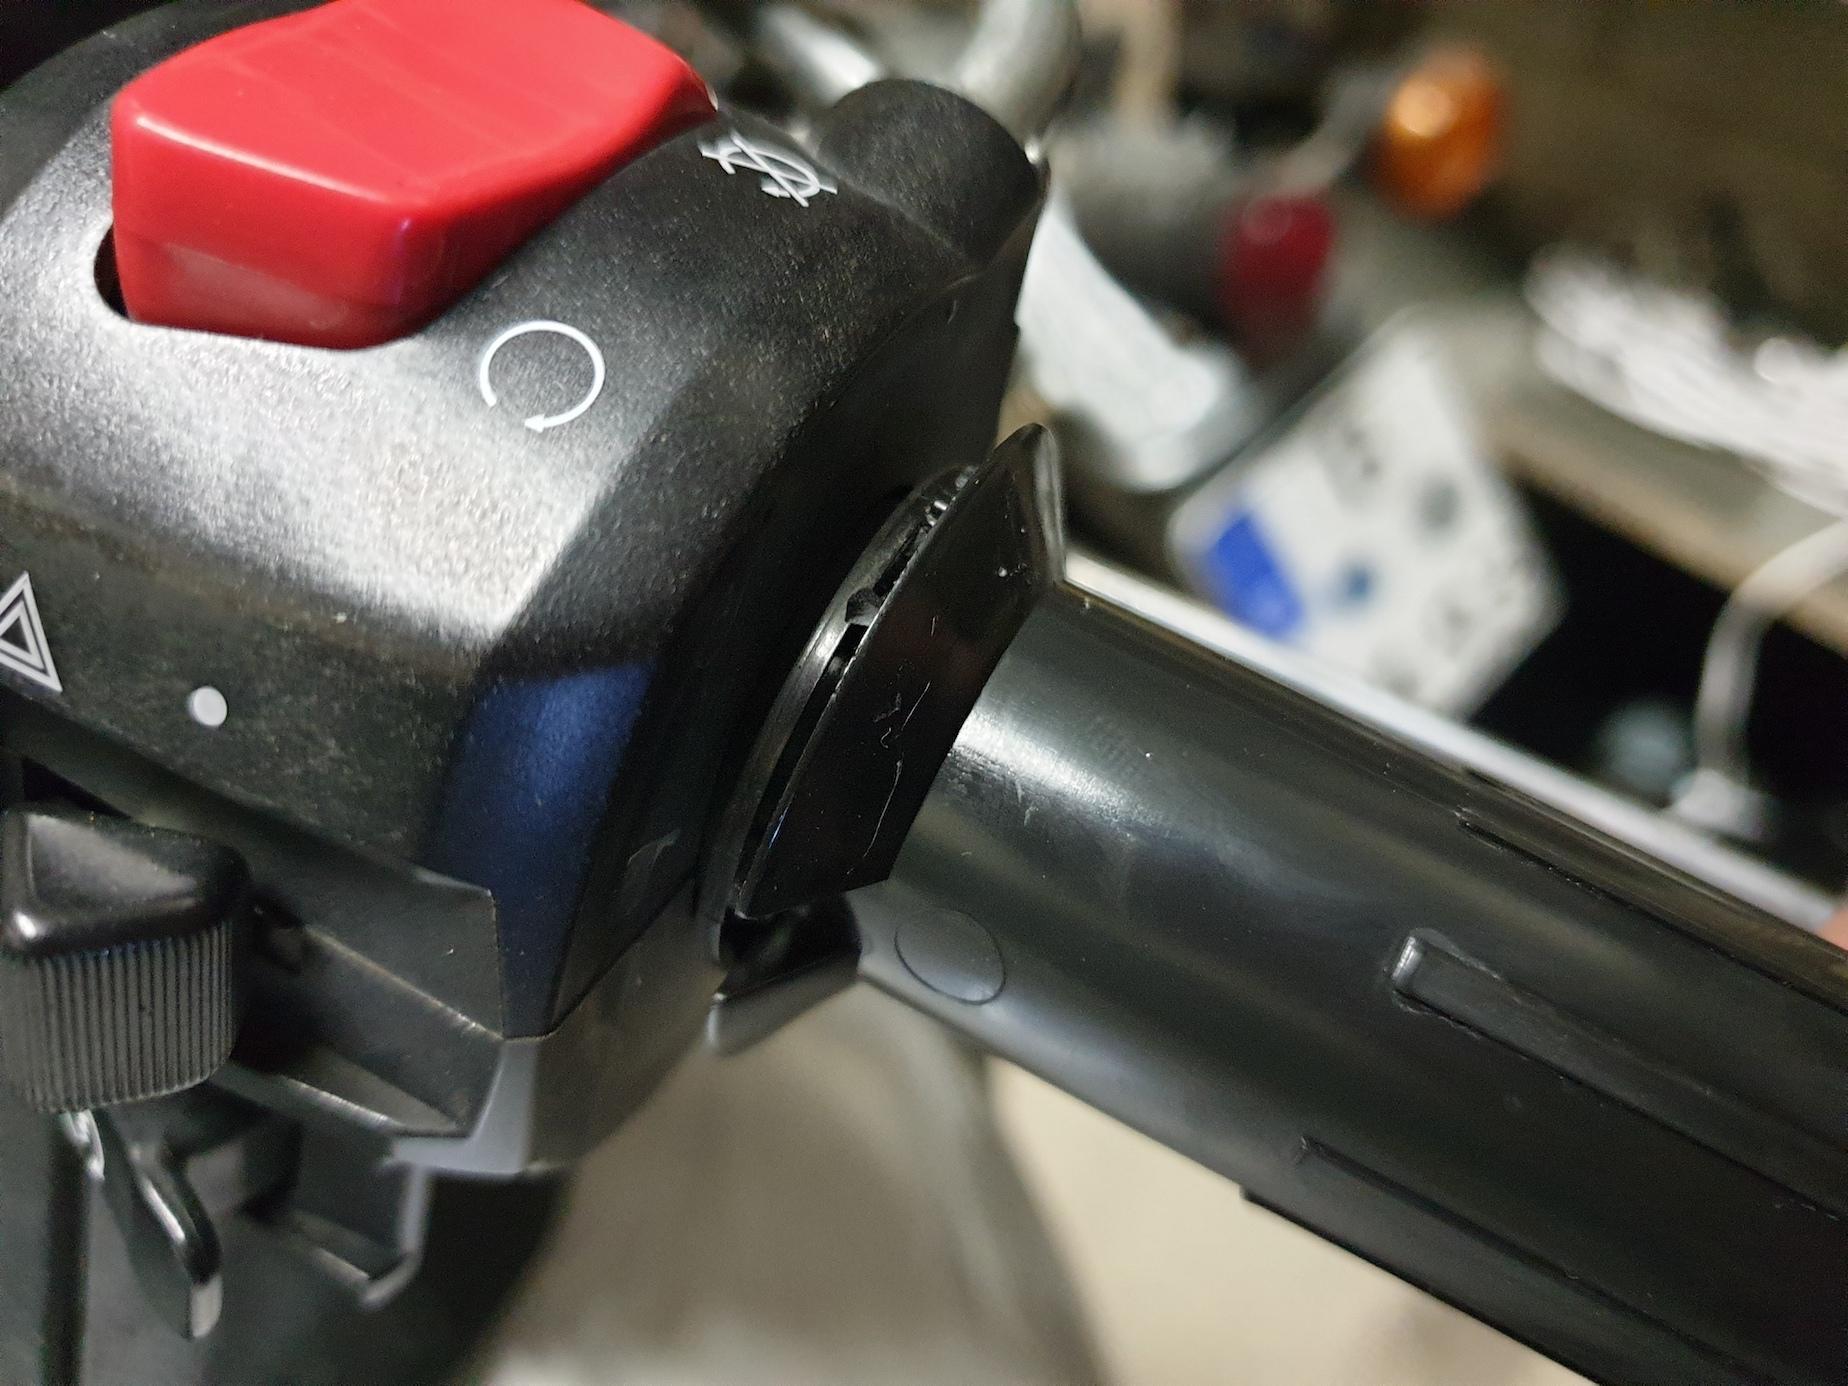
If you decide to do it the hard way, be aware that the grip can’t just slide off. On the pictures below, you can see that the grip is held at both ends by the shape of the throttle. You’ll need a box cutter to pry it free, then you’ll need to peel the grip off with pliers. You will damage the grips, so just save yourself the trouble and cut them right off.
Step 2: Install the new grips
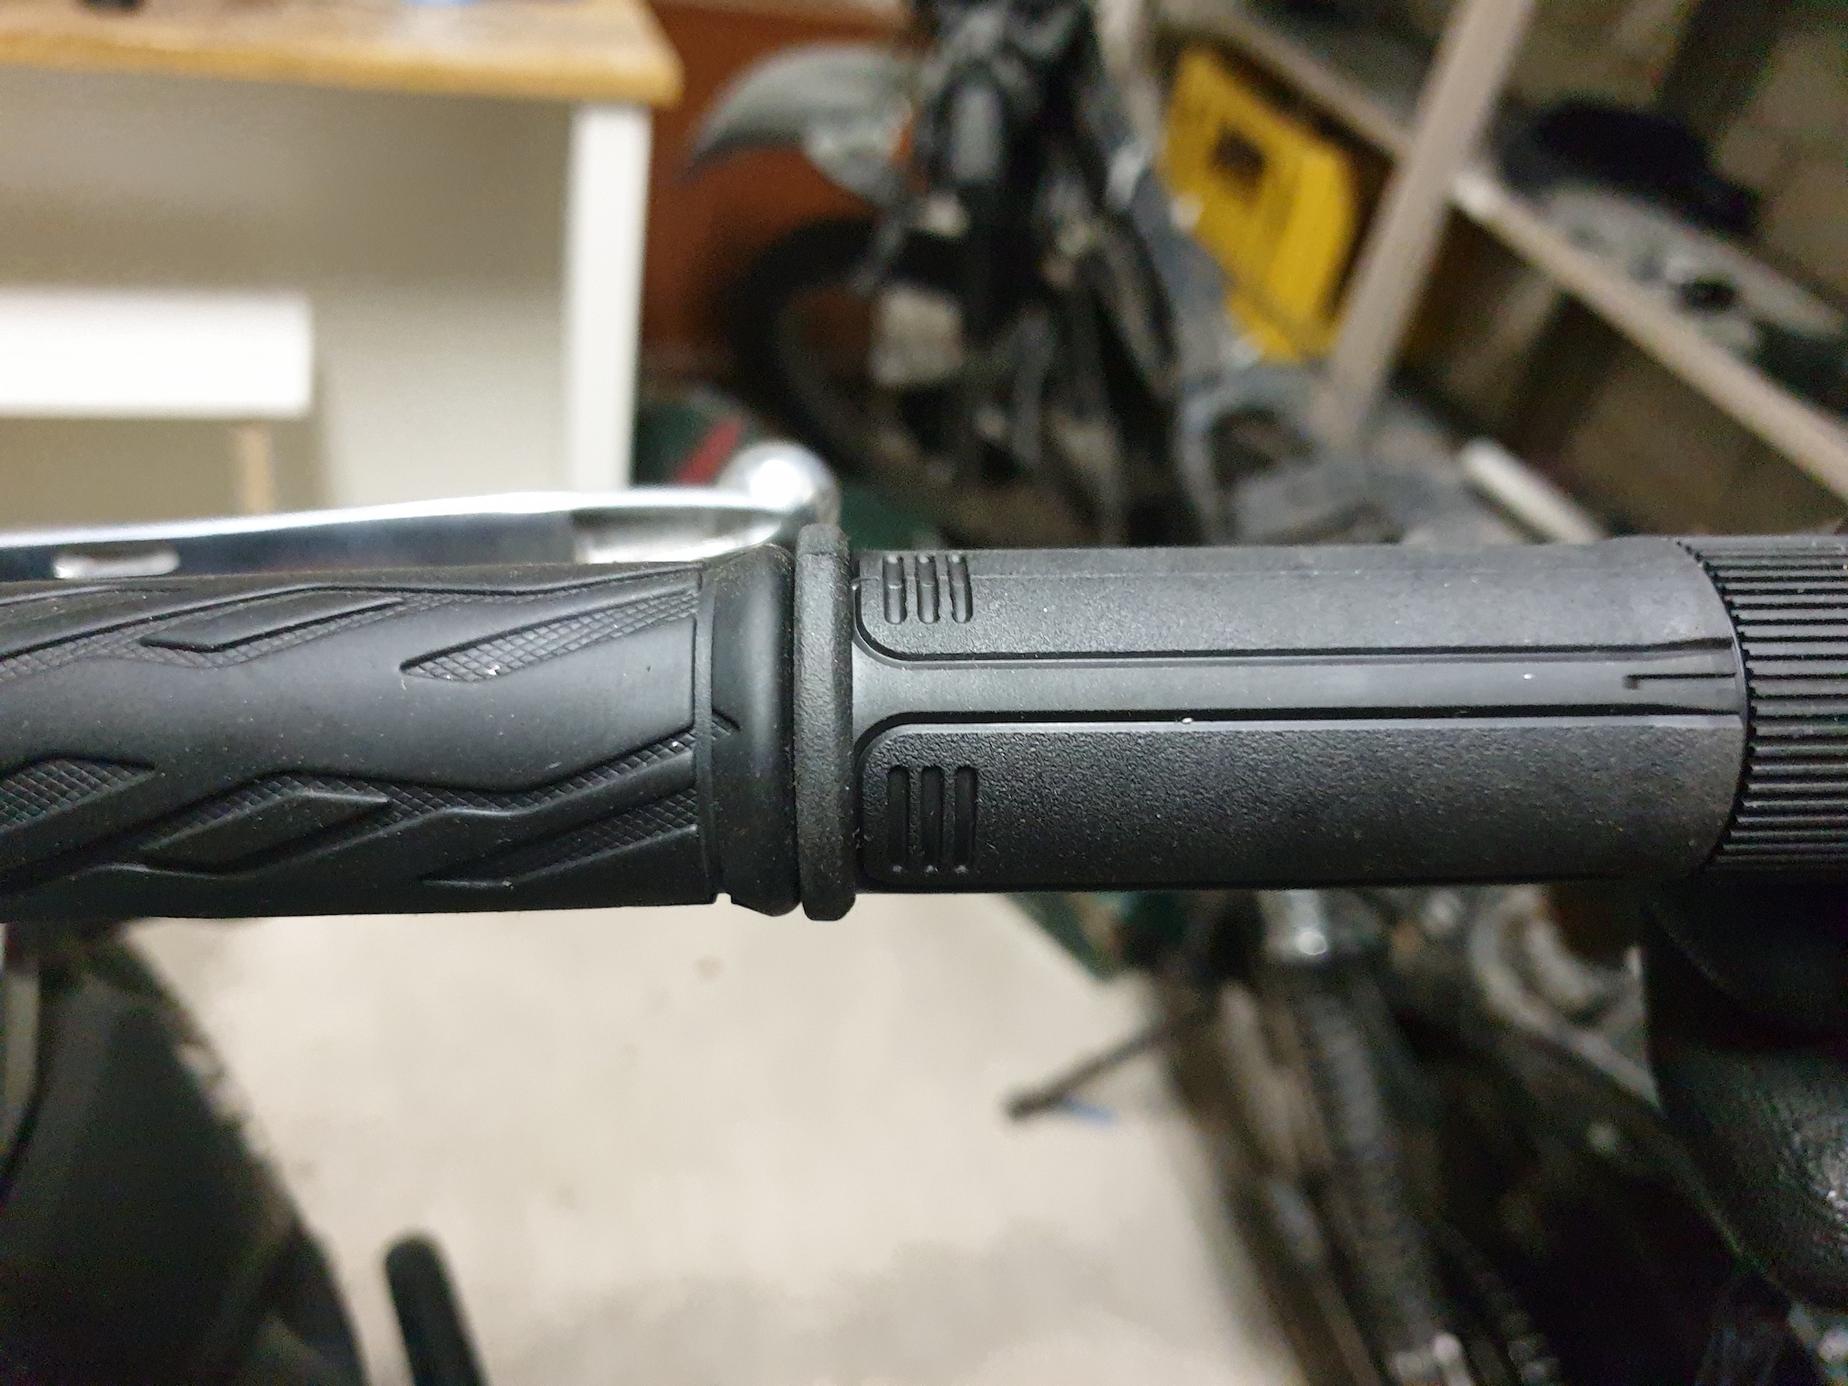
The left grip will require some glue, which should be included with the kit. If it’s not there, you can use extra strong hairspray instead. I learned this trick tonight, after swearing at my bicycle handlebars for the last 5 years. Just apply some glue, and slide the grips right on. You won’t need much strength. Just make sure the grip’s cable doesn’t get in the way of the clutch.
The supplied glue does not stick, and after a while your left grip will start slipping. The internet recommends all sorts of fixes, but the only one that seems to work in the long term is Gorilla Glue. Other people recommend adding a layer of tape between the bars and the grips to make the fit tighter. If you get the bars really cold and the grips really hot, you can slip it on and get a really tight fit.
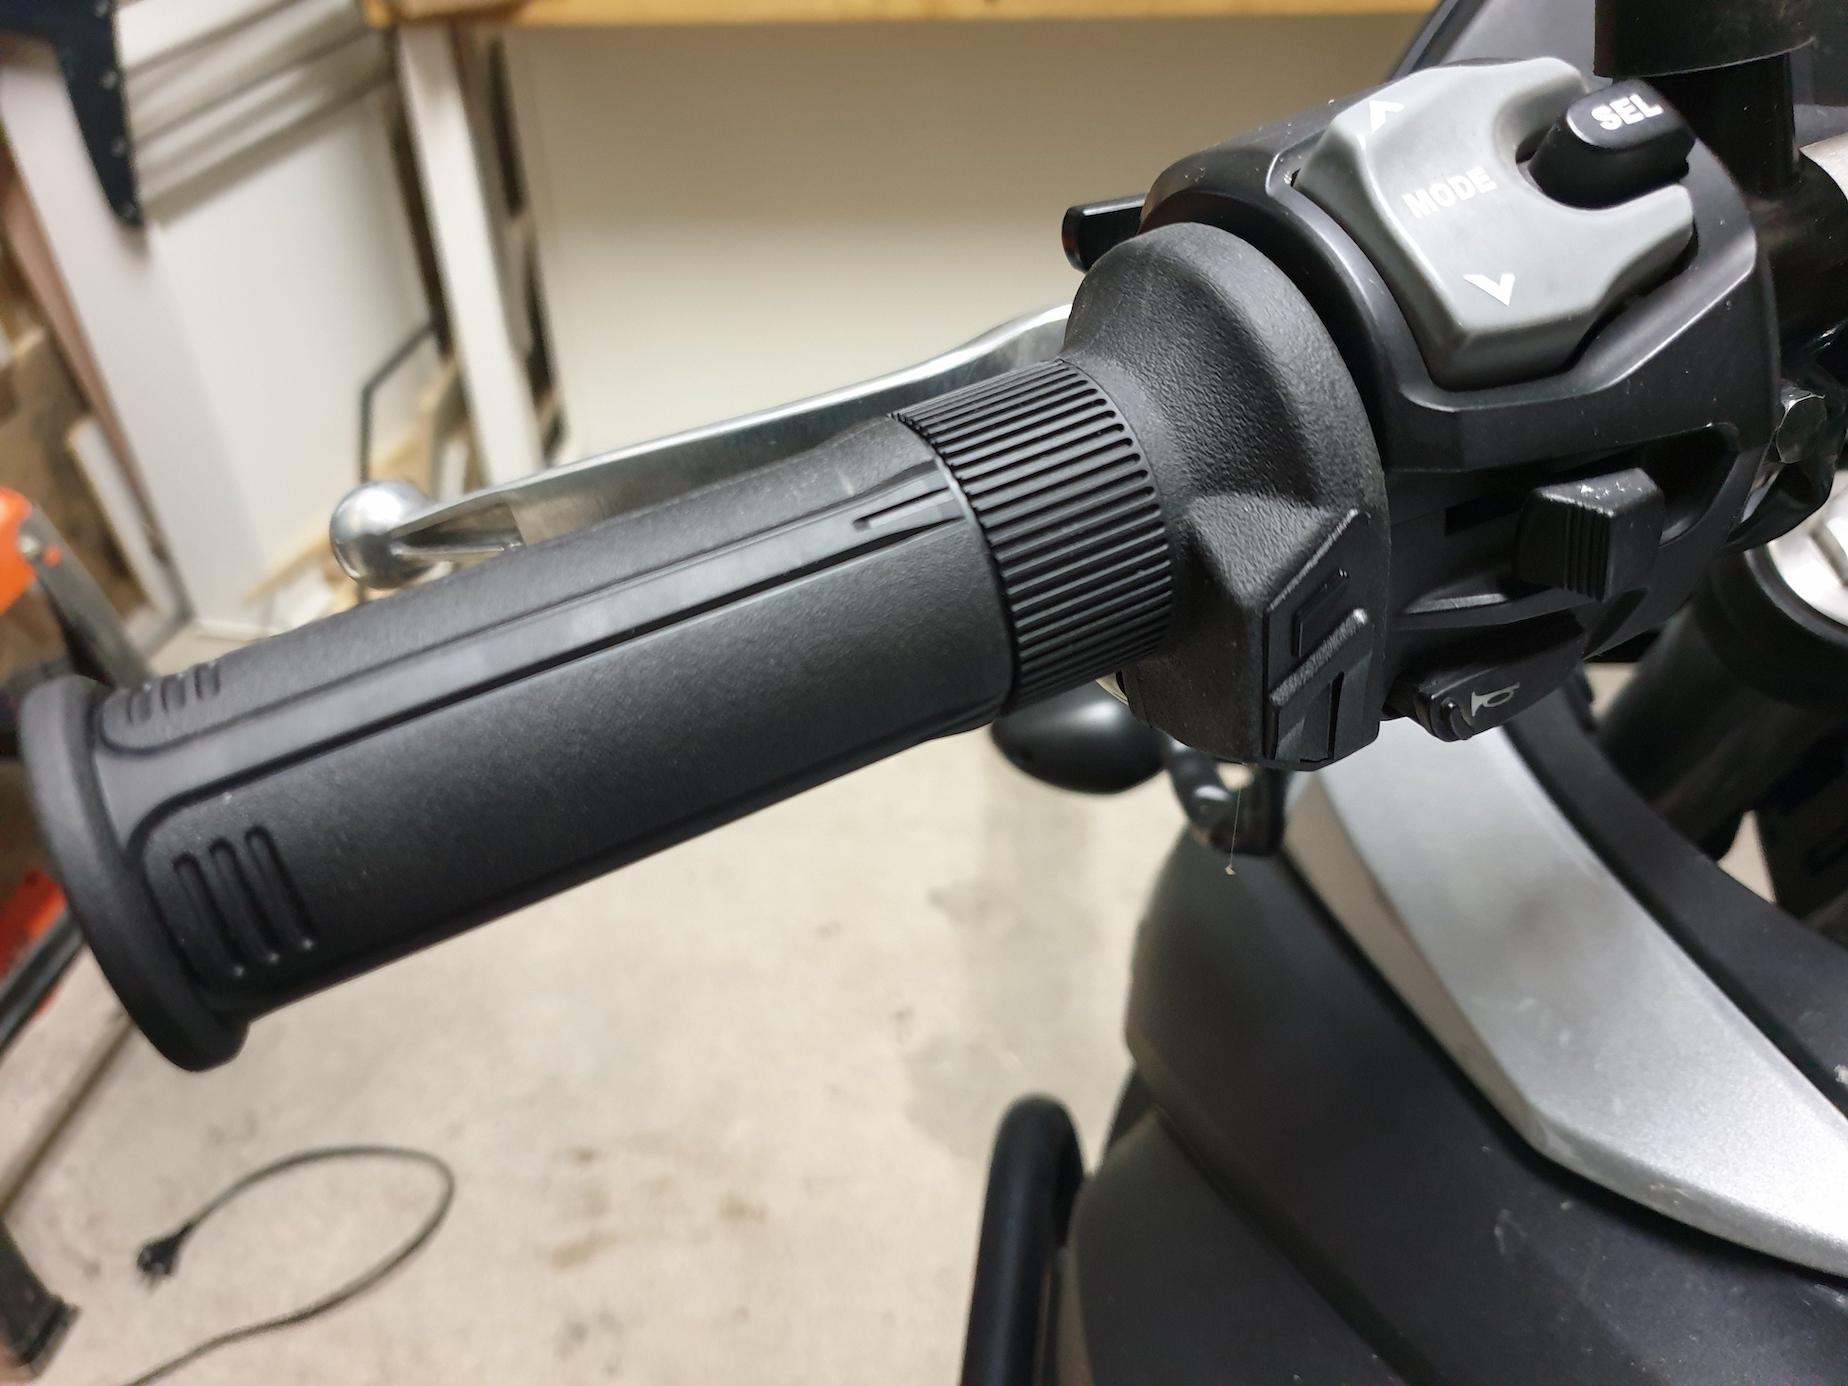
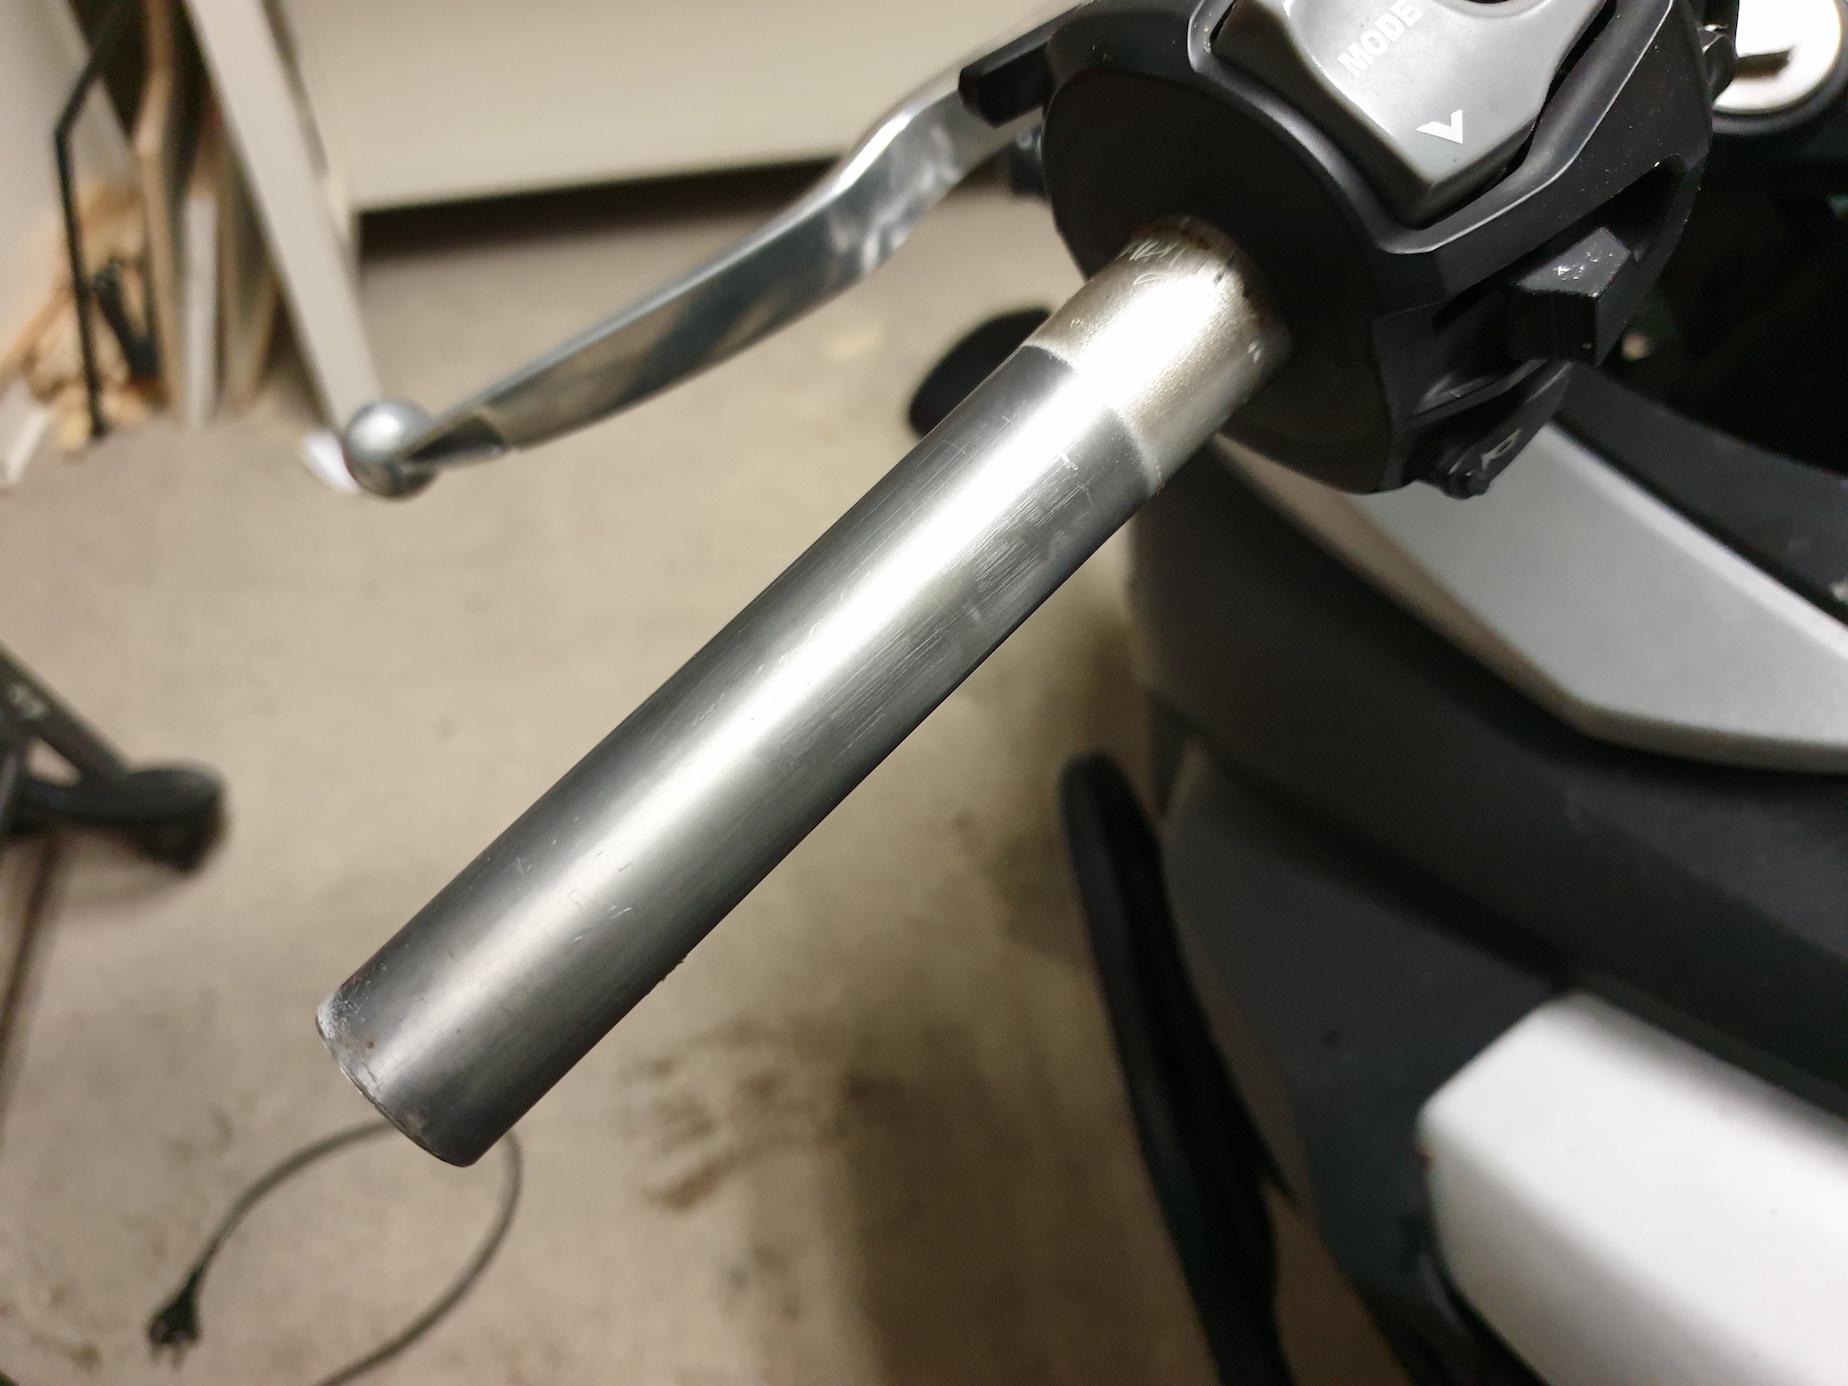
The right grip is a little trickier. First, you need to remove the plastic lip on the throttle. You can easily do it with a box cutter. The left end of the throttle forms a cone (see photos above), and it prevents you from pushing the grip all the way in. With a box cutter, I beveled the left side of the grip to make it fit onto that cone.
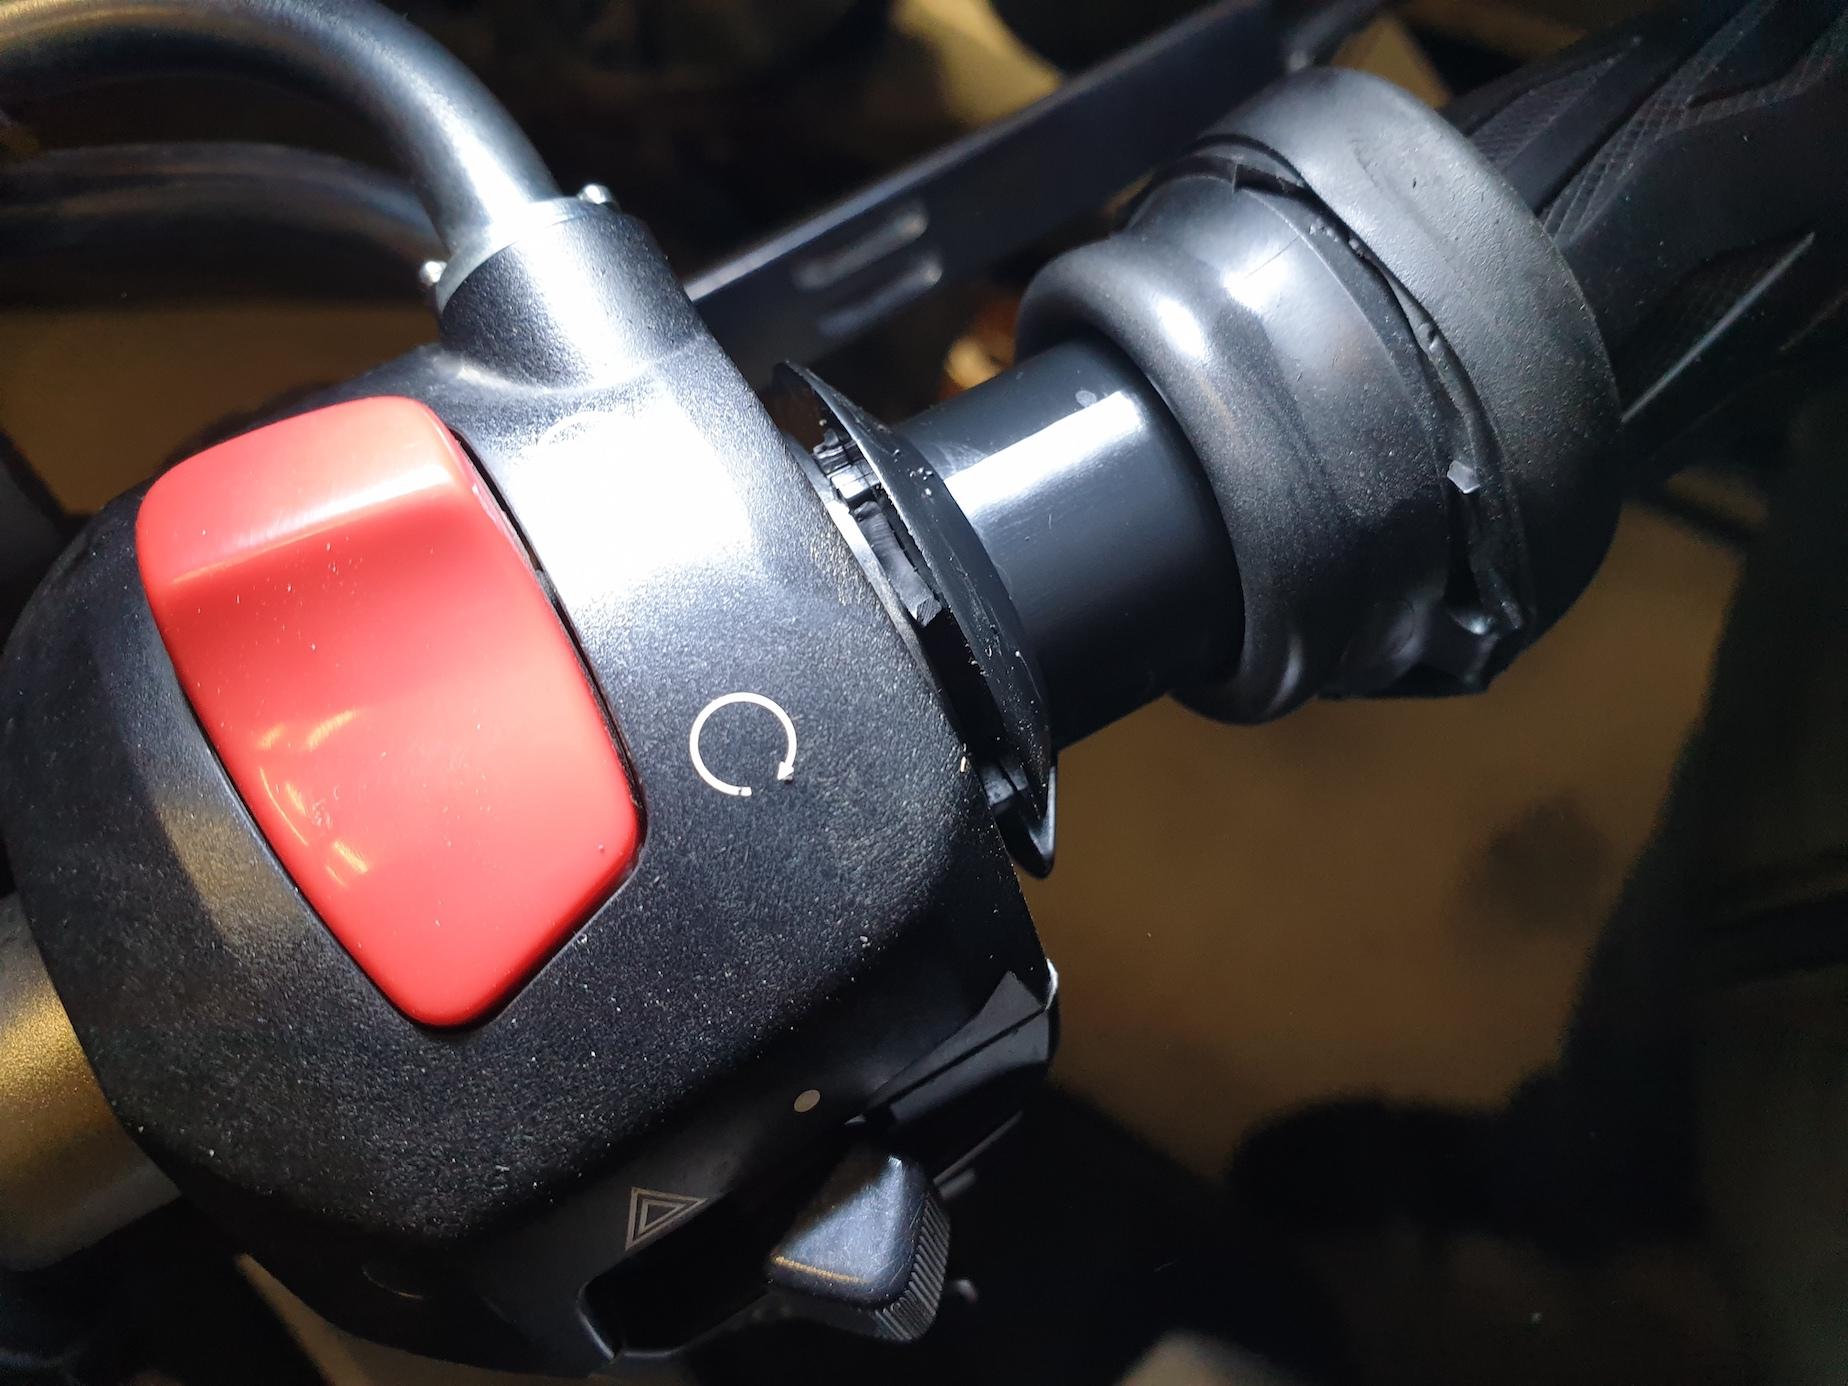
Before you insert the grip, make sure that its cable won’t get in the way of the brake lever, even when you twist the throttle. You won’t be able to adjust that later.
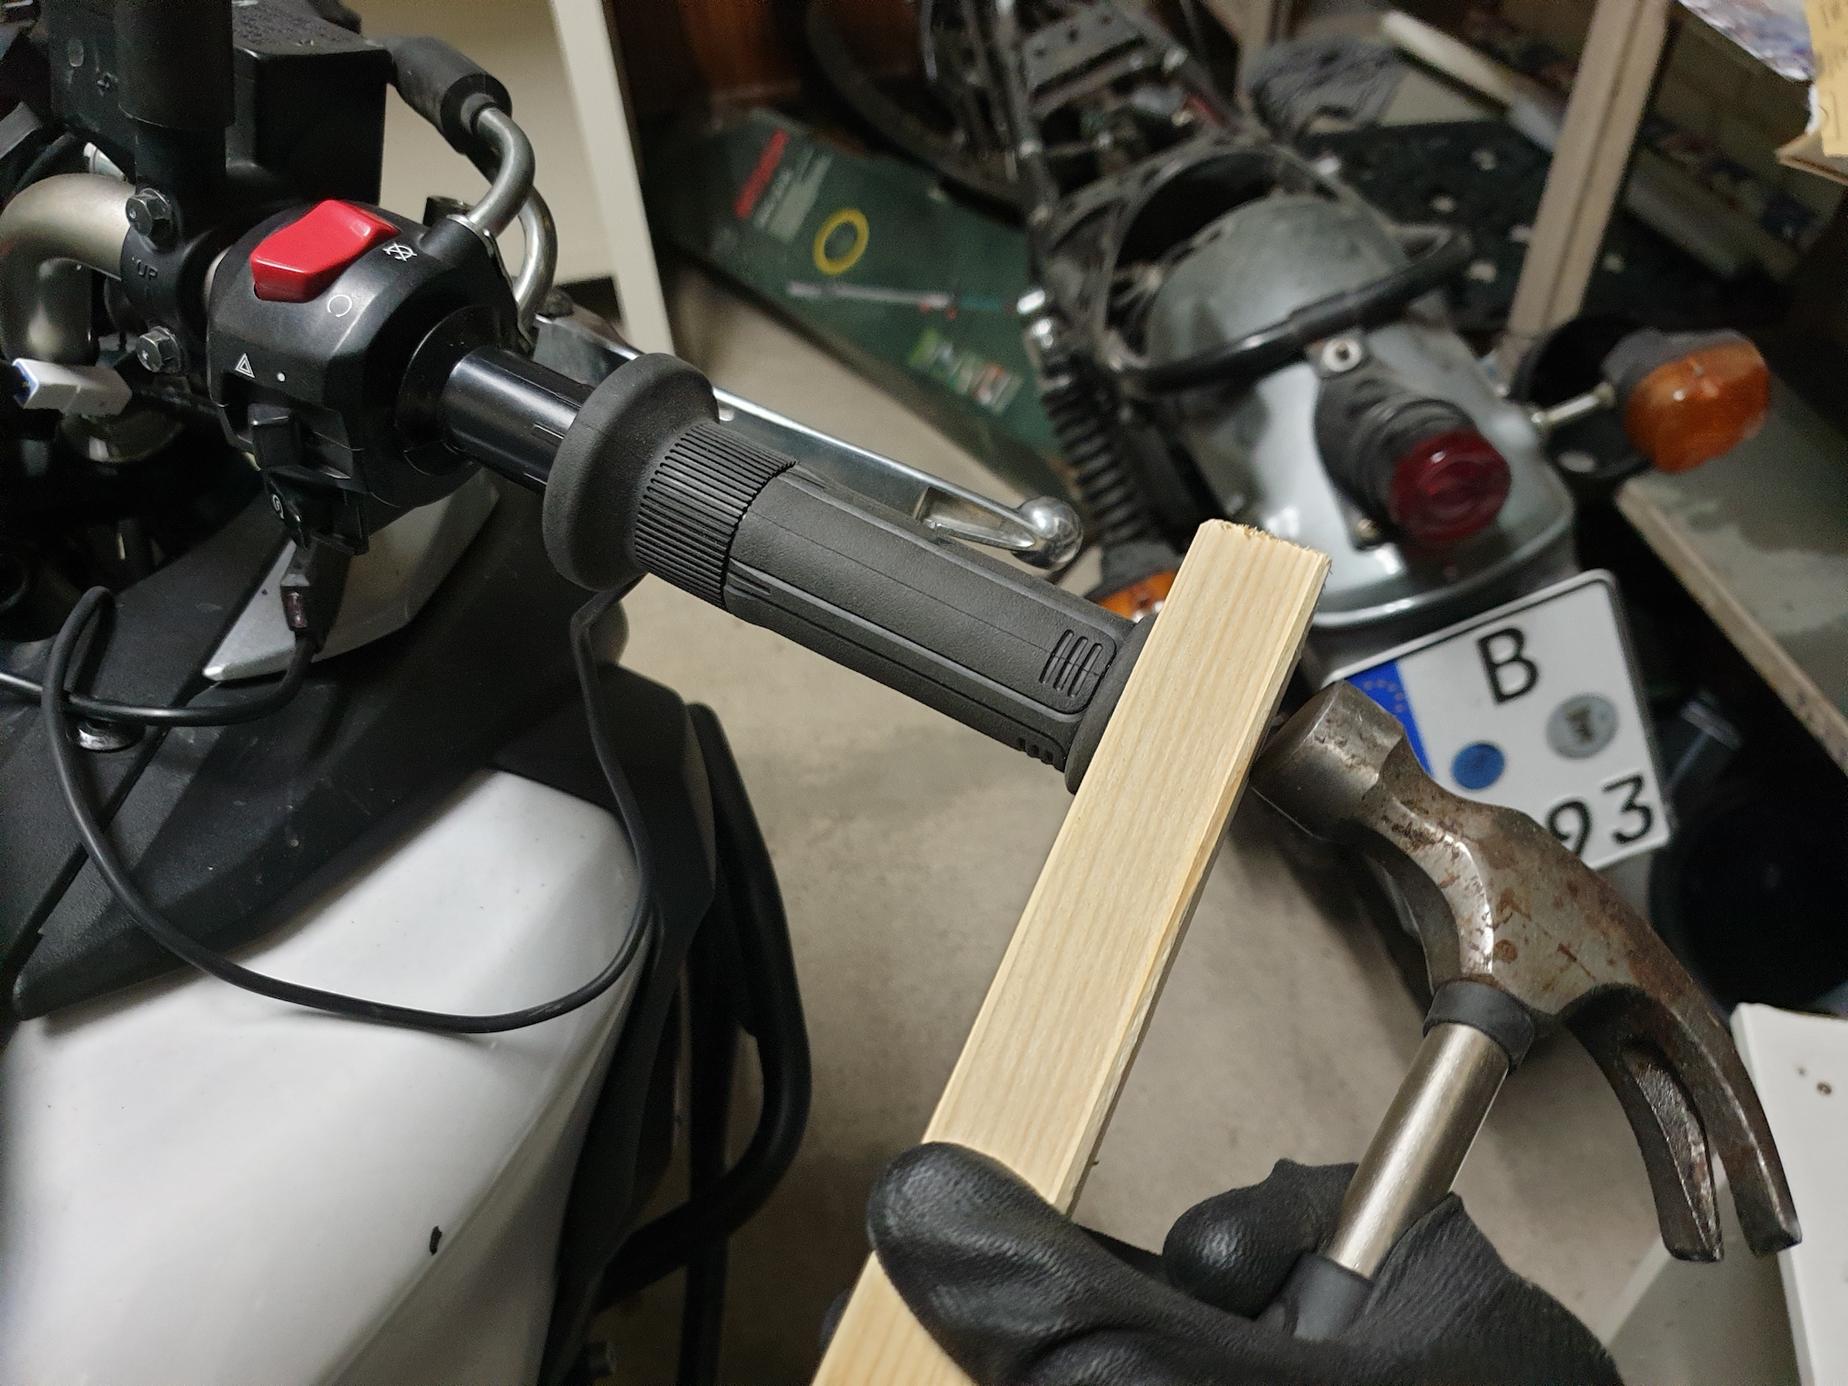
I did not use any glue on this side, because the throttle is ribbed, and the fit is much tighter. I had to use a mallet to push the grip onto the throttle. That went really well, but after a few hits, the entire throttle assembly slid back. I had to hold it in place by putting a piece of wood between the throttle assembly and the mirror. I tightened everything again when I was done.
Step 3: Run the cables
This step is left as an exercise to the reader. You must run the cable from the handlebars to your battery. You can use a stick or a metal coat hanger to run the wire along the frame. You don’t need to lift the fuel tank.
I highly recommend against connecting the heated grips directly to the battery. If you forget them on, you might end up stranded somewhere with a dead battery. If you’re camping in the mountains a few thousand kilometres from home, that’s less than optimal. Wire the grips to the ignition instead. When the bike is off, the grips are off. No nasty surprises. If you don’t like fumbling with wires, get this wiring kit or this one, and spare yourself some trouble. They’re pretty much plug and play.
That’s all! All in all, the installation took about 2 hours, and was relatively painless.