Woodworking
Built in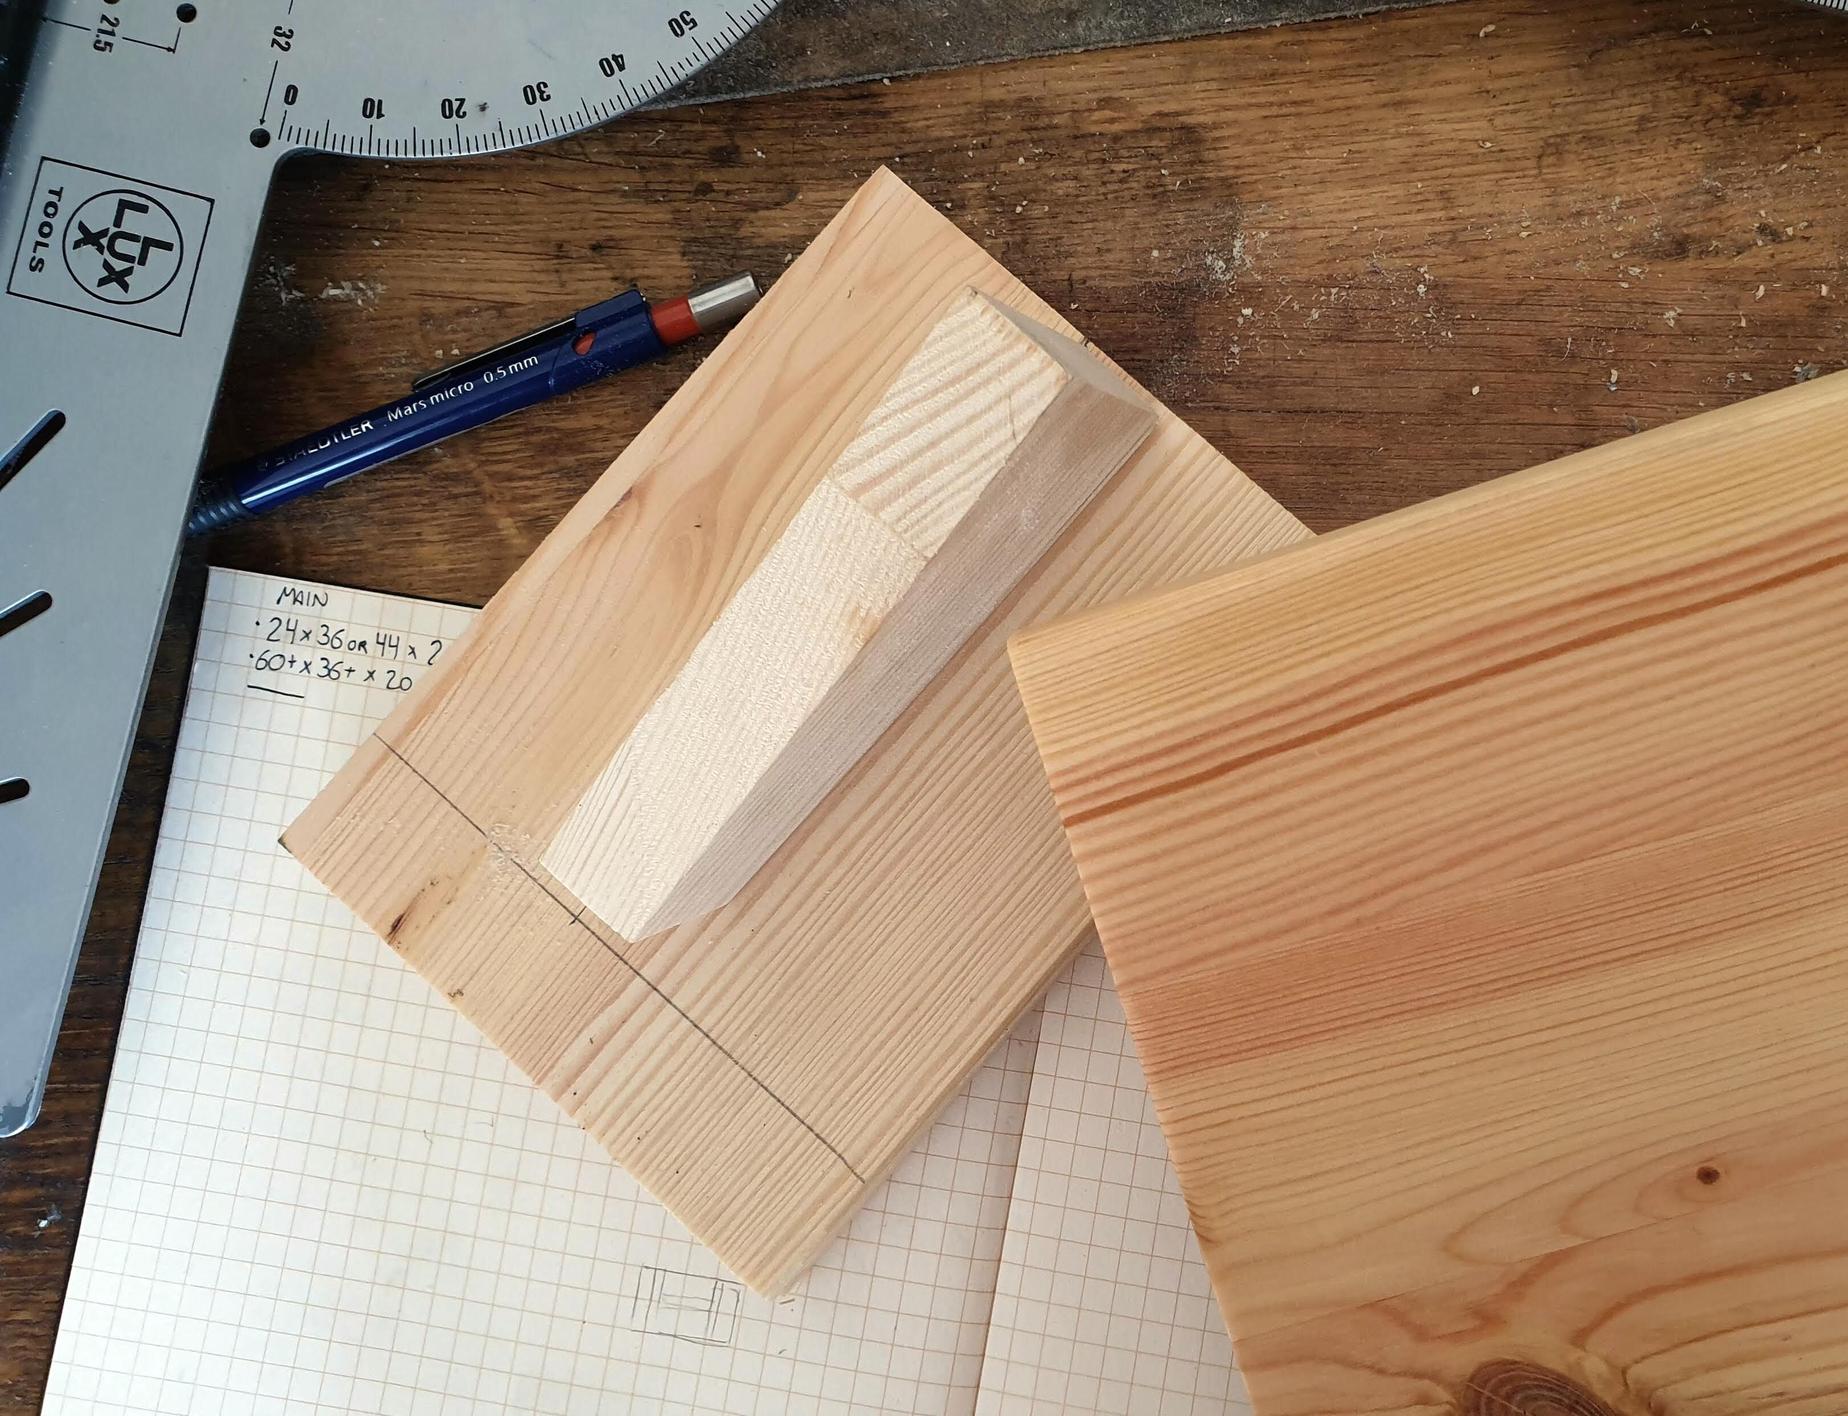
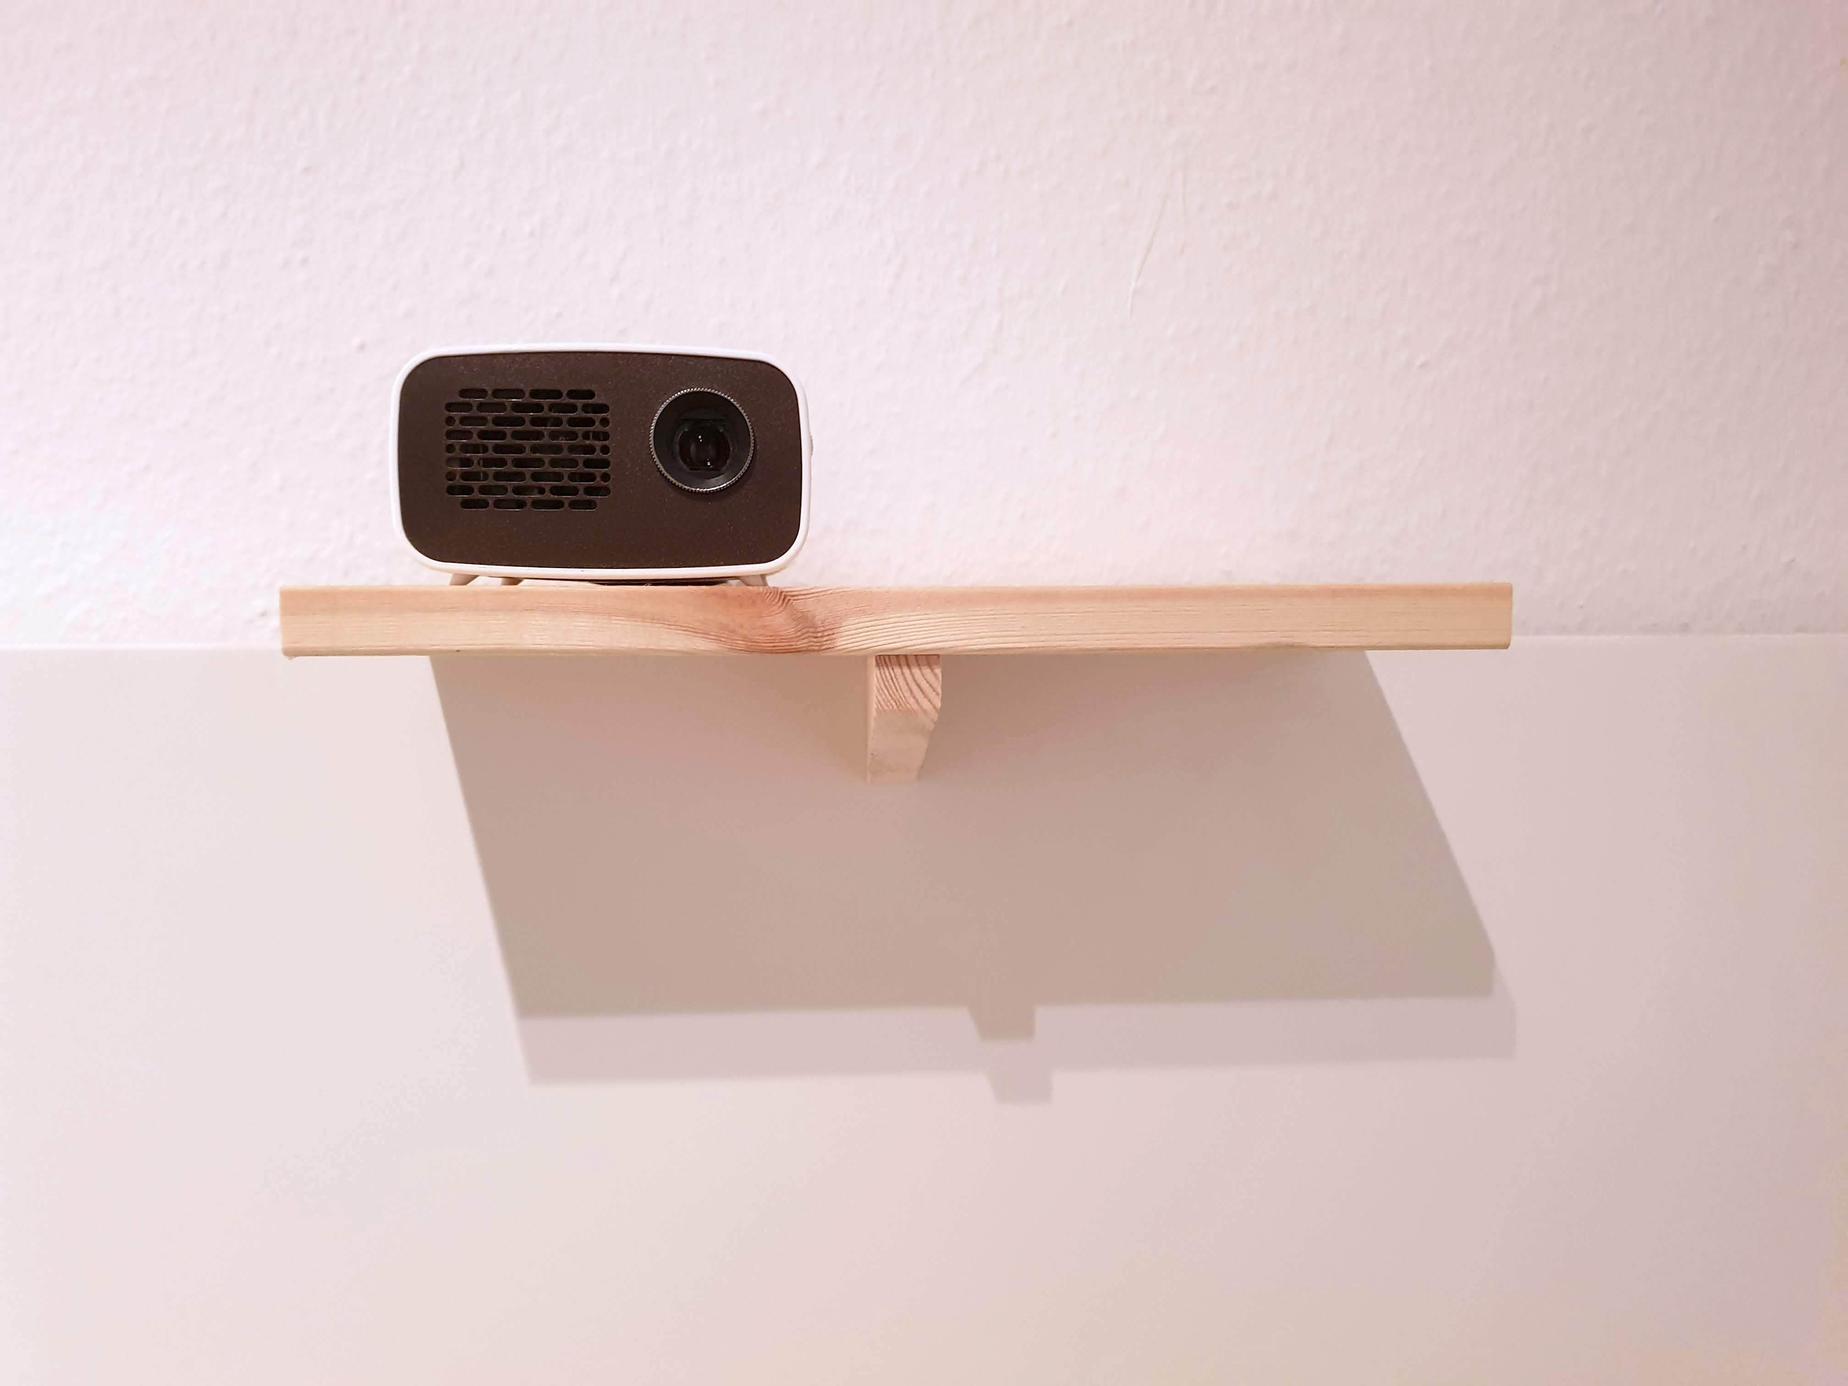
Projector shelf
September 2020 - I built a small shelf that hooks onto my bed’s headboard. It’s just big enough to fit my mini projector and my Bluetooth speaker.
I built the first version out of leftover particle board. It was ugly, but it solved an immediate need. I liked it enough to rebuild it properly.
I made the second version out of pine. It was the first time I used my table saw, so I had to make a few practice cuts before getting it right.
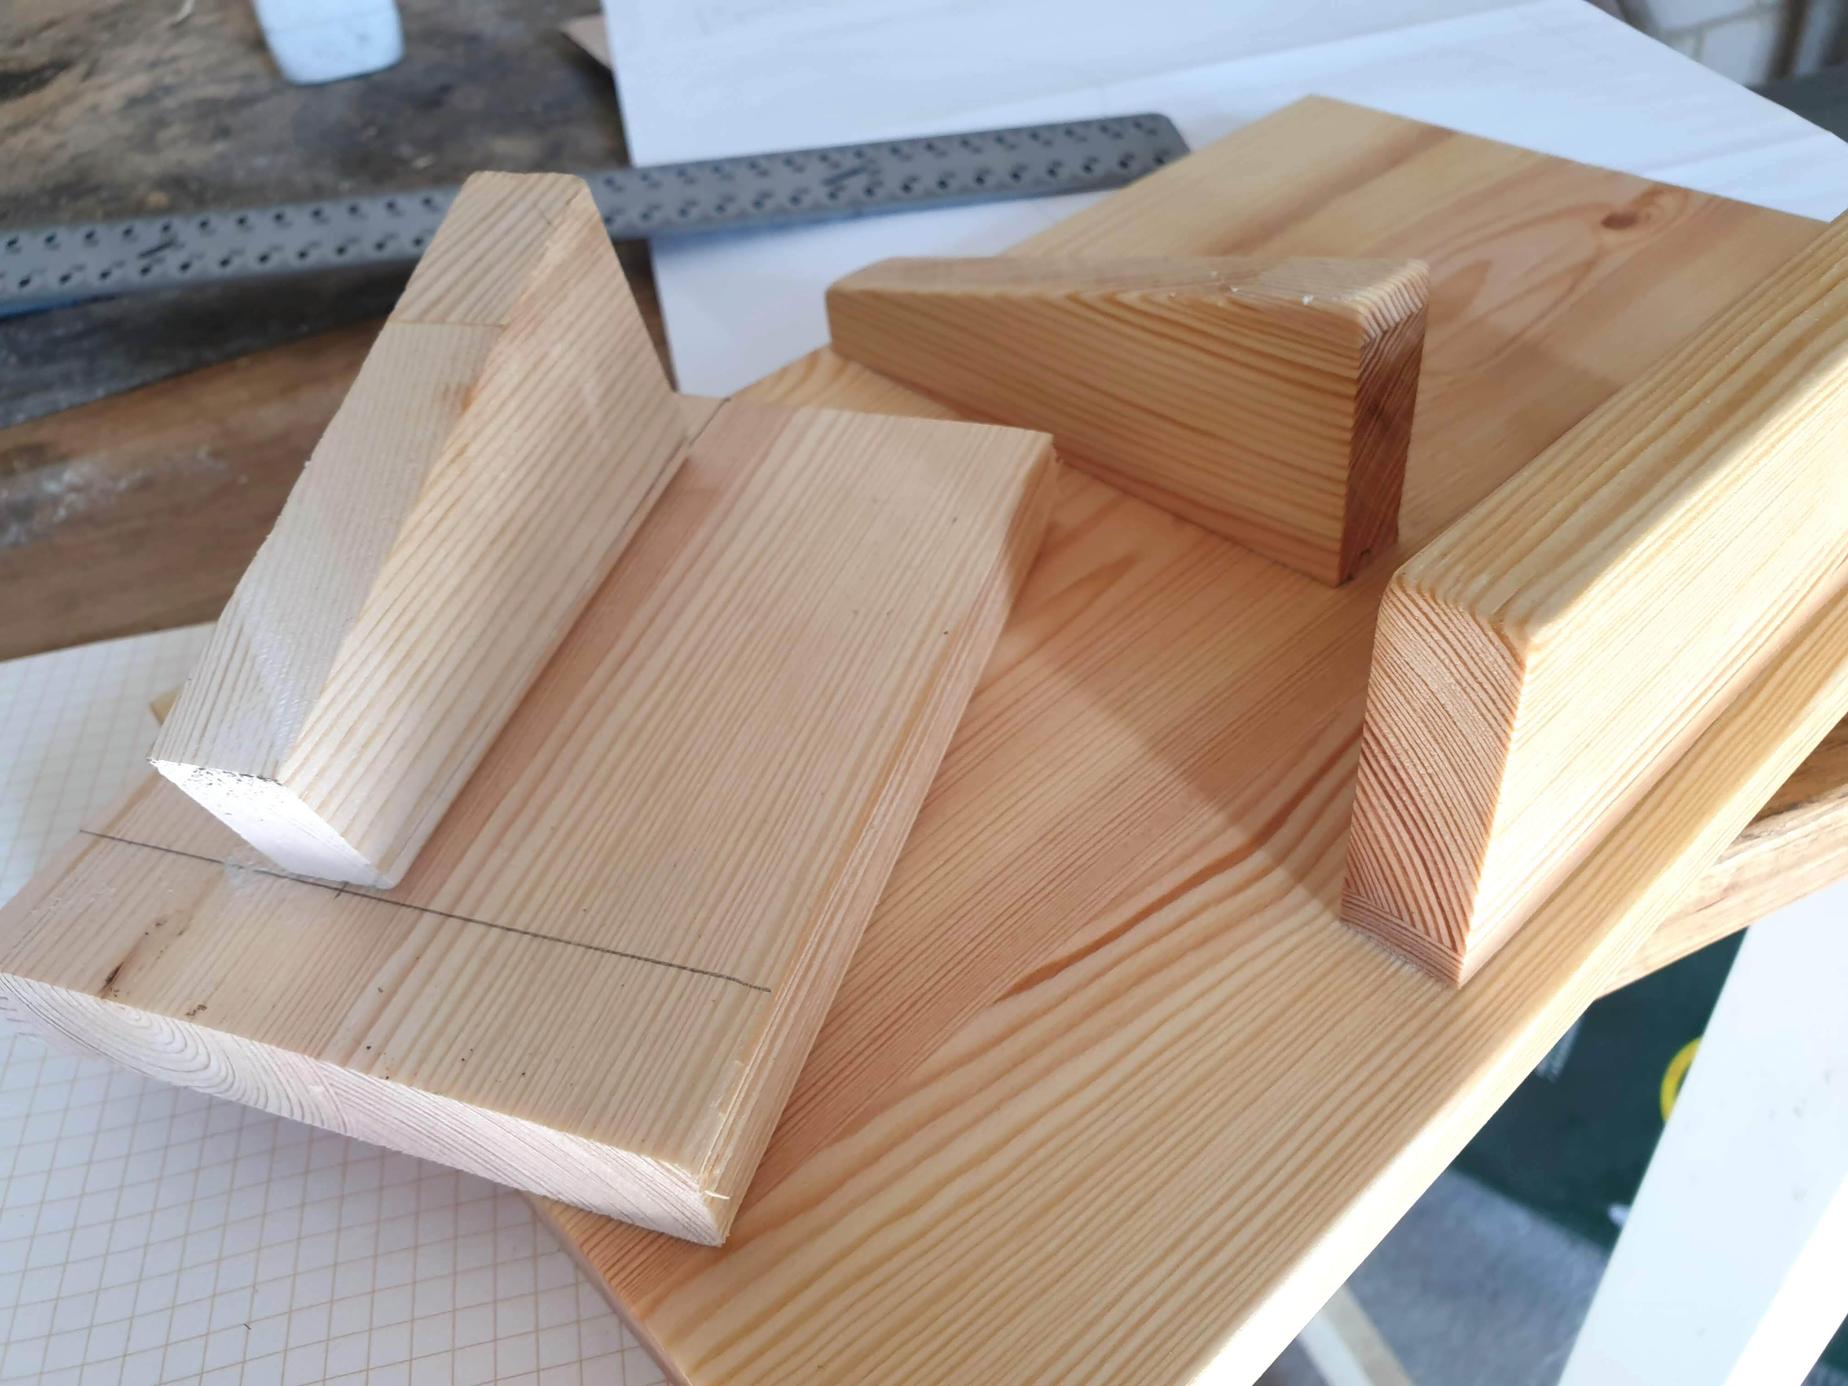
I didn’t want the shelf to wobble, so I wanted it to clamp really tightly onto the headboard. I glued the shelf in two parts: first the rear support, then the front support. This allowed me to adjust my measurements and get a really tight fit. This worked well: the shelf does not move at all.
I sanded the shelf with 120 grit, then 240 grit sandpaper, then applied two coats of mineral oil 24 hours apart. After applying the second coat, I used 240 grit sandpaper again. The sawdust mixes with the oil to fill the gaps, and it yields an incredibly smooth surface.
I made a few mistakes with this project. The front support isn’t exactly straight, and I sanded the edges a bit too zealously. Nonetheless, the final result looks really nice.
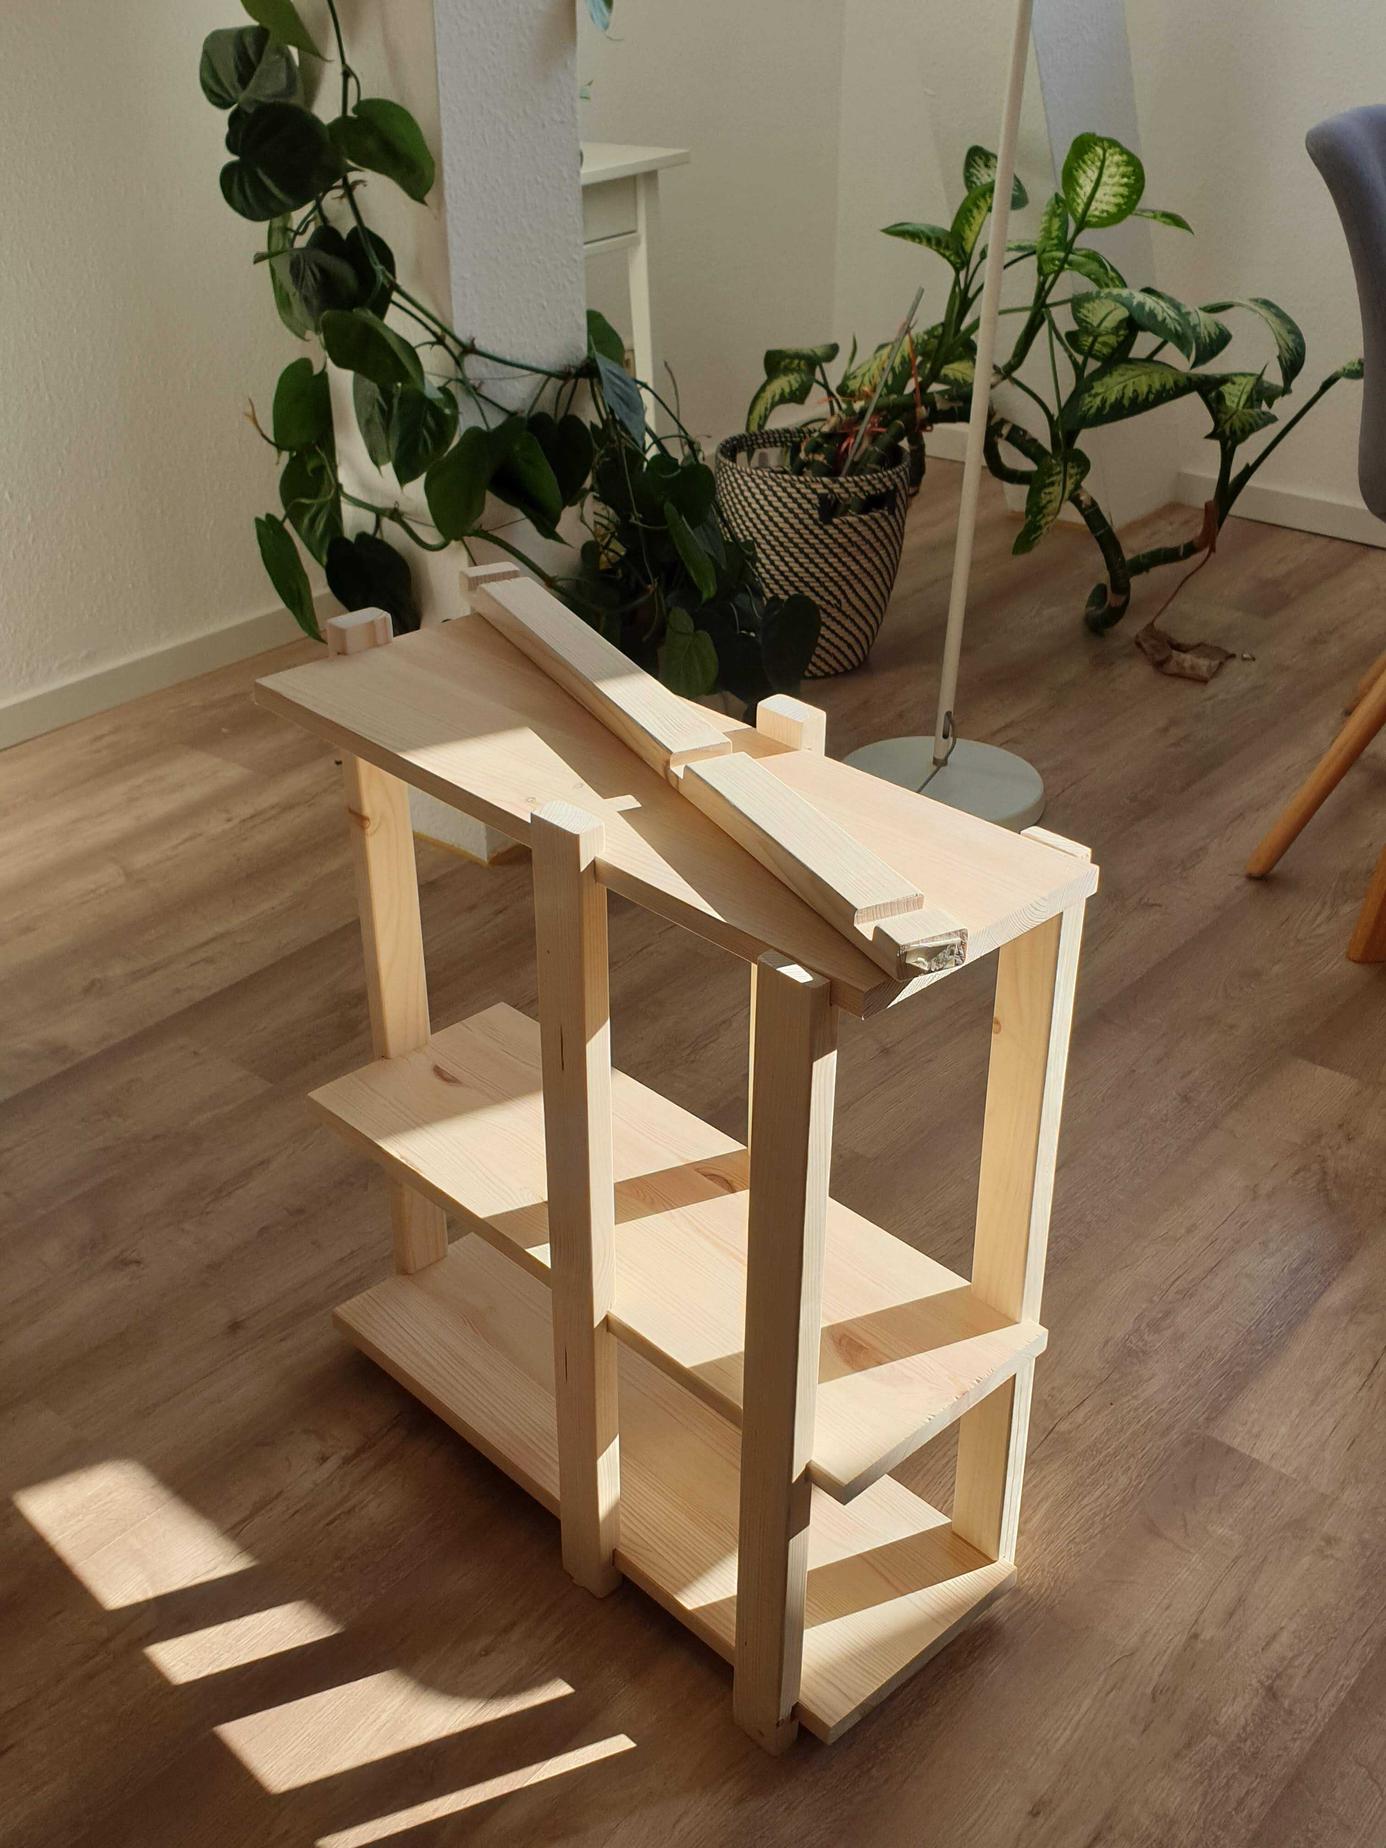
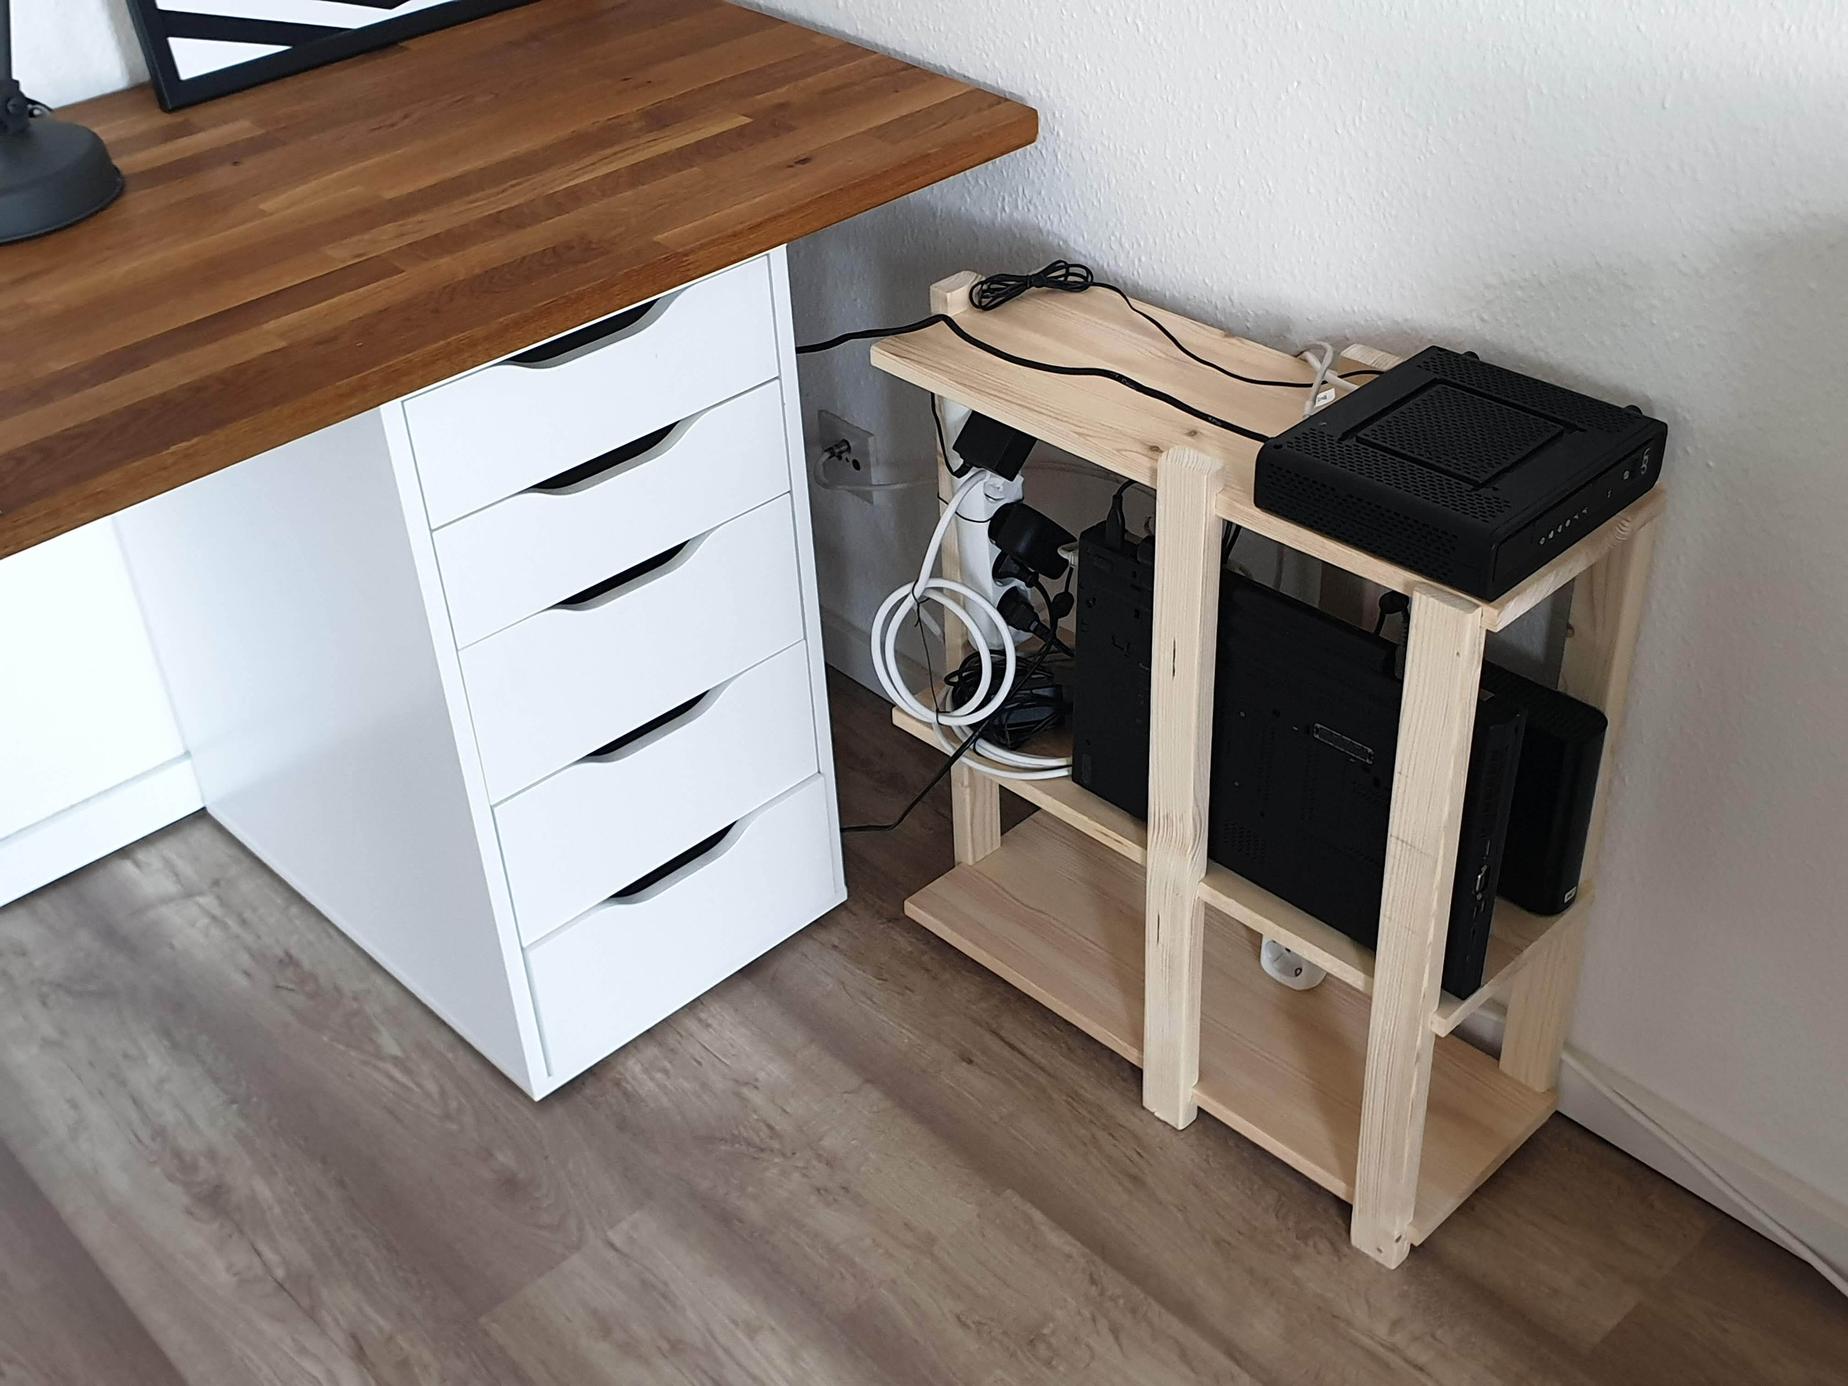
Home server rack
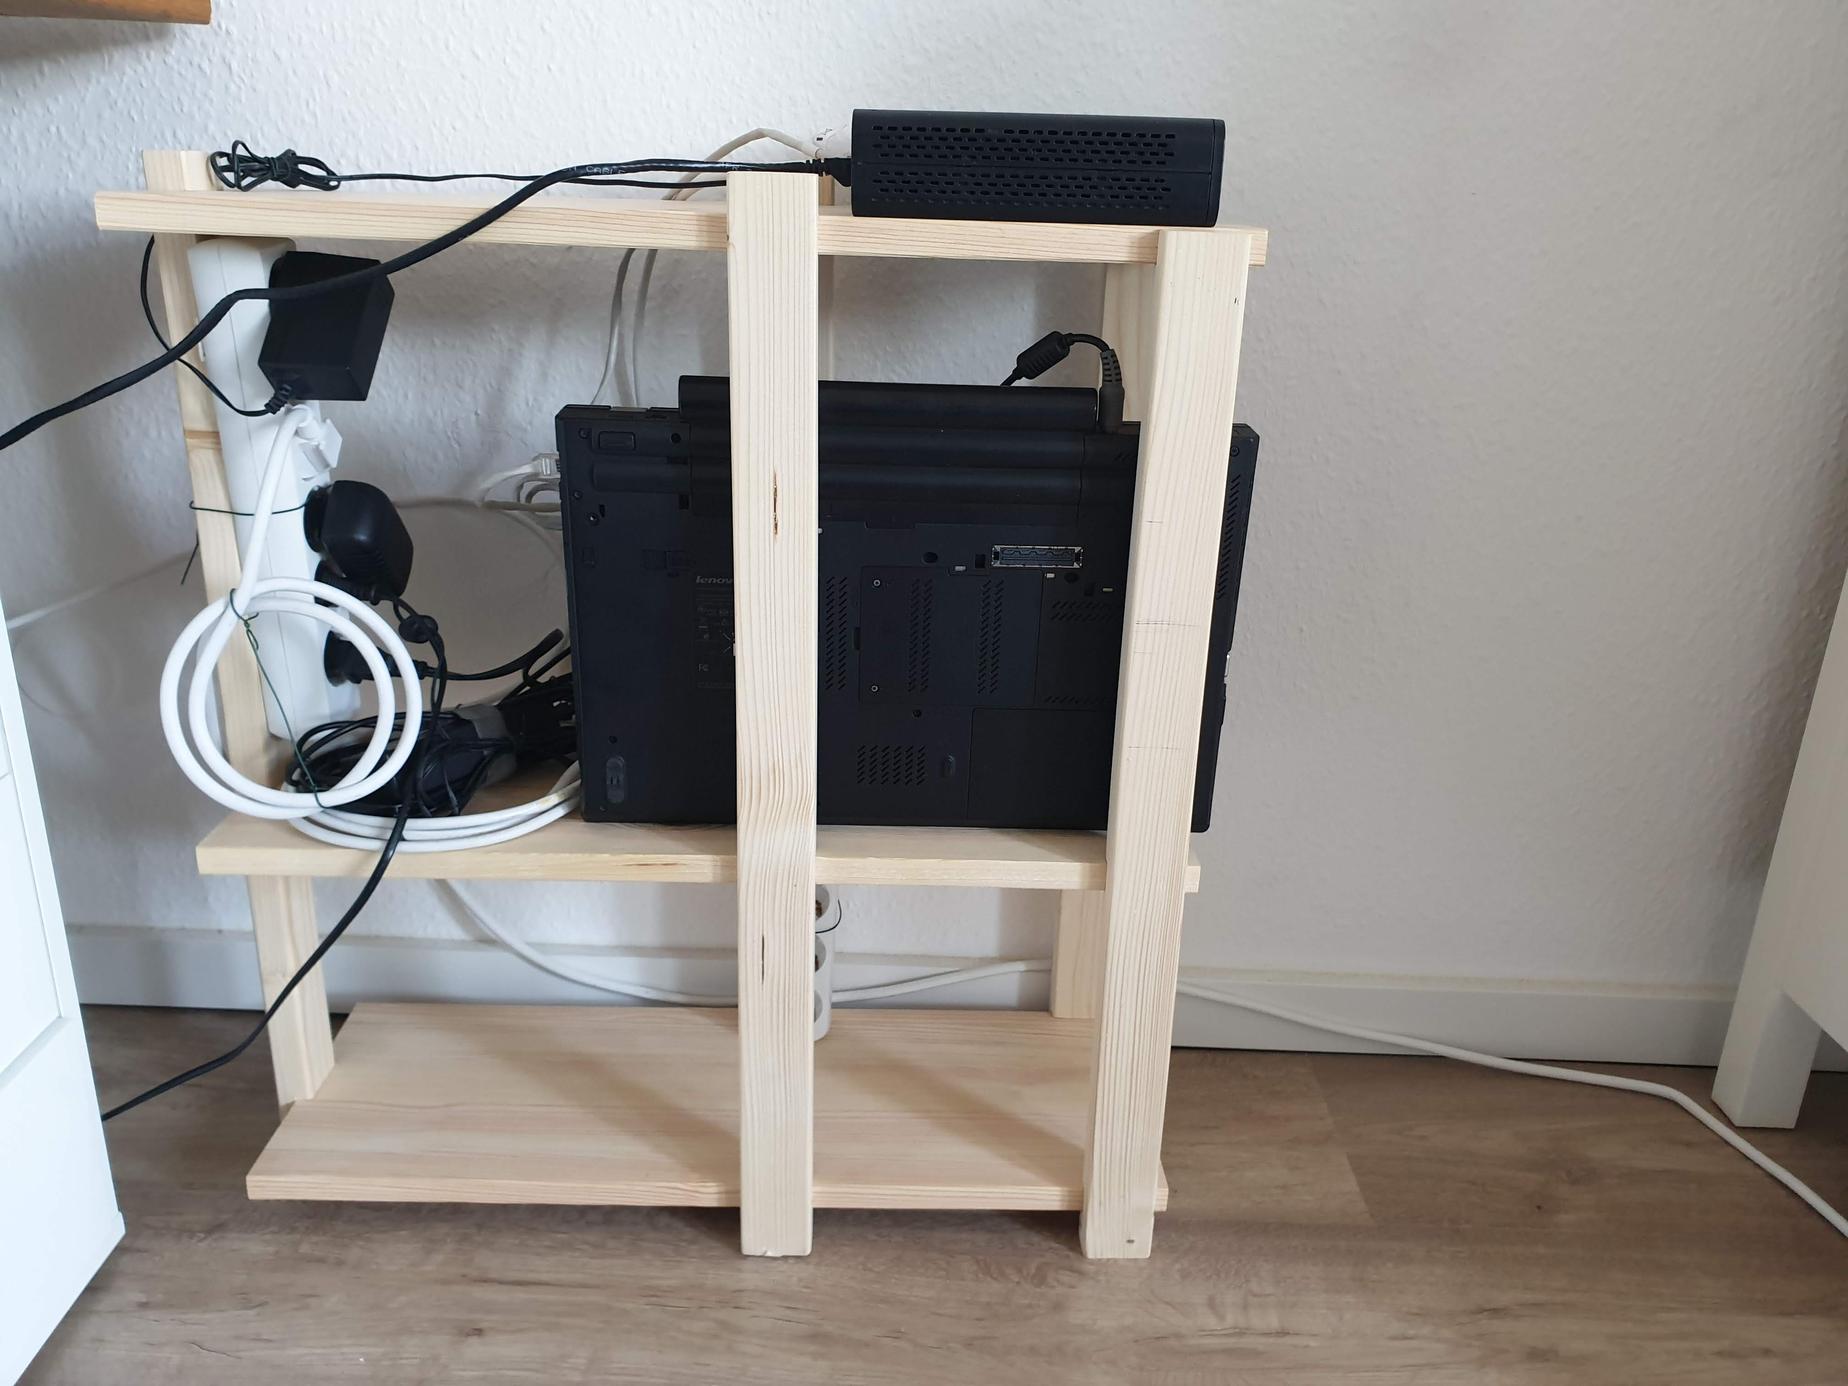
September 2020 - My third project was a rack for my home server. Until then, the server rested next to a pile of cables at the edge of my desk. I wanted to stash it out of sight behind the desk.
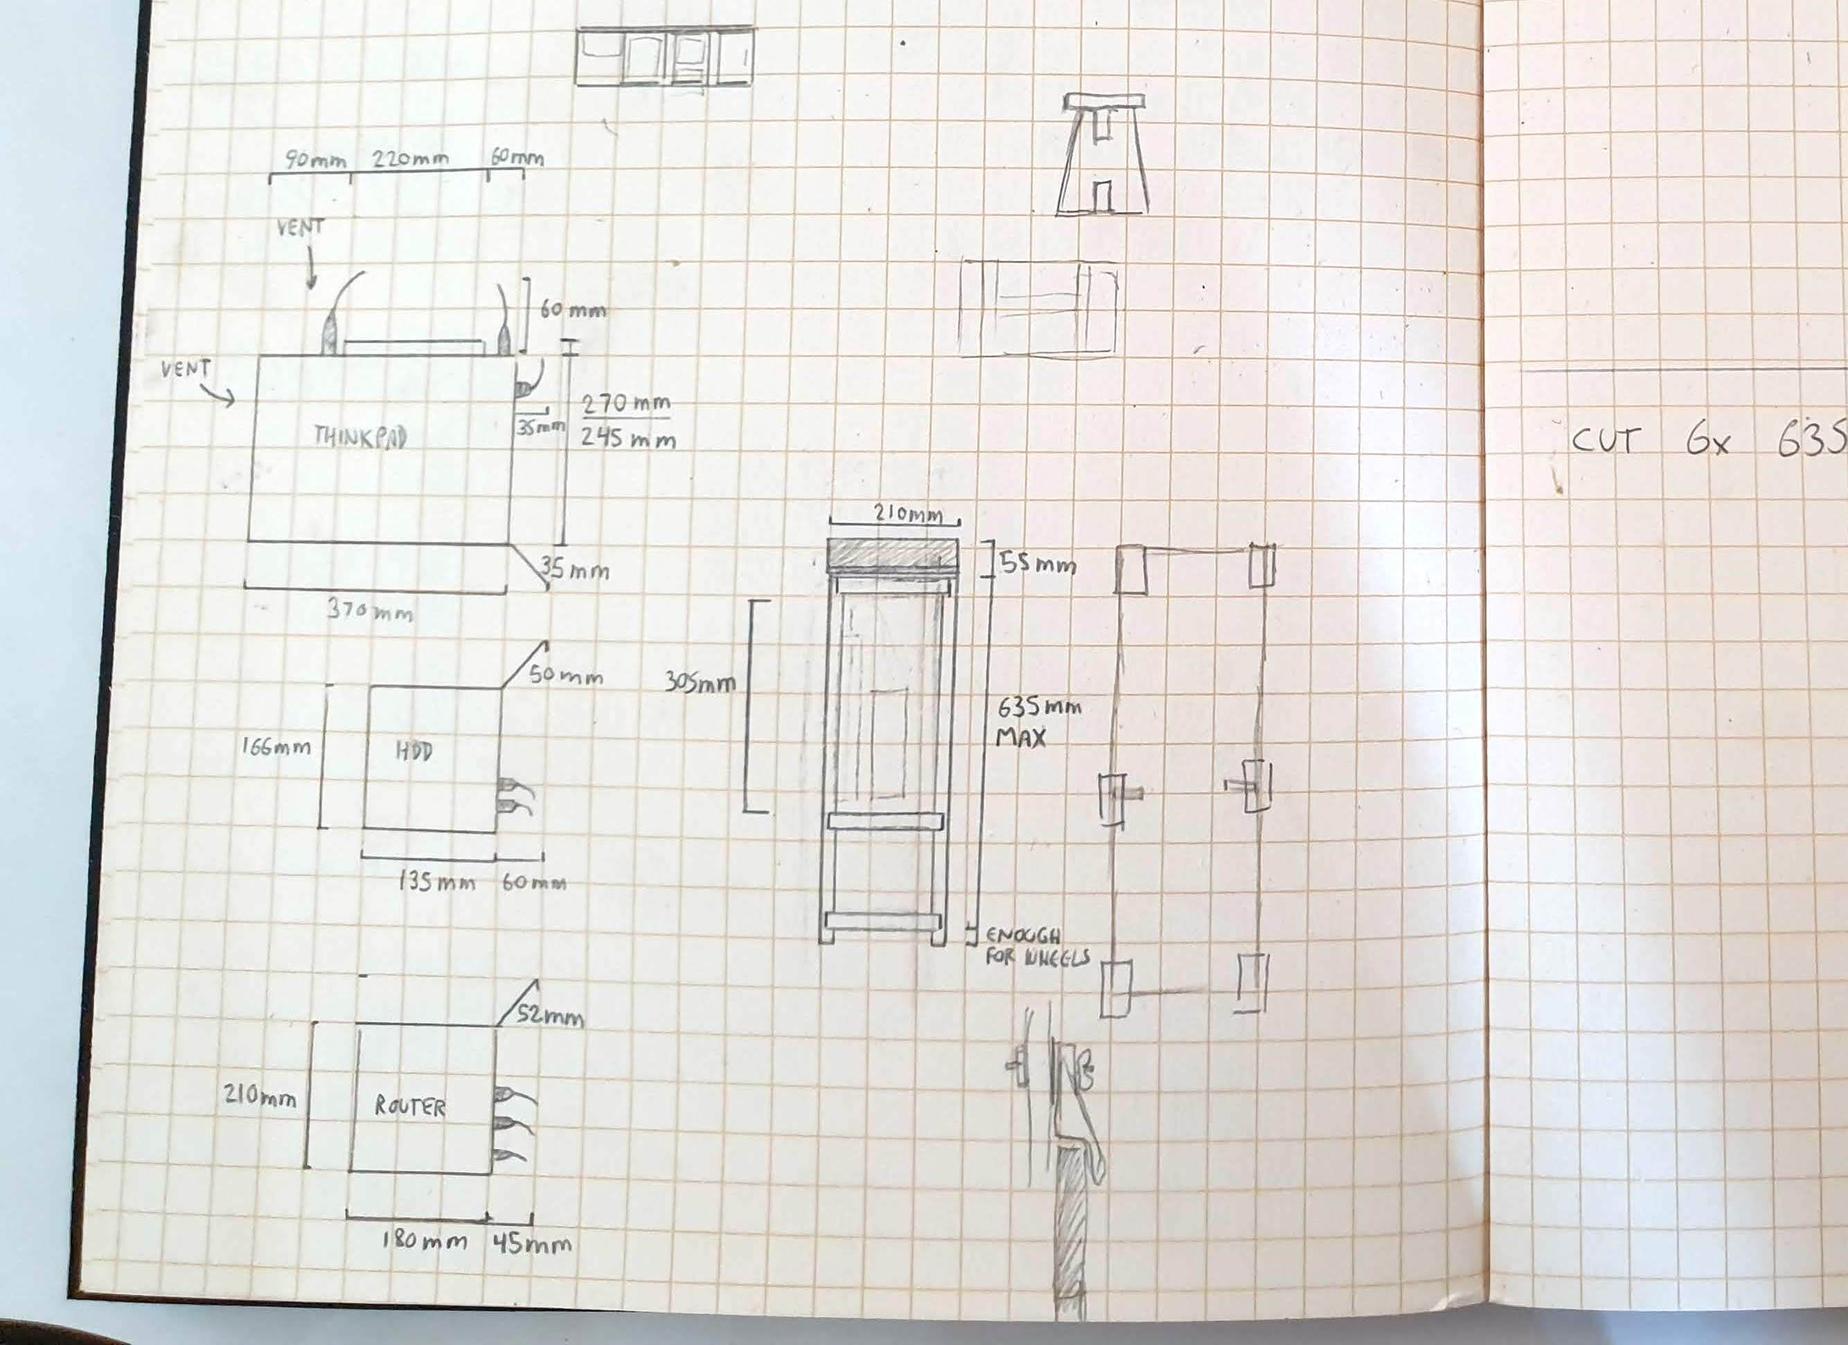
I started by measuring my home server (a decade-old Thinkpad), the external hard drive and the router. I also paid attention to the clearance needed for the cables. I measured the space available under my desk.
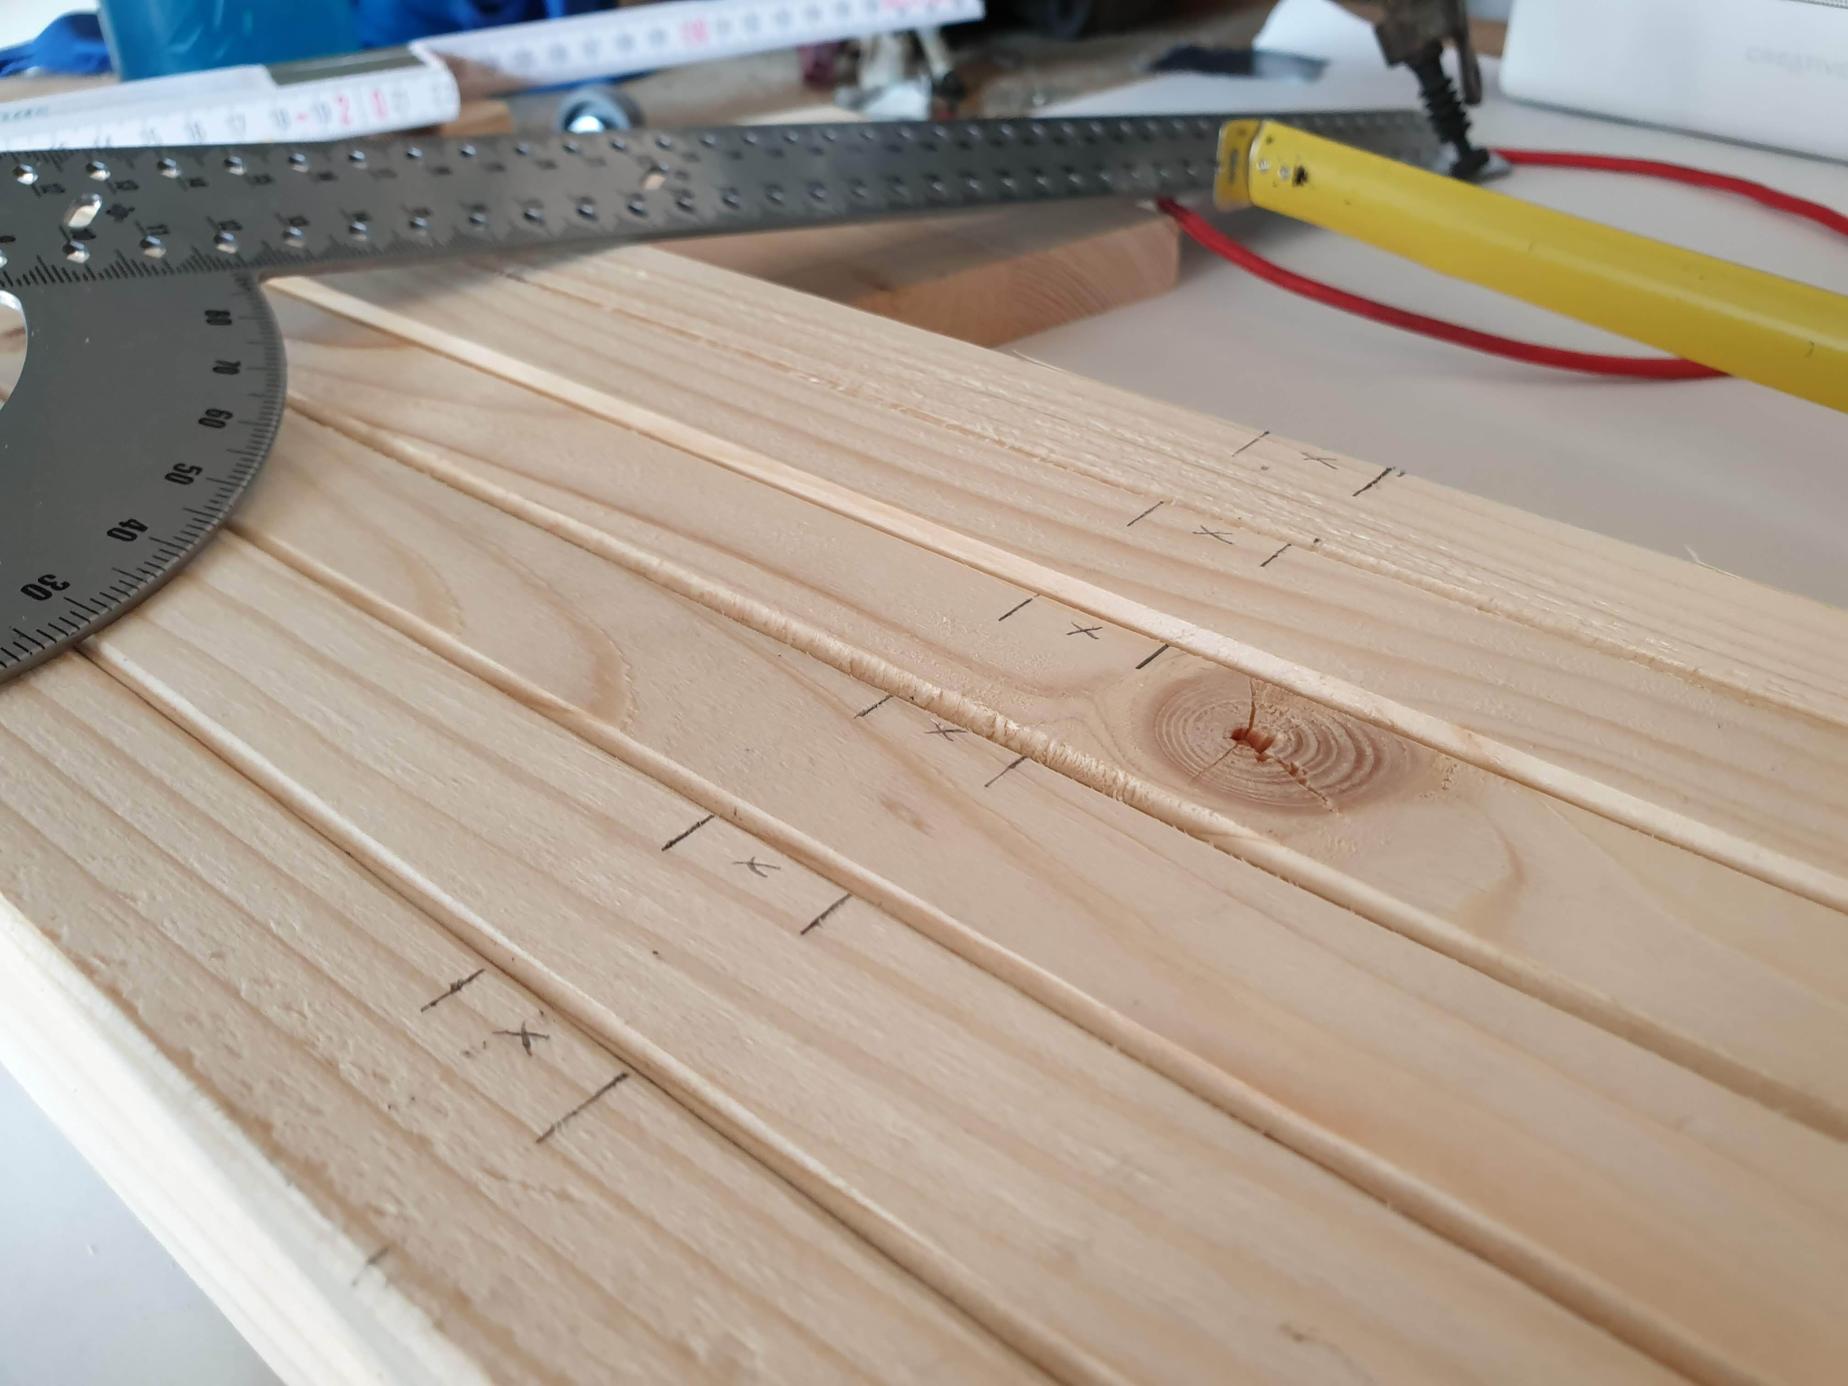
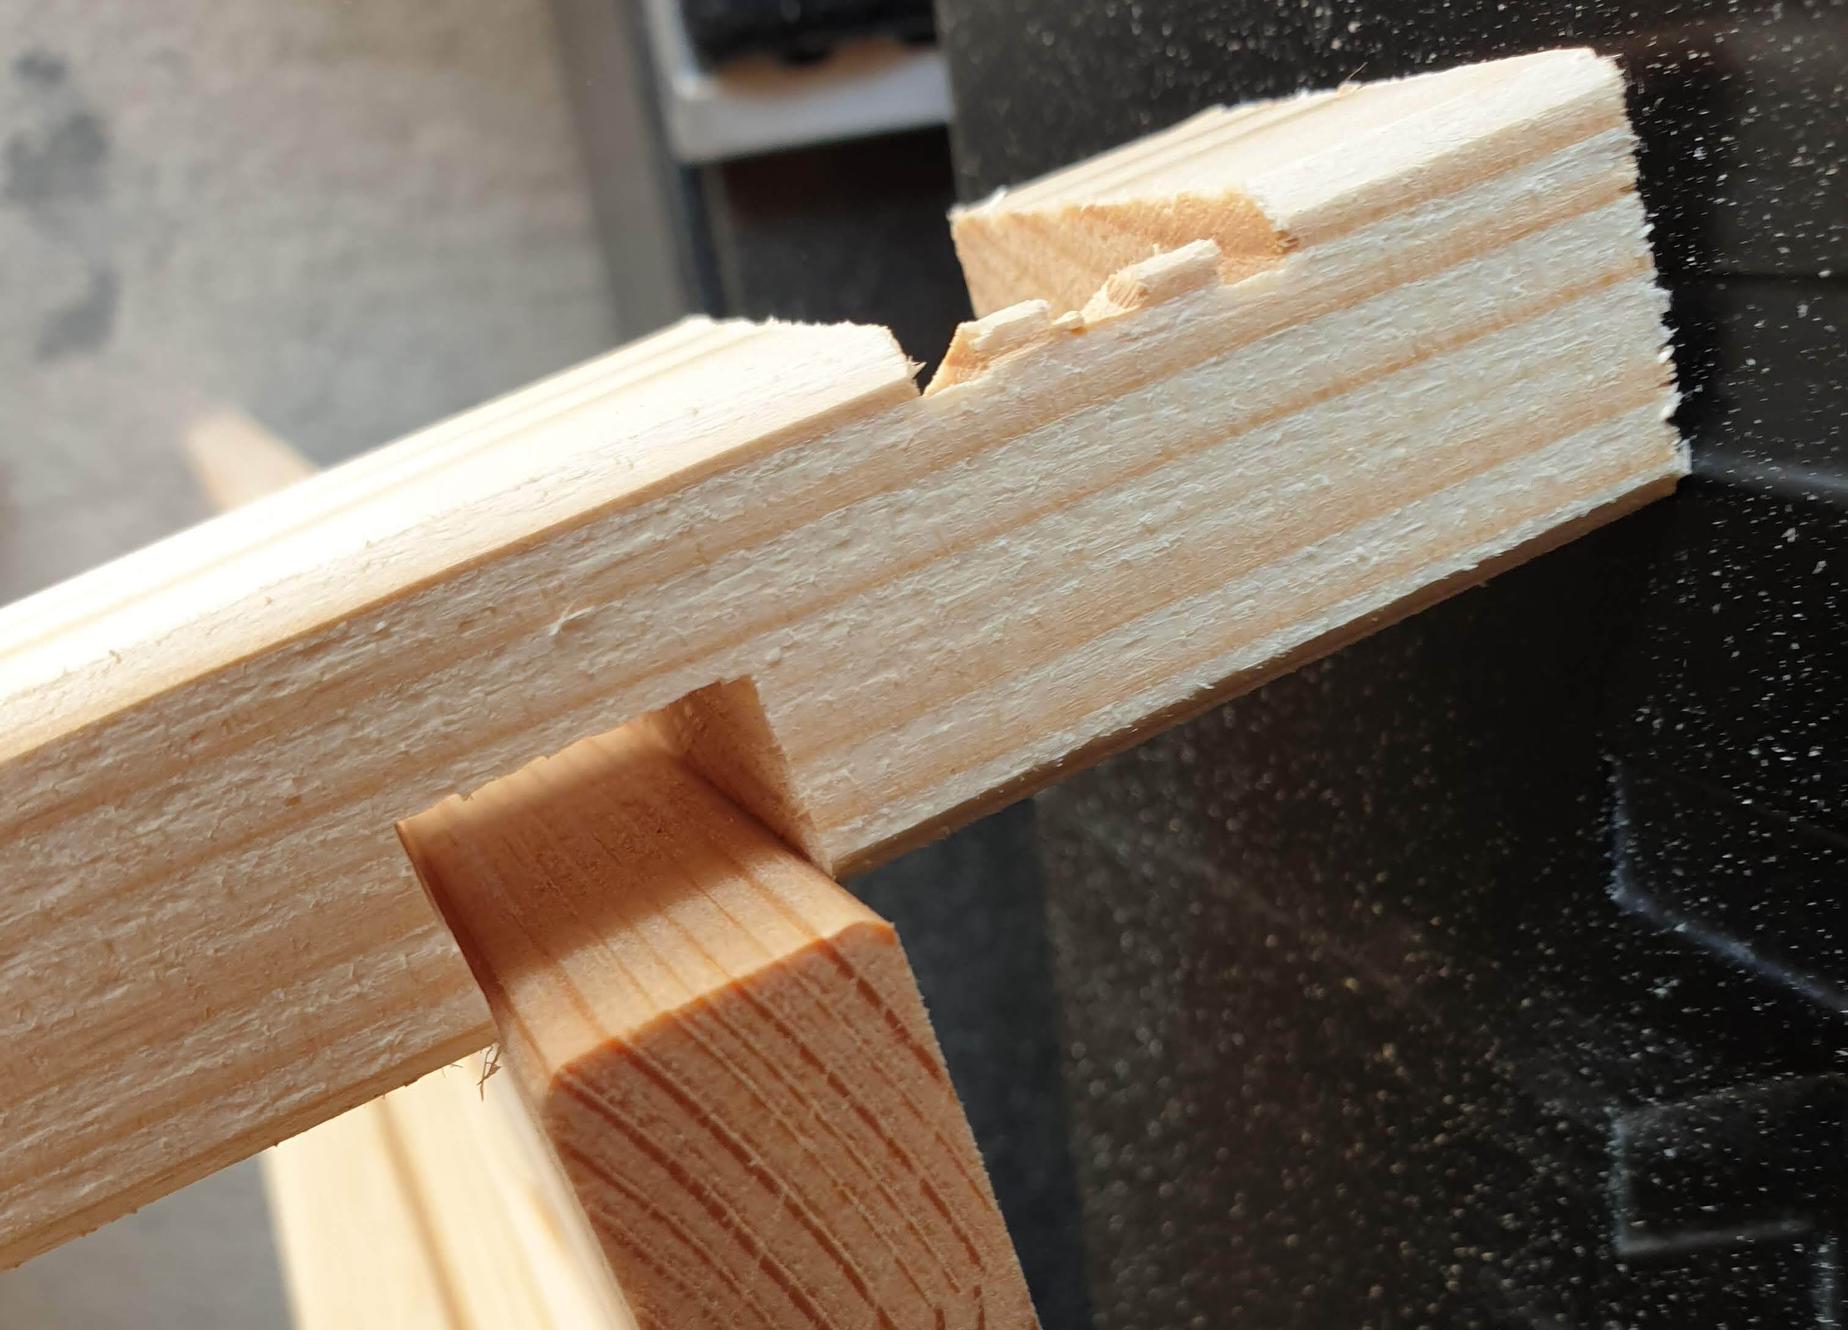
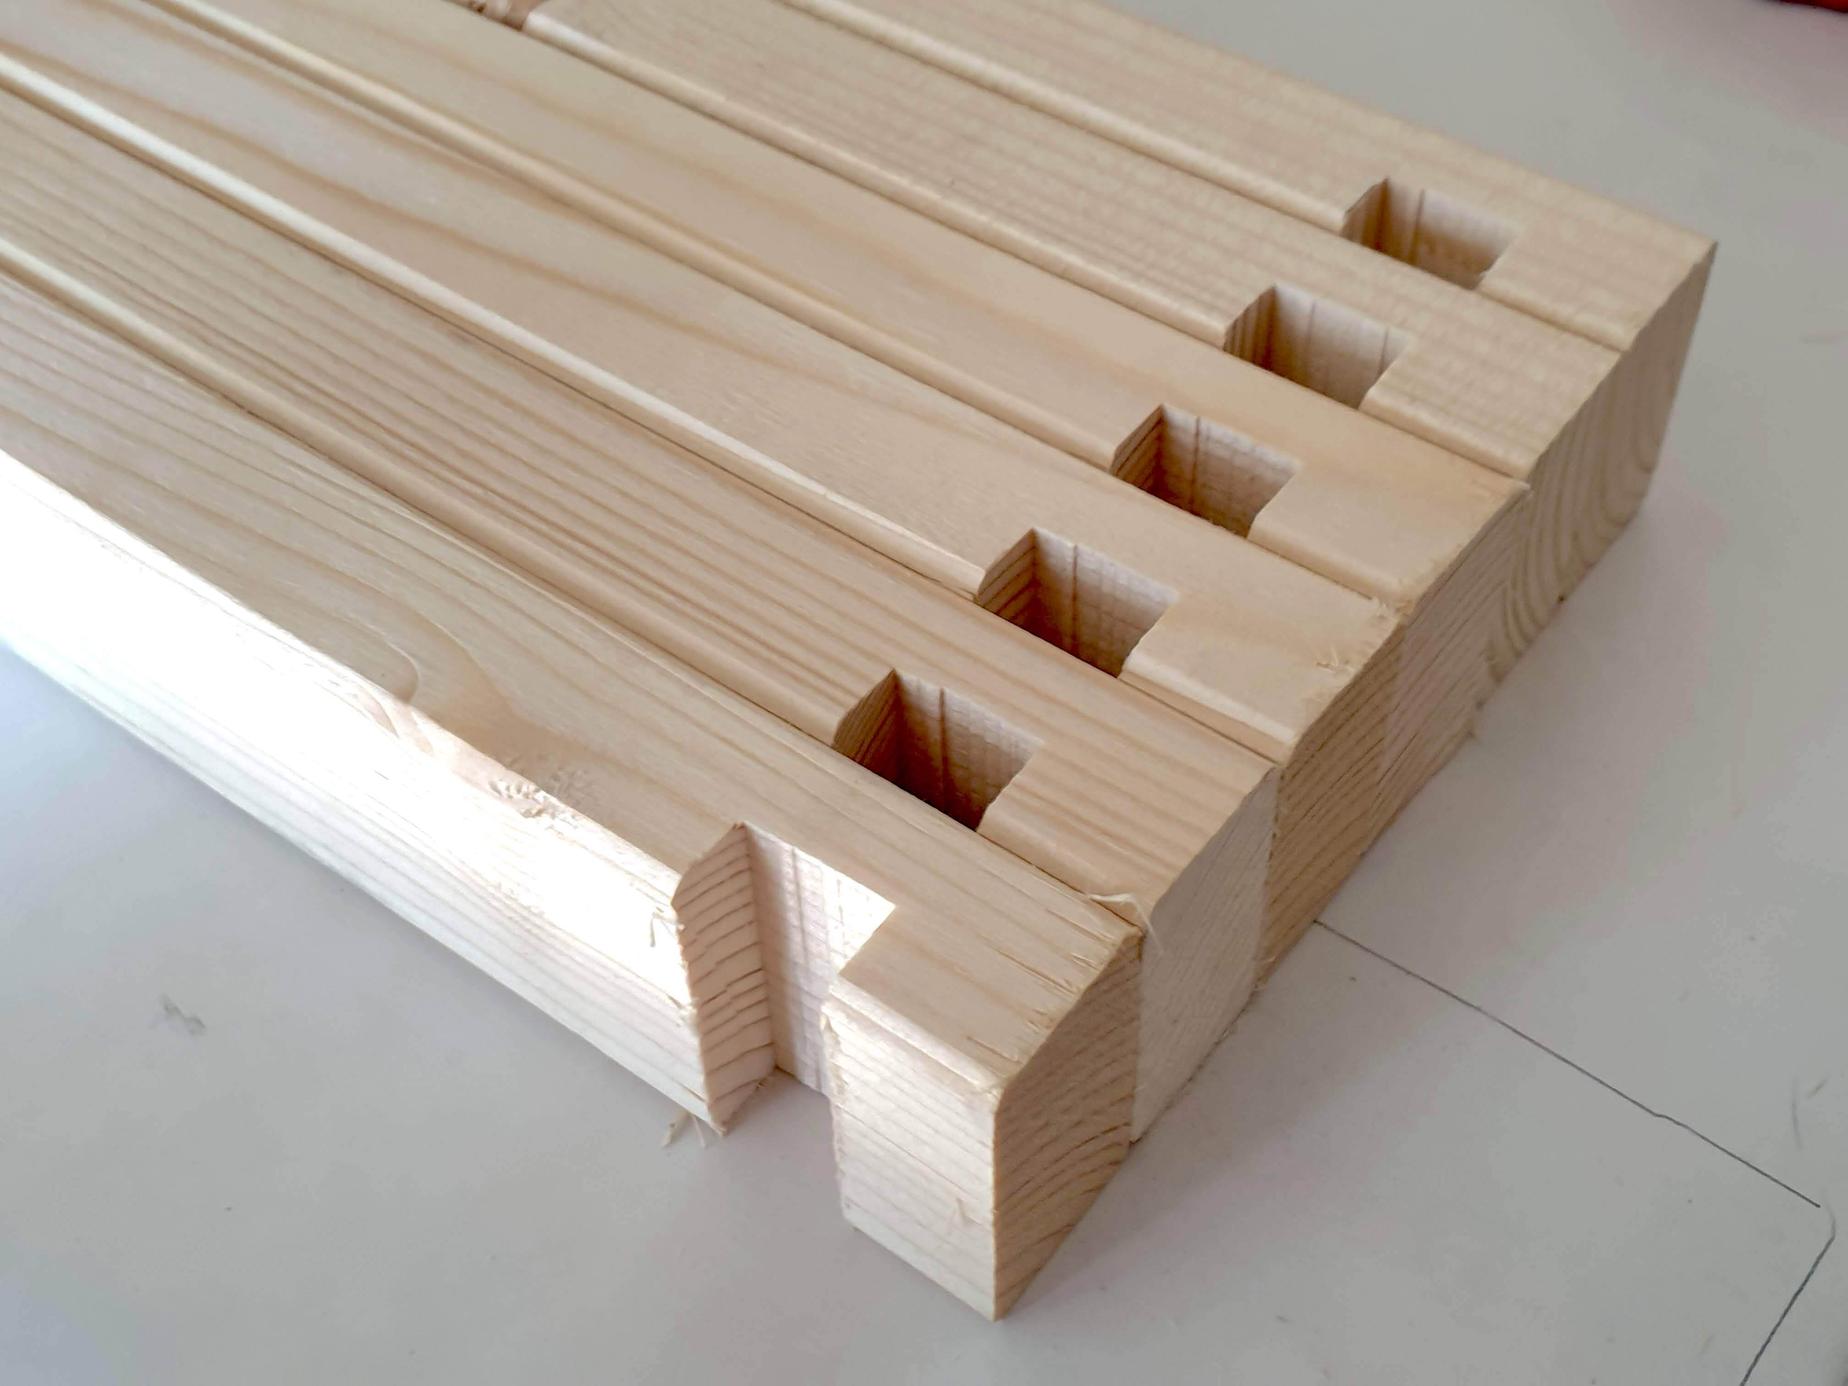
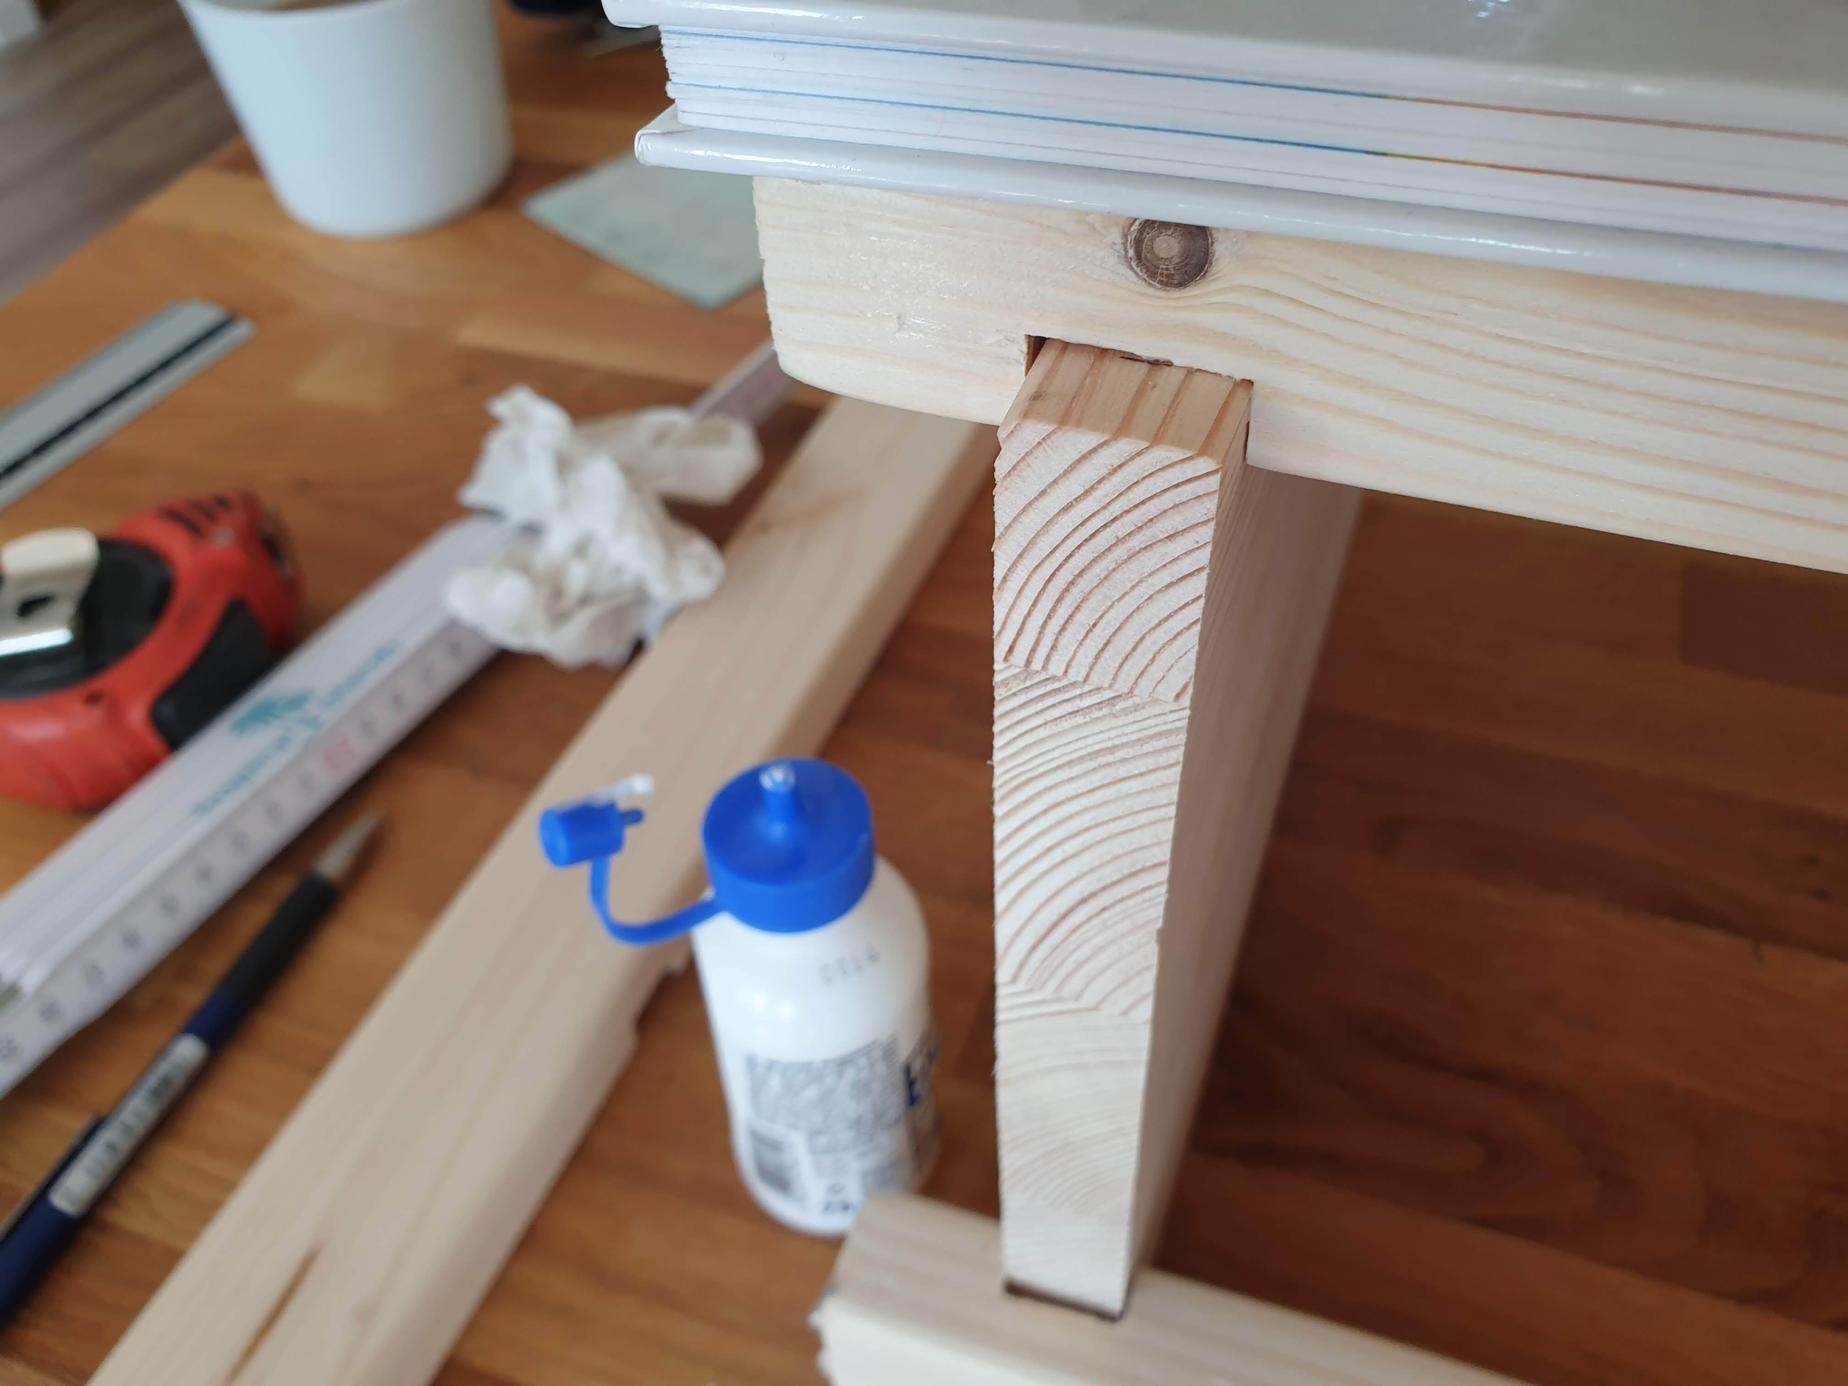
This was my most complex piece to date, so I measured everything multiple times. It was also the first time I used lap joints, so I had to practice a bit on spare wood first. I cut the joints tighter than necessary, then removed more and more wood until they fit tightly on the shelf. This is how I caught an incorrect measurement. One of the joint lines was off by one millimetre across all six legs. Had I not caught it, I’d have a really wobbly shelf. Crisis averted!
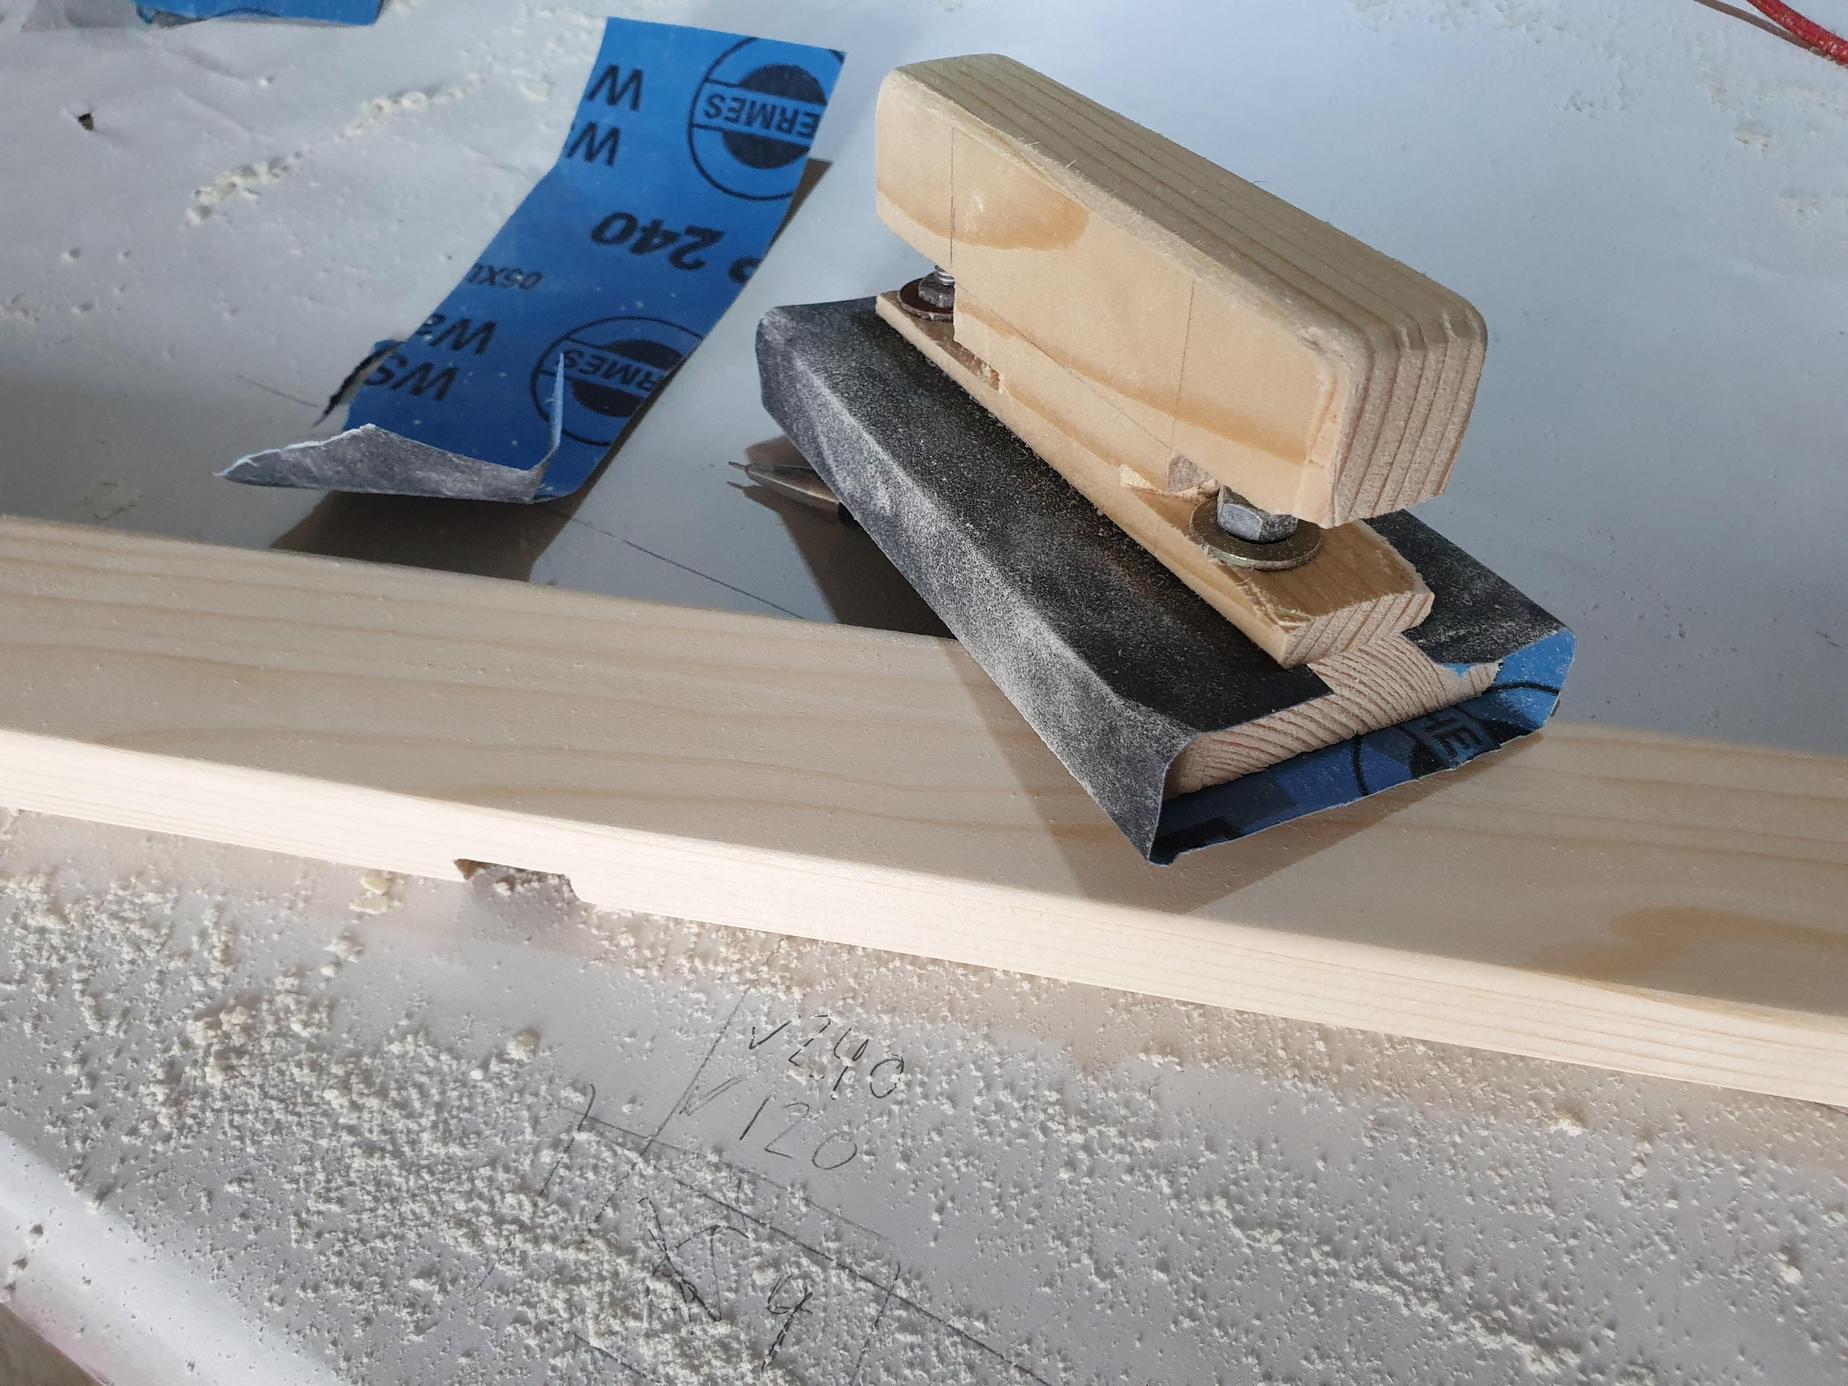
When I assembled the shelf, everything fit tightly. It stood on its own without any glue. I labelled each part, marked the position where they should be glued together, then disassembled everything for sanding. I built a simple sanding block, then I sanded every part with 120 and 240 grit sandpaper. That took longer than I expected.
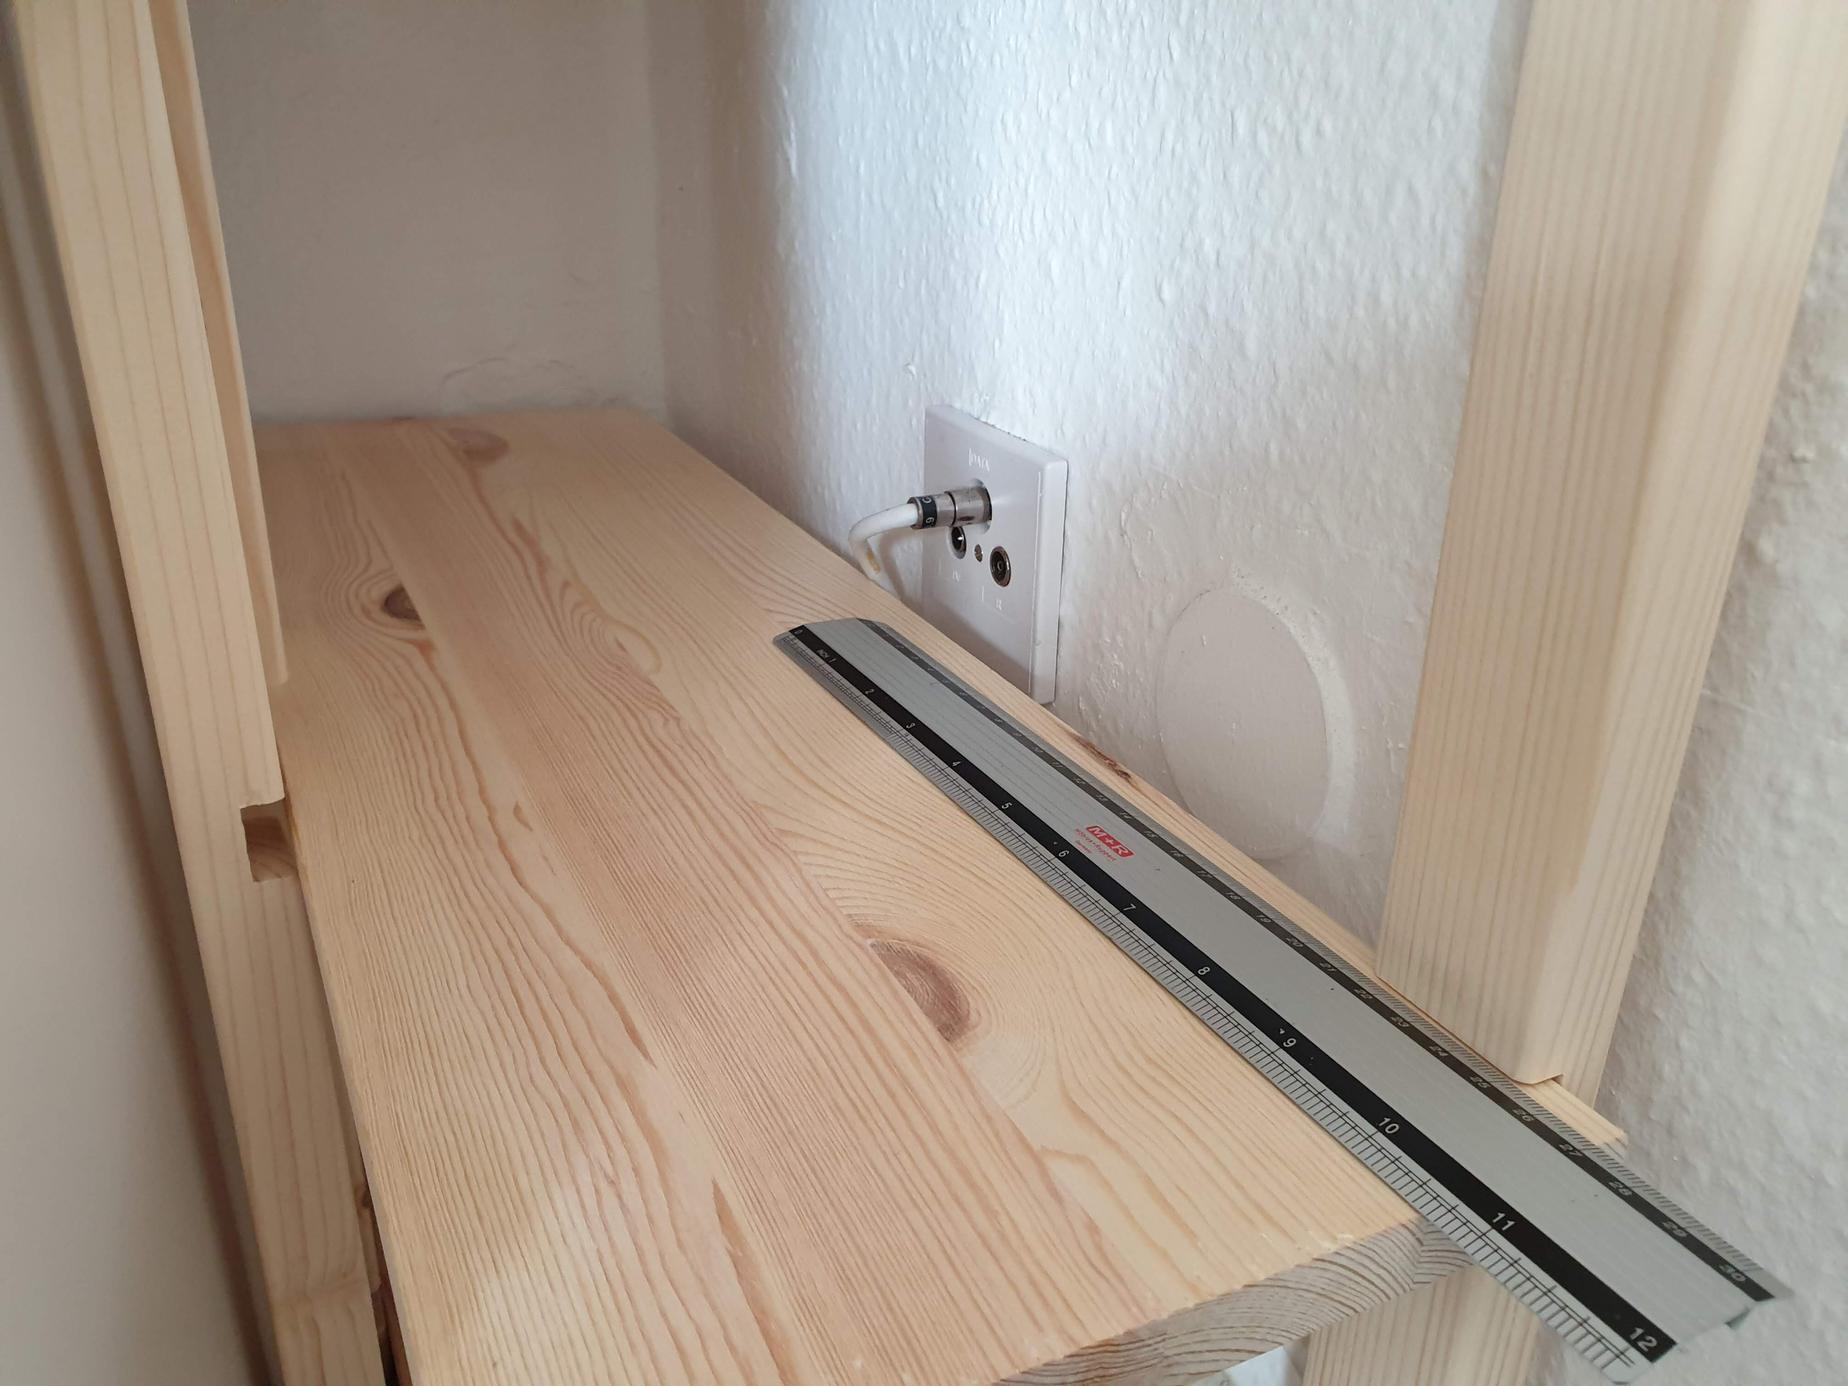
After sanding everything, I assembled the shelf without glue, and made sure it fit in its space. I had to adjust the leg layout to account for a cable socket and a pair of radiator pipes.
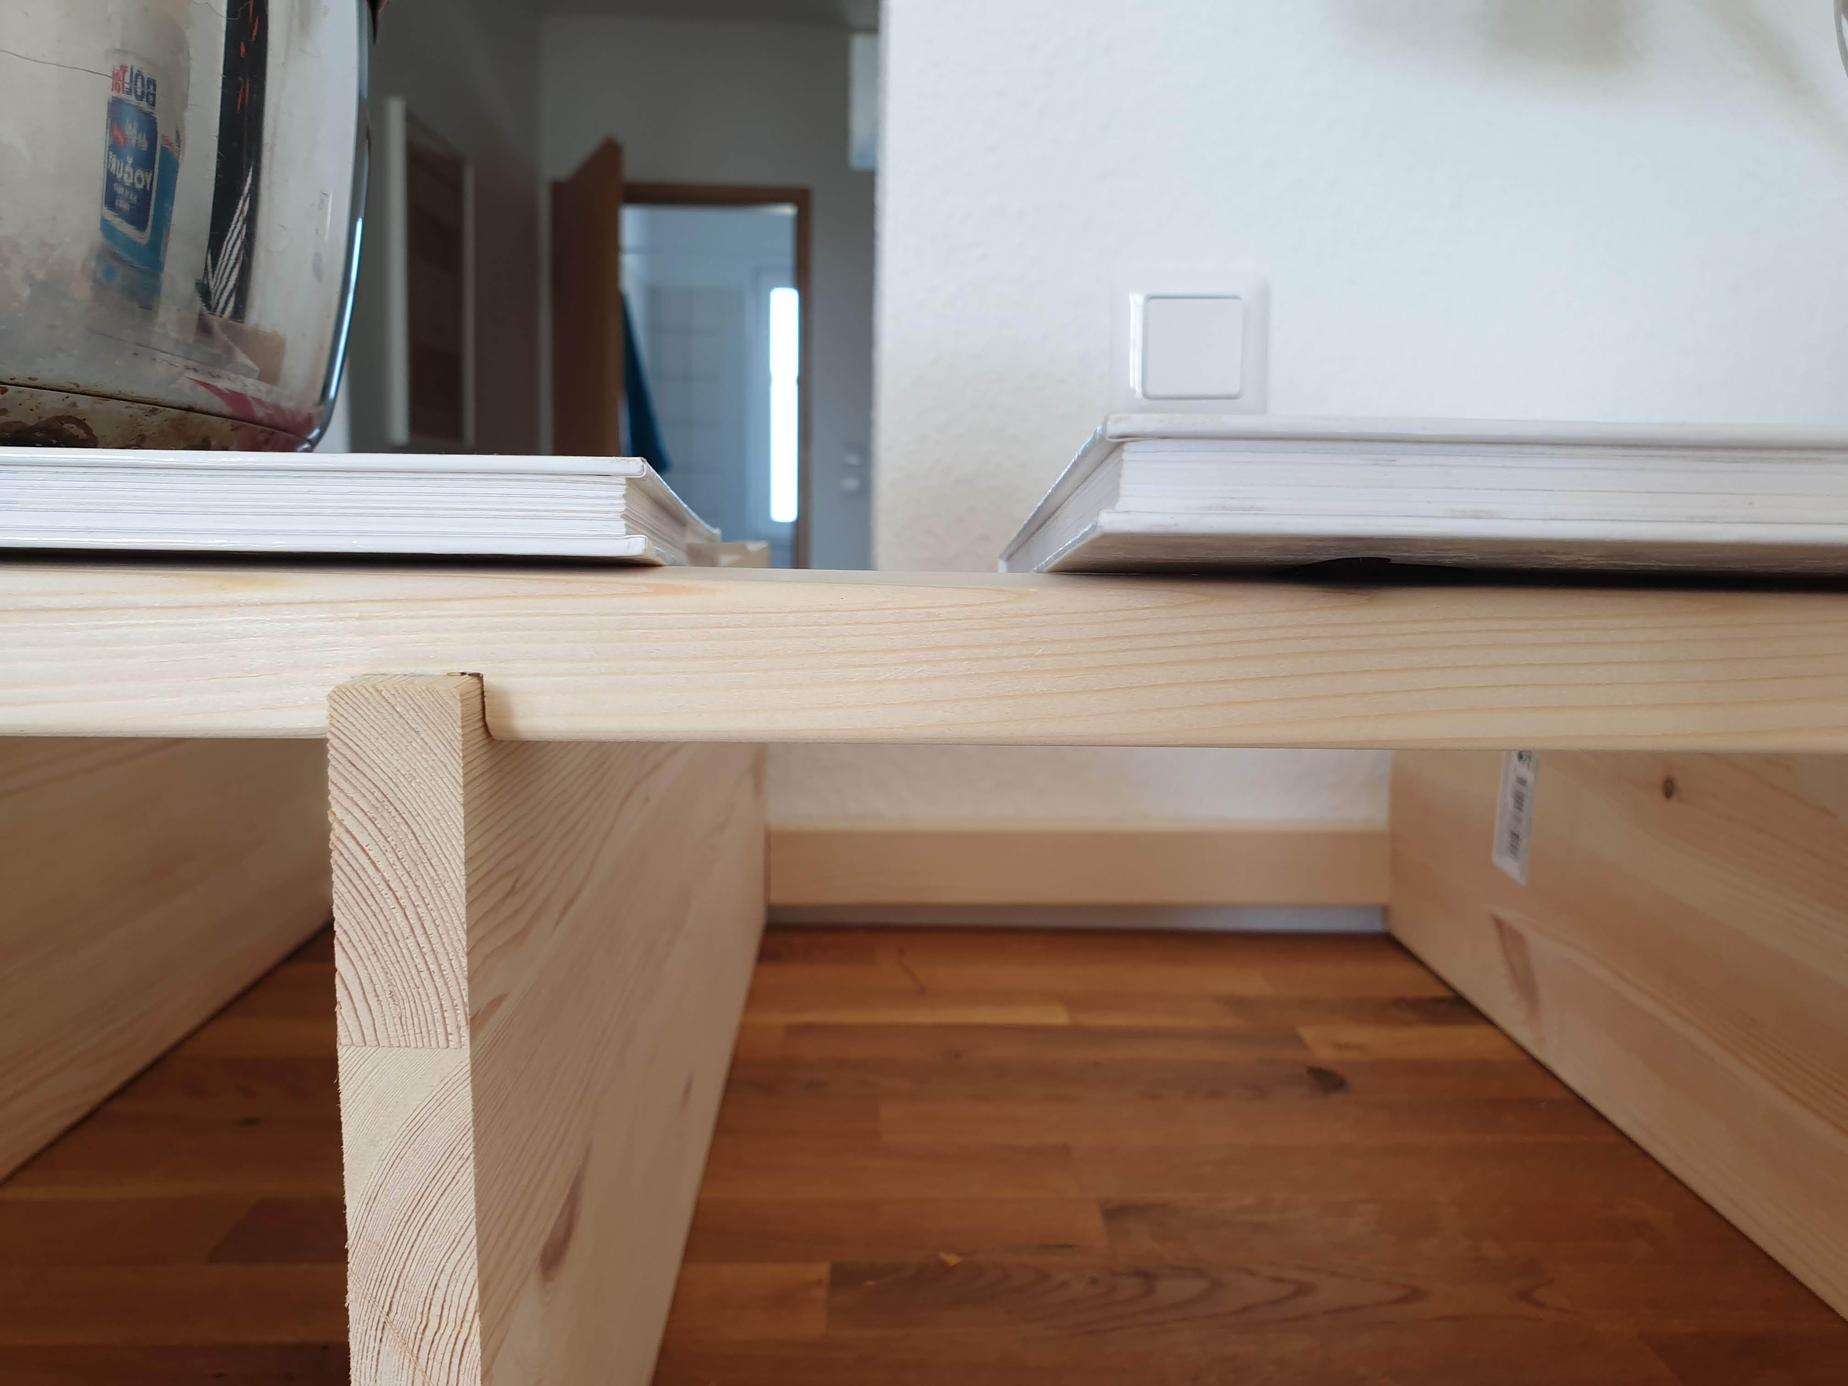
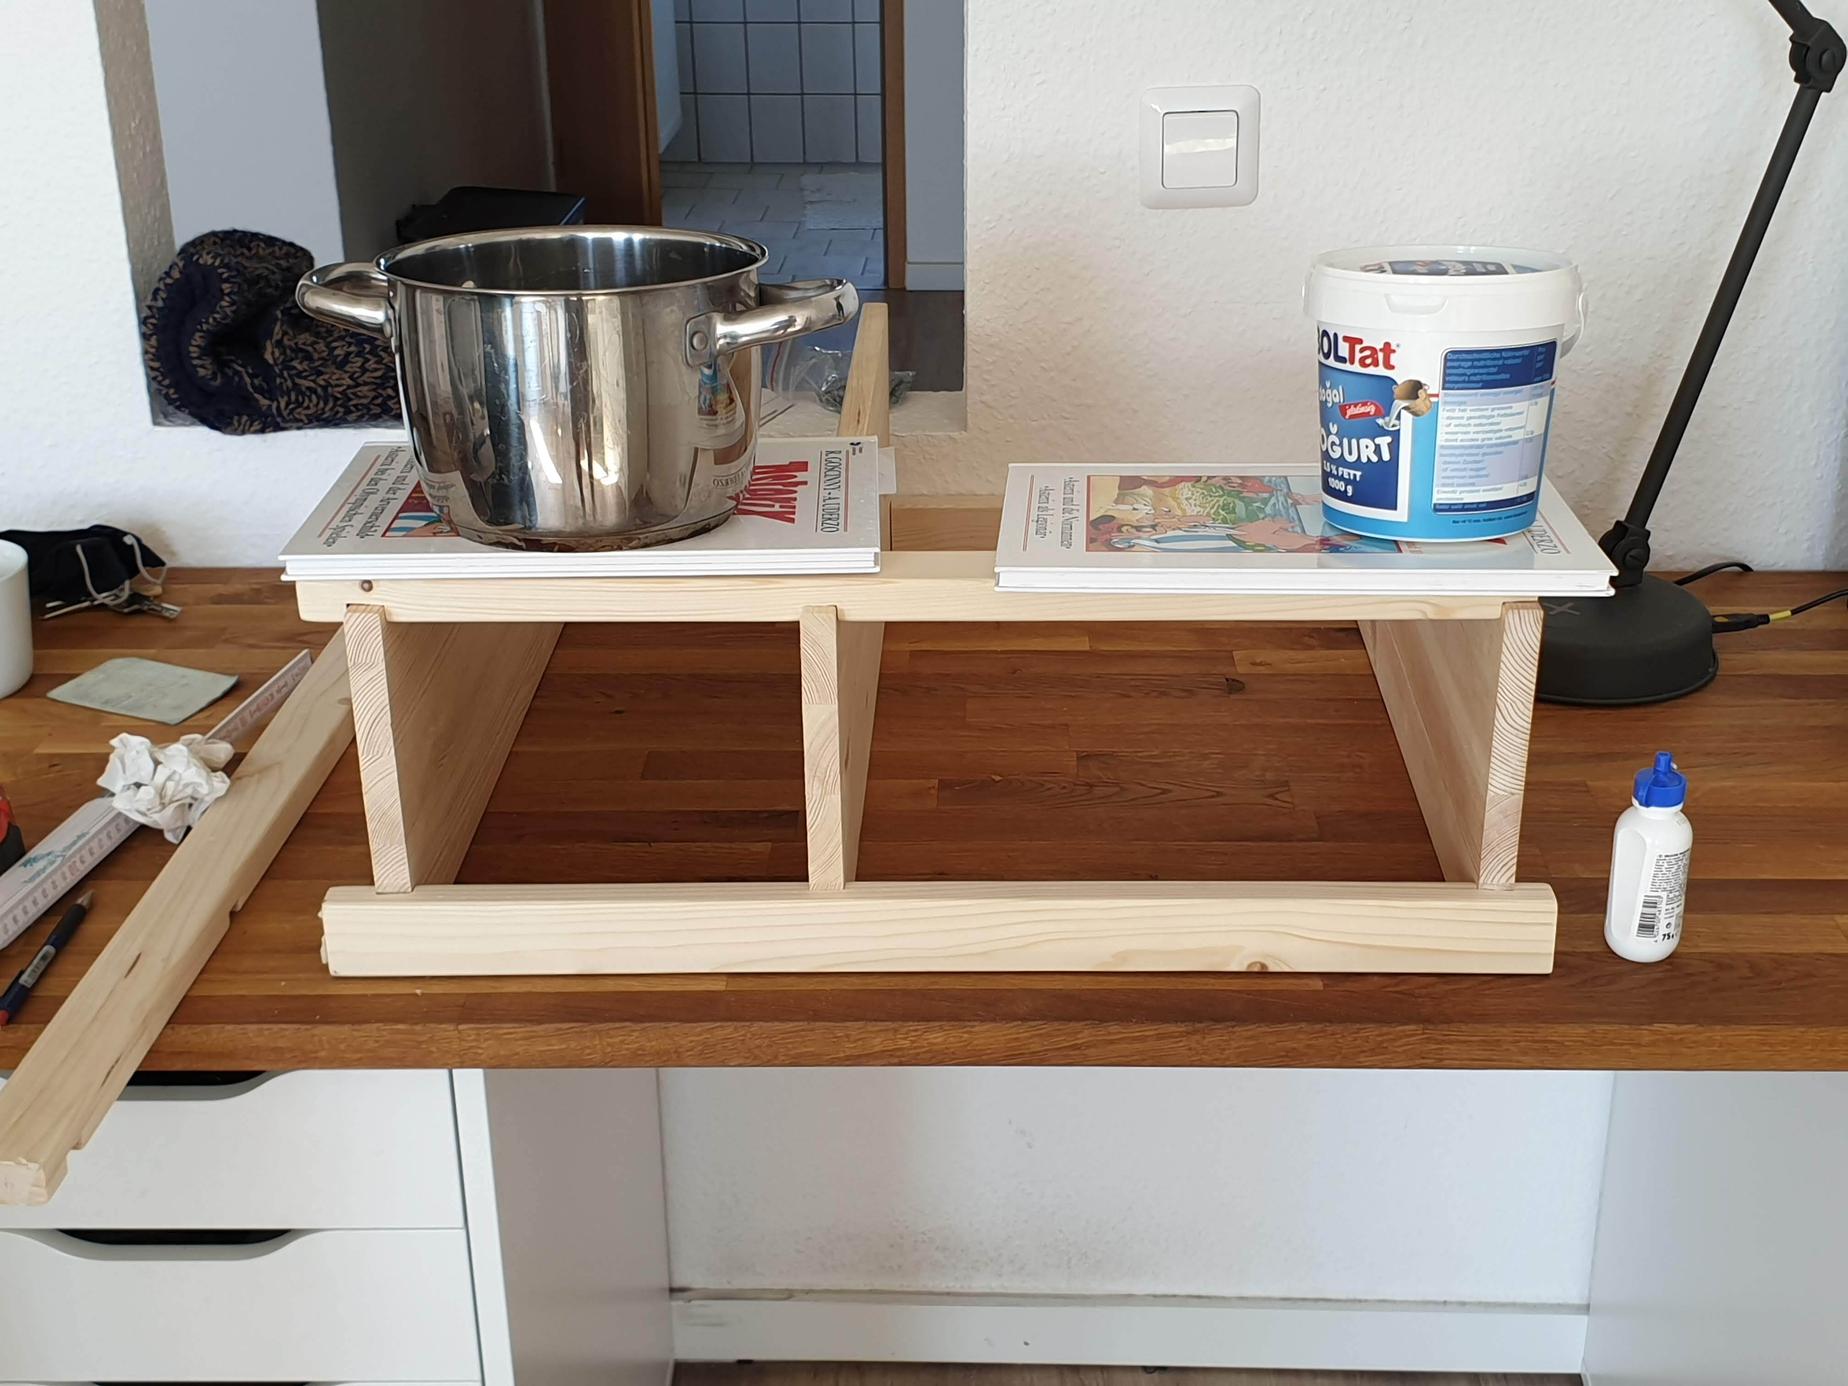
Once everything was tested, I glued it all together. Since I was just getting started with woodworking, I had only one clamps, so I used comic books, a jar of olives and a pot filled with water to put pressure on the parts.
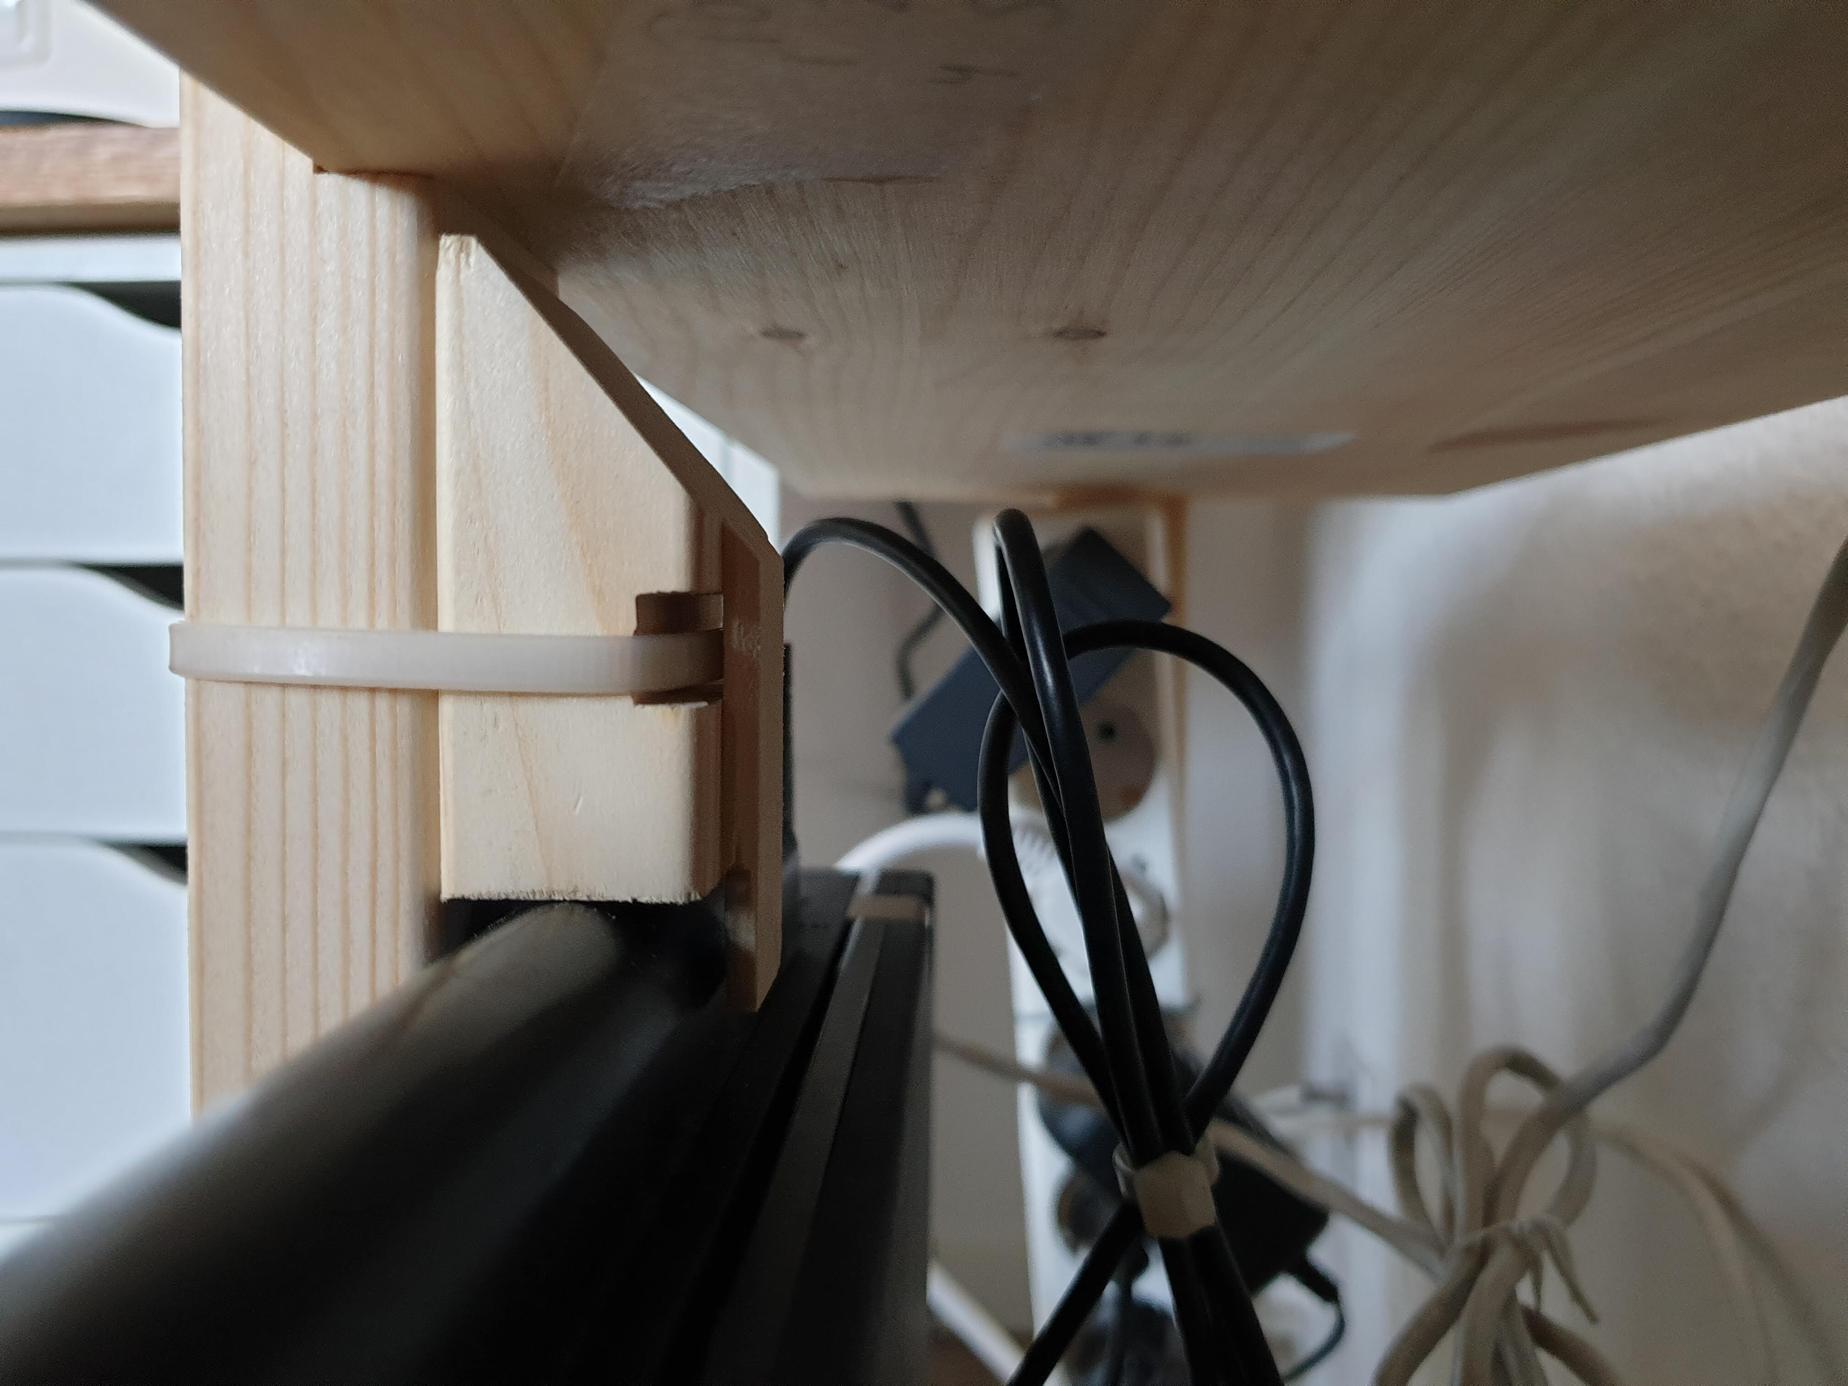
At last, I put everything in its place, and wired it all together. My home server wouldn’t start, but the fit was perfect. I hastily made a small attachment to hold the home server upright (it’s an old laptop). When everything was there, I pushed the rack into its nook. Project done!
I did not bother finishing this rack. I also didn’t attach the small caster wheels I bought for it. I didn’t have any nice finish in mind, and it went back onto the wood pile when I upgraded the server.
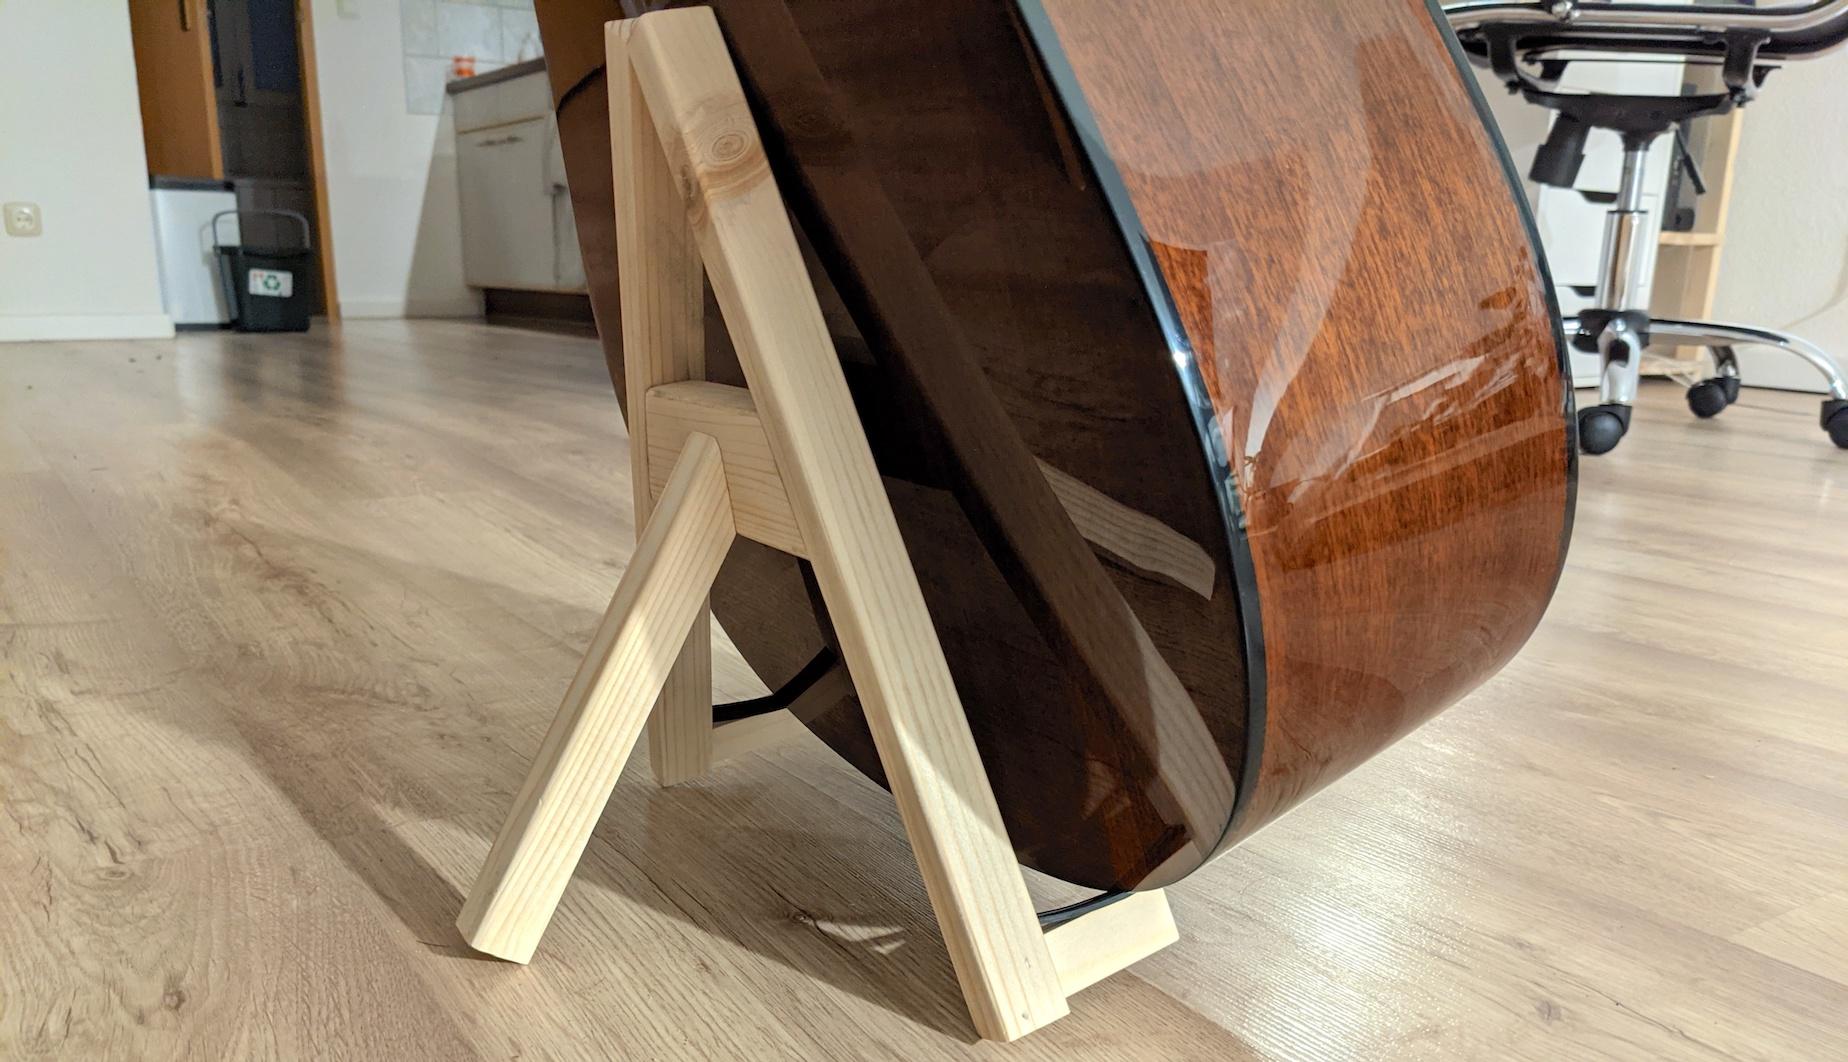
Guitar stand
January 2021 - I only have a single picture of this guitar stand - from before I finished it. Nonetheless, it performed admirably until I decided to give up on my musical aspirations.
I’ve built many more things in that garage: windowsill shelves for my plants, a coat rack for the garage, shelving for my wardrobe, and countless kludges for other projects.